You might be asking yourself why in the world you would go through the trouble of making your own ketchup at home when it’s so easy to just pick it up at the store. Homemade ketchup for canning is well worth the effort. Of course, you can make this ketchup recipe without canning it, but for the time it takes, I recommend making a large batch at once. If you set aside just one day to make and can ketchup, you can have delicious, homemade ketchup from fresh tomatoes waiting in your pantry for the whole year!
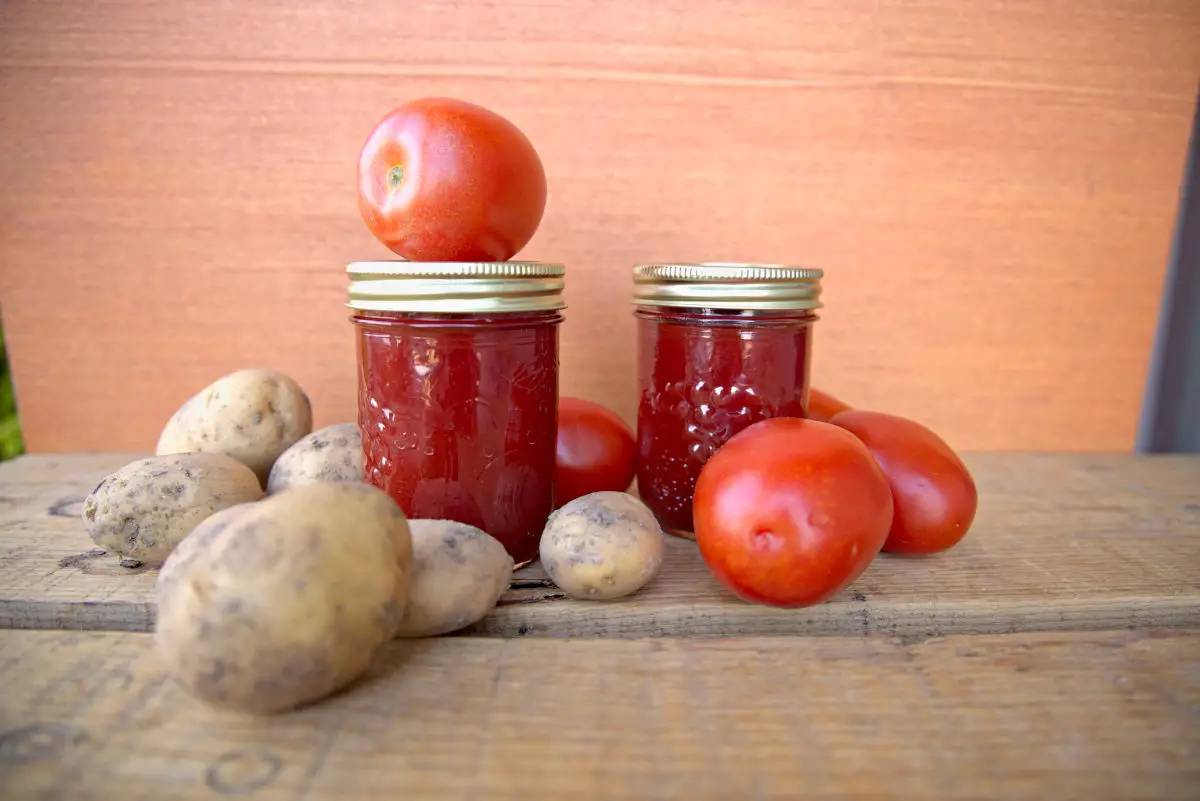
Homemade Ketchup For Canning
Why is homemade ketchup superior to store-bought ketchup? It’ll be packed with all the spices and flavors you’ve tweaked to your preference and lower in sugar and salt than commercial brands. You also get to choose fresh, ripe tomatoes to make it with. It’ll be free of preservatives and a way to preserve those delicious summer tomatoes! Learn how to make ketchup at home with some helpful tips from us.
Fair warning: this recipe is time-consuming! But, a lot of the cooking time is hands-off, so get all your other home and kitchen tasks done while you’re babysitting your pot of fresh, lush ketchup.
Another fair warning: for canning newbies, it might seem overwhelming. And ketchup is definitely not the easiest beginner food for someone new to canning. But, once you learn the basics of water bath canning preservation, homemade ketchup won’t seem daunting at all! I learned a lot from my first time making and canning ketchup, and I can’t wait to make another batch (with some improved techniques) at the end of summer!
Homemade Ketchup Basics
You’ll need a lot of tomatoes for this! It’s probably ideal to make this recipe in late summer when the tomatoes are plentiful and cheaper (or your garden is producing heavily).
It’s important to note that you can’t just can any ketchup recipe! Healthy, safe canning is a science, and you should use a reputable source for canning recipes. If you haven’t made ketchup before, you could start with a simpler recipe (one that uses tomato paste as the base) that might give you a sense of the flavor possibilities.
The main ingredients in ketchup are tomatoes (or tomato paste), vinegar, onion (powder or whole), sugar, and salt. There is a whole world of spice preferences out there, and many of those include the addition of celery seed (or celery), cloves, allspice, cinnamon, cayenne, garlic powder, oregano, and mustard seed.
In this recipe, we initially infuse the vinegar with some of the whole spices and then add in our ground spices later.
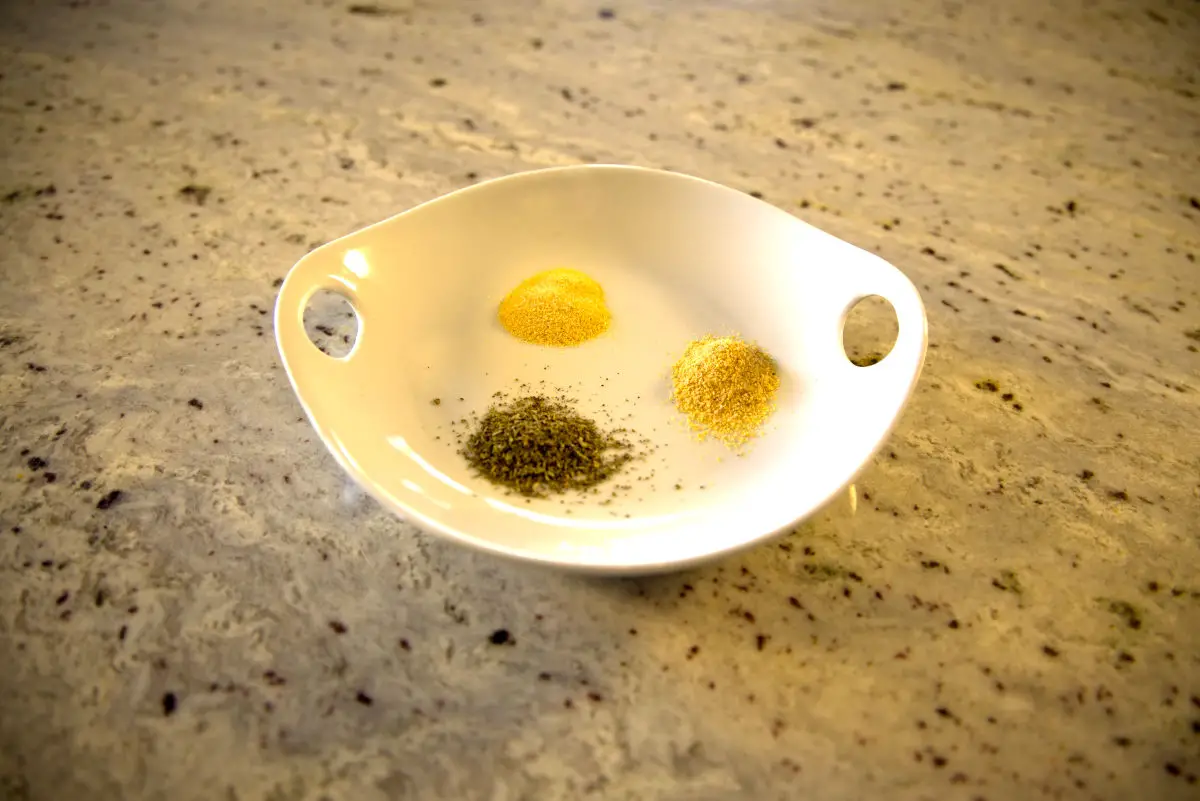
I followed a recipe from Ball Canning for this post, and I added a few flavor adjustments via spices. Our recipe includes garlic powder, oregano, and ground mustard. YUM.
Tomato Prep
There are several methods for prepping your tomatoes and cooking them down, so once you get more comfortable with the recipe please try them out! In this recipe, we core and quarter the tomatoes before placing them in the pot. Some people blanch, cool, and then peel their whole tomatoes before beginning the process of cooking them down. Others peel and core raw before cooking them. Find the technique that works for you! The main point to consider is that you’ll be taking a step (with a food mill or sieve and spoon) to remove the excess skin and seeds at some point, so make it easiest for yourself here.

You can choose to blend (in a blender or with an immersion blender) before or after cooking down to help release the juices. If you’re using an immersion blender, you can do so in the pot as the initial tomatoes are cooking down.
If you have a food mill, I’m sure the process of removing the skins and seeds after cooking down could be a bit more efficient, but I just used a sieve and a spoon to press all of the liquid out from the tomatoes. Use what you have!
What’s the Deal with Canning?
If this is your first introduction to canning, there are some helpful resources to read before attempting this recipe. There is a lot of important information to set yourself up for success (and to stay safe). If you feel overwhelmed, try the recipe (maybe even halved) without canning, and you can store the ketchup in containers in the freezer or in the fridge. It will still have a decent shelf life.
There are two main methods of canning: water bath canning and pressure canning. For lower-acid foods, you must use the pressure canning method, but for food like jams, tomatoes, pickles, relishes, and salsas the water bath method is perfect!
Canning can preserve your food without the added cost of refrigeration for over a year! Guidelines state that for the highest quality, you will want to use canned goods within a year. But, most food will last even longer. Just check for any change in coloration, change in viscosity of the liquid, off smell, or visible mold before consuming.
Once again, always use an approved recipe. As I said before, canning is scientific. There are ways to modify approved recipes, but you should have a thorough understanding of what you are modifying before doing so.
Sterilization and cleanliness are key when canning. We don’t want any bacteria thriving inside our jars. Learn the process of cleaning and sterilizing your jars and workspace.
Pay attention to how to ladle and fill your jars. They need a certain amount of headspace to seal properly. Removing any bubbles before sealing will also help ensure a successful process.
Don’t forget to adjust your processing time based on the altitude you live at! You can find this information with a quick search for your city’s altitude on google maps. We’re at 5,000 feet here, so we add 10 minutes to the base processing time for water bath canning. Here is a helpful chart for that information!
Supplies
- A water bath canner and tools
- Pint or ½ pint glass jars with lids and bands (lids must be new when canning)
- Fine mesh strainer or food mill
- A small metal saucepan
- A large metal pot (approx. 20 quarts or larger)
- Tomato corer (optional)
- Peeler (optional)
- Immersion blender or blender
- Cheesecloth
Altering the Recipe
There are some parts of this recipe that must remain stable to ensure safe canning. You may increase or decrease the salt or sugar in this recipe without a problem. Varying the amounts and kinds of dry seasoning will not impact the safety either. Do not decrease the vinegar! You can alter the type of vinegar you use as long as it has a 5% strength or higher.
As an extra insurance policy, you can test the acidity of your ketchup with a pH tester before you process it into jars to ensure that it is below (in numerical value) the pH of 4.6. It is considered safe to can if so!
FAQs (Frequently Asked Questions)
While sugar is a common ingredient in ketchup for flavor balance, you can use alternatives like honey or maple syrup. Adjust quantities to taste.
The ketchup will thicken naturally as the water evaporates. Simmer the ketchup for a longer time to achieve the desired thickness.
Yes, you can refrigerate homemade ketchup for short-term use, but canning allows for longer shelf life.
More Homemade Condiments
Homemade Condiments help keep your kitchen free from artificial ingredients and preservatives. You’ll taste the freshness with these recipes.
- How to Make Sour Cream (4 Ways)
- How to Make Whole Grain Mustard
- How to Make Mayonnaise: Lacto-Fermented
Homemade Ketchup for Canning
Equipment
- 14 ½ pint glass jars with lids and bands
- 1 cheesecloth
- 1 small stainless steel saucepan
- 1 large stainless steel pot
- 1 immersion blender or regular blender
- 1 fine mesh strainer/sieve
- 1 large metal or wooden spoon & ladle
- 1 water bath canner and included supplies
Ingredients
- 3 tbsp celery seeds
- 4 tsp whole cloves
- 2 cinnamon sticks broken into 1 in. pieces
- 1½ tsp whole allspice
- 3 c apple cider vinegar or distilled white
- 24 lb tomatoes (about 72 medium) cored and quartered
- 3 c chopped white onions
- 1 tsp cayenne pepper
- 1 tsp garlic powder optional
- 1 tsp oregano optional
- 1 tsp ground mustard optional
- 1½ c sugar
- ¼ c kosher or pickling salt
Instructions
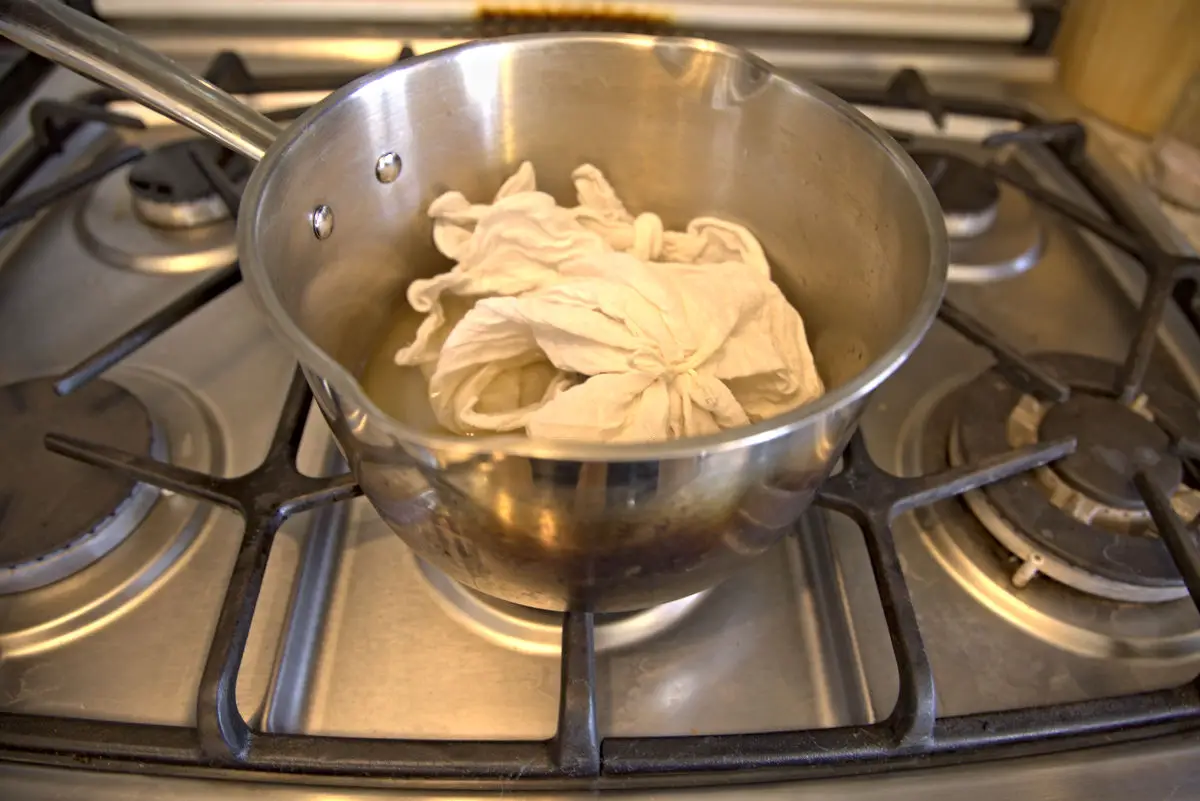
- Place celery seeds, whole cloves, allspice, and cinnamon sticks in cheesecloth and tie it into a bag.
- Combine your spice bag and vinegar in a small saucepan and bring to a boil over high heat. Remove from heat and let stand for 25 minutes before removing the spice bag. You can discard these spices.
- Meanwhile, add tomatoes, onion, cayenne, garlic powder, oregano, and ground mustard to a large stainless steel pot. Bring to a boil over high heat while stirring frequently. Reduce heat to a gentle boil and cook for 20 minutes. Continue to stir frequently.
- Add infused vinegar to the large pot of boiling tomatoes and gently boil until the vegetables have softened and the mixture begins to thicken- about 30 minutes. Stir occasionally.
- Use your immersion blender to blend the contents of the pot. (If you don't own an immersion blender you can blend the mixture in batches using your blender here).
- Transfer mixture, working in batches, to a sieve placed over a glass or stainless steel bowl and press with the back of a spoon to extract all the liquid. This can also be done using a food mill. Discard solids.
- Return the remaining liquid to the large pot, adding the salt and sugar. Bring to a boil over medium heat, stirring occasionally. Reduce heat to a gentle boil, stirring occasionally until the volume is reduced by about half and the mixture is near the consistency you desire- about 2 hours. It will thicken slightly upon cooling. See notes.
- Meanwhile, prepare your water bath canner. Place clean jars inside the water-filled canner and bring the water to a simmer for jar sterilization. Make sure lids are also sterilized in a separate bowl. Carefully remove jars and immediately fill. Increase heat and bring water bath canner to a boil.
- Ladle hot ketchup into hot jars using a funnel. Leave 1/2 inch headspace. Remove air bubbles. Wipe rim. Center lid on jar. Apply band until the fit is fingertip tight. Place jar in boiling water canner. Repeat until all jars are filled.
- Process jars in your canner with the lid on for 15 minutes, adjusting for altitude. See notes. Turn off the heat; remove the lid and let jars stand for 5 minutes in the canner. Carefully remove jars and let cool.
- Check the lids for seal after 24 hours, but you might even hear them "popping" soon after they are removed from the bath. The lid should not flex up and down when the center is pressed. If they don't, you have a successful seal!
- Label and store in a pantry or somewhere out of direct sunlight. These will last for a year or longer!
Notes
- The time it takes for the tomato mixture to initially thicken and then thicken in its final stage can vary greatly. It is more important to pay attention to consistency. I’ve heard the final stage of boiling can take anywhere from 1 to 5 hours.
- You must adjust the boiling time for your altitude when processing in a water bath canner. Here is the chart.
- For more in-depth instructions on how to process your ketchup in a water bath canner check out this link.

Leave a Reply