Get ready for a mind-blowingly easy homemade snack. Learn how to dehydrate fruit in your dehydrator or oven. Once you realize how simple it is to dehydrate fruit on your own, you won’t have to worry about finding a carton of strawberries molding in the back of your fridge or reading the fine print on the back of every package to make sure you’re making a healthy purchase. We have some favorites when it comes to dried fruit snacks, so we’ll walk you through what we find as the best dried fruit.
How to Dehydrate Fruit
When we moved to Mexico, one of the first things I missed was buying my Trader Joe’s dried mango once a week (ok, maybe more sometimes) on my lunch break. So, as one does…or at least I do…I looked to the internet for a way to make it myself. If only I had known how simple it was earlier!
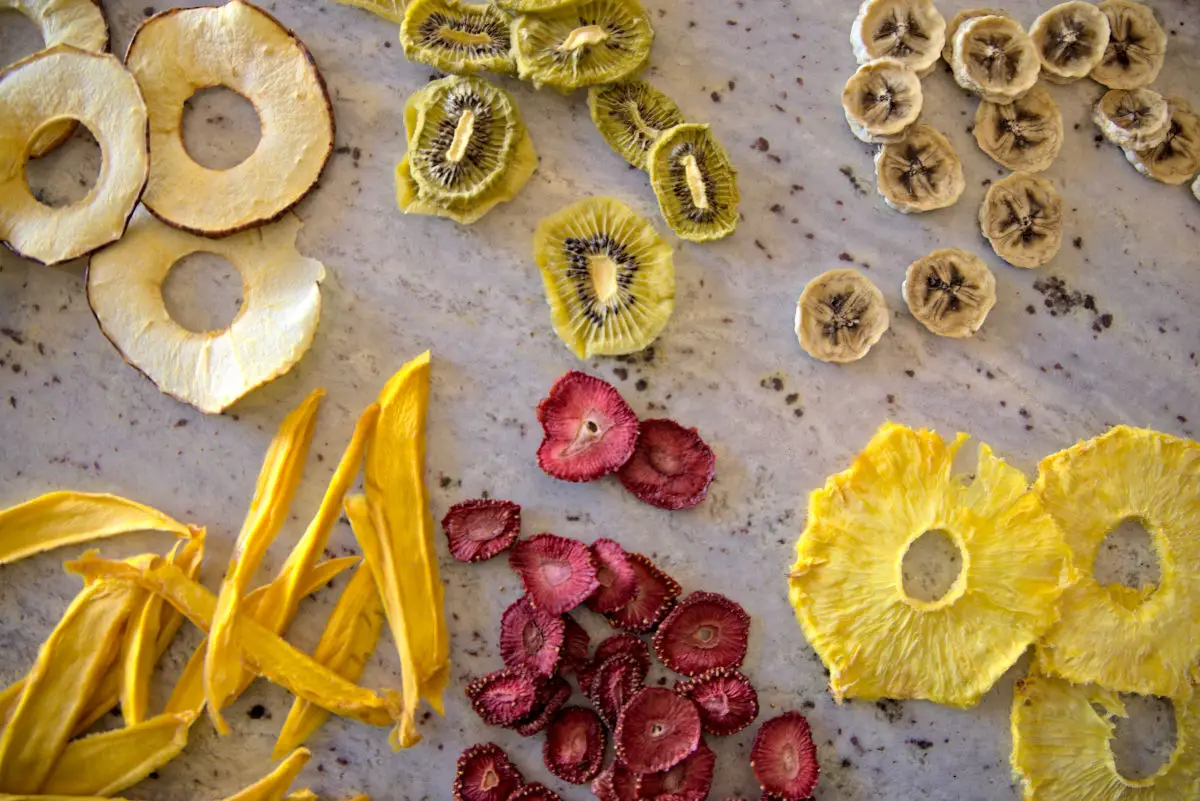
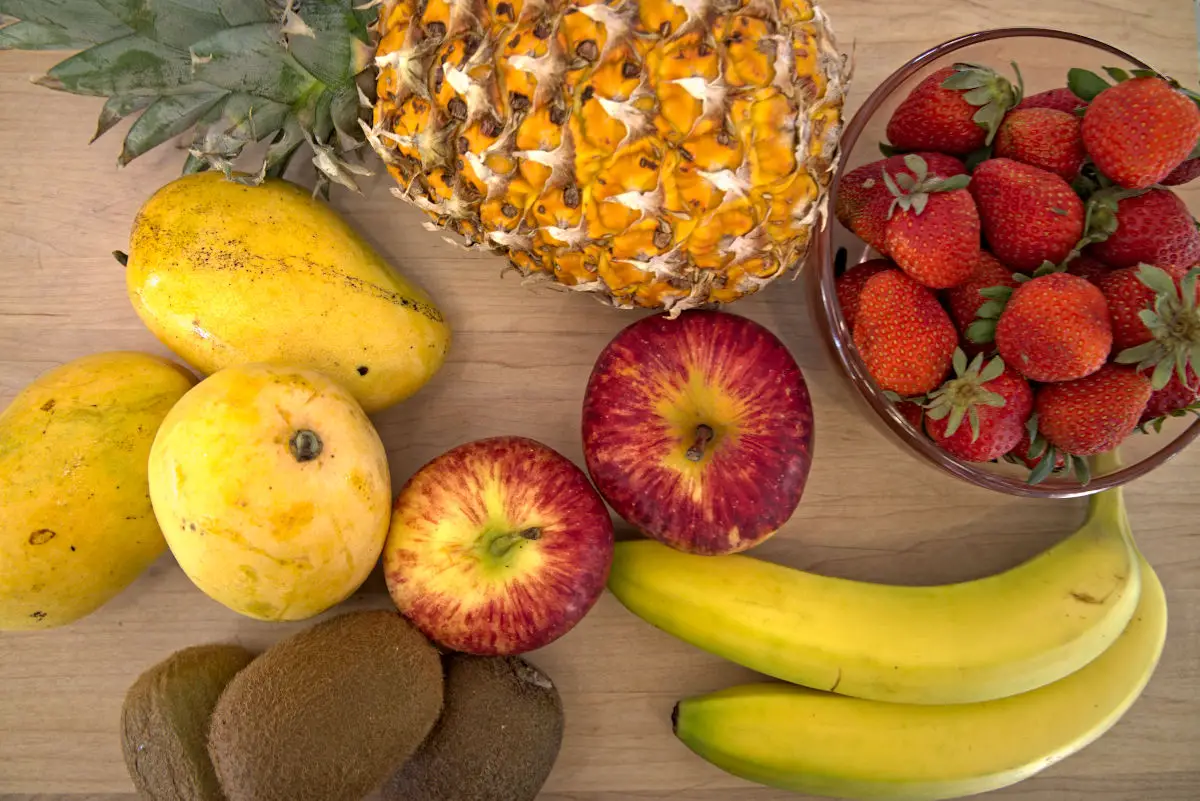
No added ingredients. Fresh produce. Delicious flavor. End of story. Or beginning of story if this is your first time dehydrating fruit. Get ready for a pantry of dried apple slices, dried banana chips, dried strawberries, dried mango slices, dried kiwi slices, and dried pineapple.
Why Dehydrate Fruit
-You can buy fresh produce in season or on sale and have it for later.
-Dehydrated fruit takes up little space in storage and doesn’t take a refrigerator or freezer to store (saving you money).
-You don’t have to worry about eating a whole container of fruit in a few days before it spoils.
-They are perfect for a quick snack or to take on the go.
-It will give you an alternative to reaching for that chocolate chip cookie after dinner.
-They travel well for all your days of adventuring and hiking.
Dehydration Methods
The main methods for dehydrating fruit are in a dehydrator or the oven.
If you don’t own a dehydrator but find yourself loving all things dehydrated, I highly recommend the purchase. It can help in the preservation of a ton of food, and it makes dehydrating a set it and forget it (ok, check on it every so often) kind of task.
Plus, the dehydrator functions at a lower heat over a longer period, and in my mind, that means more time to be consumed by the sweet perfume of your fruits. It also means your final products will have a more even texture and better preservation of flavor.
Several other methods exist to dehydrate your food such as using a solar dehydrator, using the sun to dehydrate, or dehydrating in an air fryer. These have specifications to look into if they sound interesting to you.
Basic Instructions for Drying
Step 1: Rinse and peel fruit
You’ll want to choose ripe, healthy fruit for dehydration. Drying concentrates the flavor of the fruit, so you want to start strong. Give your fruits a rinse and peel for those that need it.
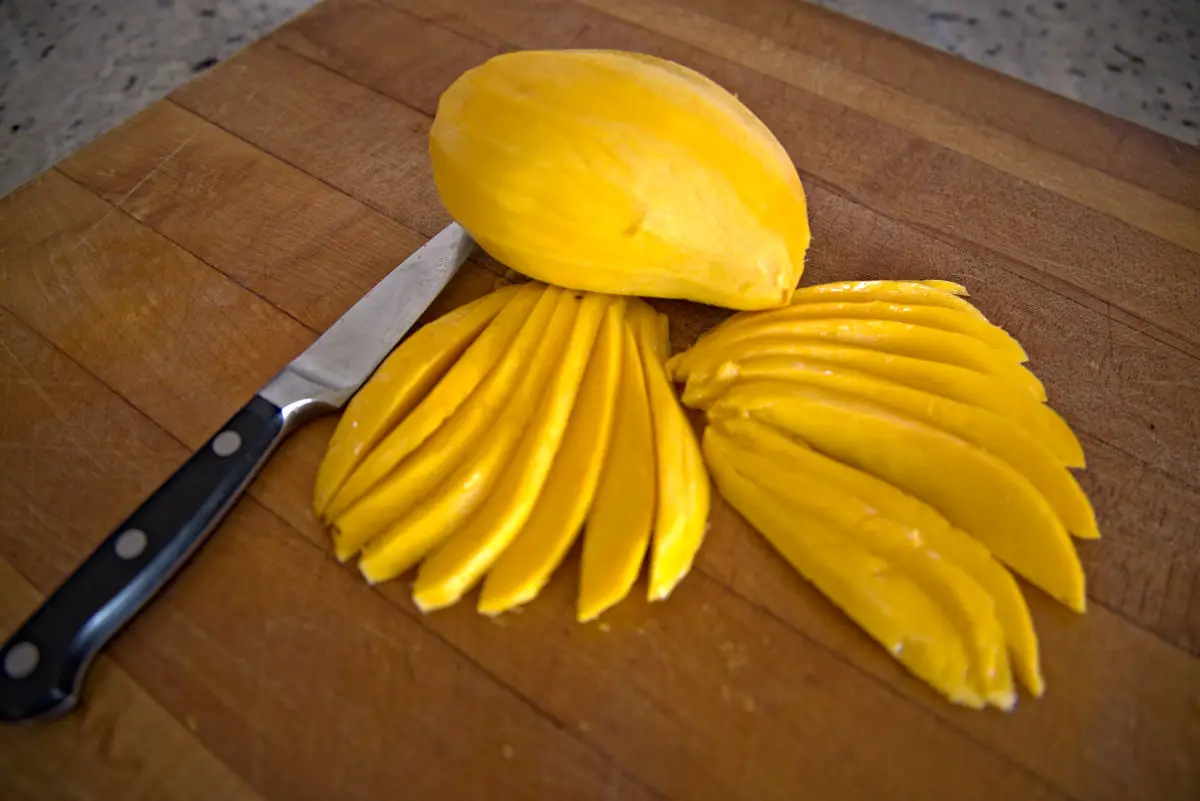
Step 2: Thinly slice with a mandoline or sharp knife
You want thin, even slices so your fruit dries at the same rate. I think ¼ inch thickness is a good width to shoot for.
Step 3 (optional): Soak in lemon juice
There are some fruits (like bananas and apples) that people like to keep from browning. One way to do this is to fill a bowl with equal parts water and lemon juice and then let the slices soak for 5-10 minutes. You’ll want to pat them dry with a towel or paper towel after. Another method is to fill a small bottle with lemon juice and spritz the slices.
I personally don’t mind the slight browning, and it’s a step I choose to forgo.
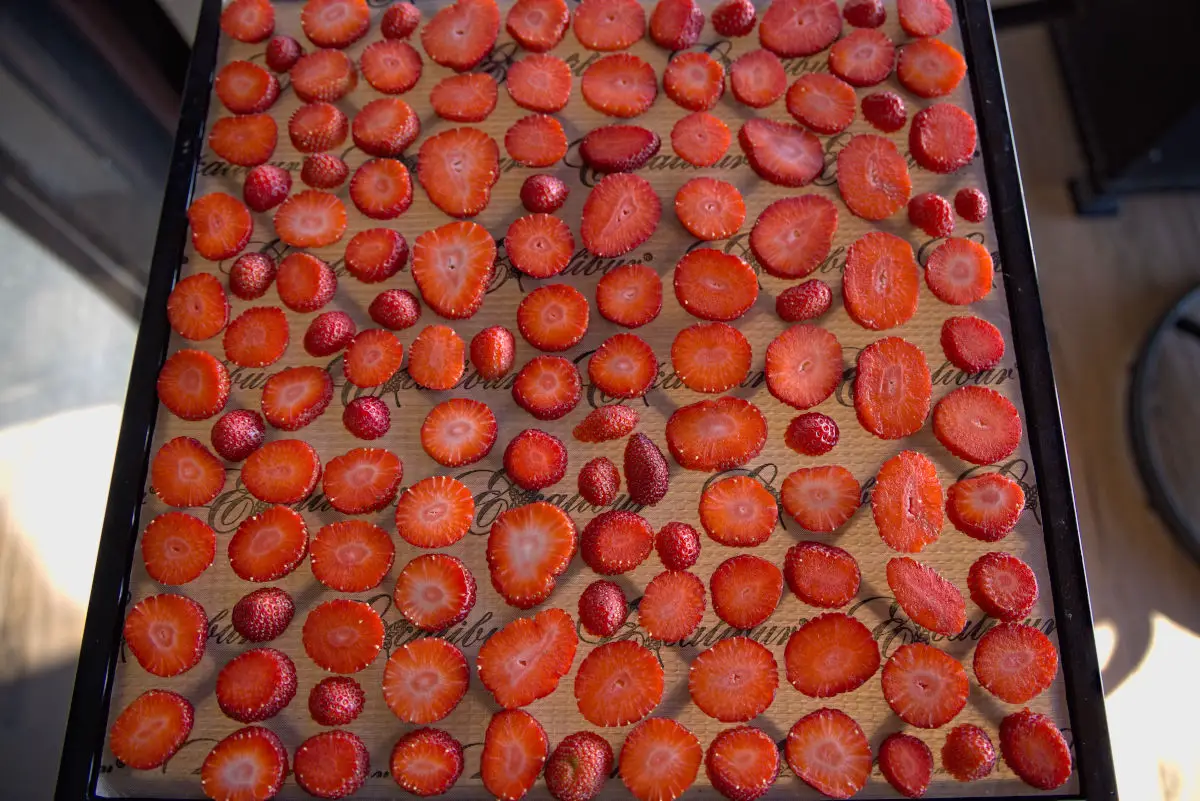
Step 4: Place on drying racks or trays
If using a dehydrator, place fruit slices in an even layer so they aren’t touching. Keep each variety of fruit on its own tray, as different fruits will deviate in the time it takes them to fully dry.
If using an oven, place fruit slices on a rack inside of a parchment-lined baking tray. Preheat oven to its lowest setting.
Step 5: Wait
If using a dehydrator: Read your manufacturer’s guide for instructions on settings for your dehydrator. It usually recommends dehydrating at 135 degrees F, and the timing can range from 6-15 hours based on many variables.
If using an oven: If your oven has a fan, use it. If not, open the door to let out moisture every hour or so. Fruits will generally dry between 2-6 hours.
Our Favorite Fruits To Dehydrate:
Mango started as the all-star, but pineapple has quickly jumped up for the tie. Cut off the top and bottom of the pineapple, slice off the rough and tough exterior, slice into ¼-inch thick rounds, and use an apple corer (or knife) to remove cores. Arrange on trays and dehydrate in your dehydrator or oven.

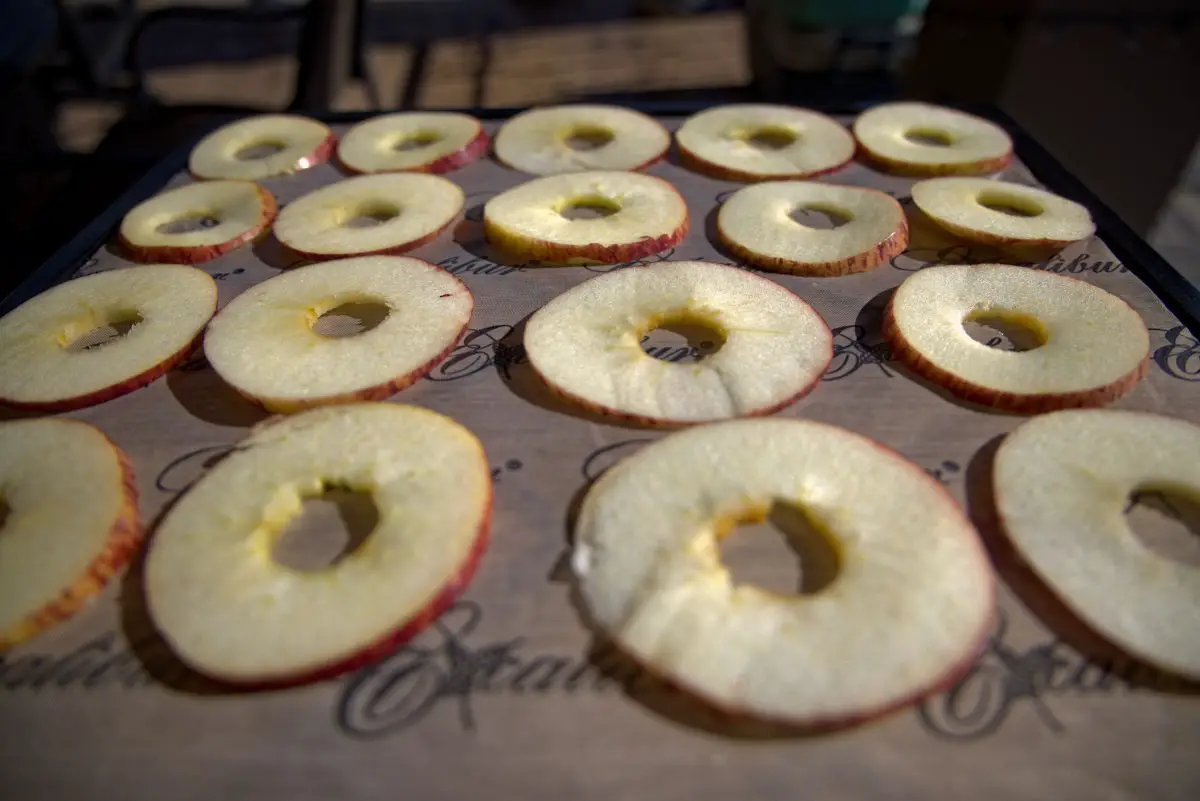
These are an old-school snack that has stood the test of time. Wash apples, peel (optional), use an apple corer to remove core, and slice into ¼-inch thick rounds. Soak in citrus water if you wish. Arrange on trays and dehydrate in your dehydrator or oven.
There are some fun variations on dried apples in which you…
- Place apples in citrus water, set them on trays, and sprinkle with cinnamon on their arranged trays before drying.
- Place apples in a mixture with the proportions of ½ cup of lemon juice and 1 TBSP of honey. Remove and sprinkle with cinnamon on trays before drying.
Other Fruits to Try
There are plenty of other fruits to try dehydrating, so pick your favorite and experiment! They each have their preferred method of preparation prior to dehydration. Remember that the thinner they are, the quicker they’ll dehydrate. Some others I recommend are:
- Pears
- Peaches
- Watermelon
- Apricots
- Blueberries
- Raspberries
- Grapes
- Cranberries– we have a recipe using honey as a natural sweetener
- Oranges
How to Store & Use
Store your finished fruits in airtight containers or jars. We like to use mason jars. Keep them in a cool, dry place for optimal storage. If dried and kept properly they will last up to a year, but if you notice mold or the smell is strange, of course, toss them.
You’ll soon find your own quirky uses for all your dried fruit, but in the meantime take them to the beach, pack them for a hike, add them to yogurt or granola, give them to your kids for a healthy snack, add them to salads, or use them in your homemade tea blends. The fruit is your oyster. That’s the saying, right?
FAQs (Frequently Asked Questions)
Peeling is optional and depends on personal preference. Some fruits, like apples or pears, can be dehydrated with their skin for added texture and nutrients.
Yes, you can dehydrate frozen fruits after thawing. Pat them dry to remove excess moisture before placing them in the dehydrator.
Yes, you can rehydrate some dehydrated fruits by soaking them in water or fruit juice. This is commonly done with dried fruits like apricots.
More Recipes With Fruit
If you’re like me, you love having fruit around for their delicious, natural sugars.


Leave a Reply