You’re at the intersection of stale bread and gourmet cooking. I’m serious! Take that bread getting stale on the counter and make breadcrumbs from bread. You’ll be on your way to dinners of delicious meatloaf, meatballs, stuffed chicken, eggplant parm, chicken tenders, and beyond.
How to Make Breadcrumbs
There’s no need to buy them from the grocery store when making breadcrumbs from bread is basically free (accounting for the hardened bread that otherwise would have been tossed in the garbage).
One time making breadcrumbs was all it took to become a regular recipe for me. It’s a pantry staple that’s just too easy to make on your own! And I’m a sucker for homemade pantry staples. We’re going to cover both plain and seasoned breadcrumbs so that you have options. I like options.
Why Make Homemade Breadcrumbs?
You can be in control of the ingredients! Many of the breadcrumbs on the shelves are hiding preservatives and artificial ingredients. In reality, you only need bread and salt to make them!
The flavor possibilities are far greater with homemade breadcrumbs, and you can even mix up a couple of different batches for different occasions at the same time.
Maybe the biggest seller is price. Why spend multiple dollars on breadcrumbs when you can save up a couple of butts from your already-bought loaves to make them at home? We’re re-purposing bread here. But, even buying a fresh loaf of bread to make yours will save you money.
For me, the boost in flavor and texture is undeniable. The crunch cannot be denied. Homemade takes the cake in both categories, and once again, you’re in control! Like them fine? Easy enough. Prefer them coarser? Pulse for less time.
Can You Use Fresh Bread?
You can absolutely start with fresh bread. You’ll need to add one step before the original recipe and then you’ll be on your way.
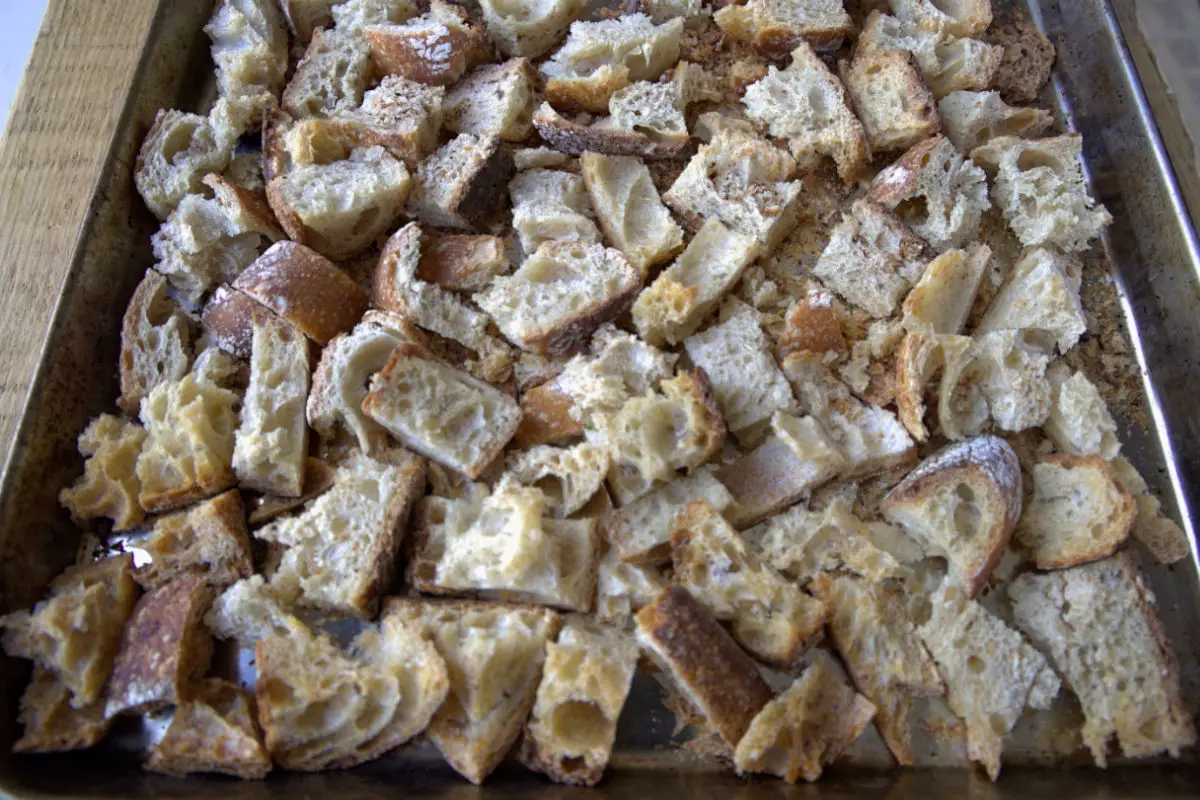
-Preheat your oven to 275 degrees F. Slice your bread into ½ inch to ¾ inch slices (if not already sliced) and place them on a baking tray. Bake for 20-30 minutes or until your bread is nice and dried out. Allow them to cool before proceeding with the recipe.
Basic Technique & Ingredients
What you’ll need:
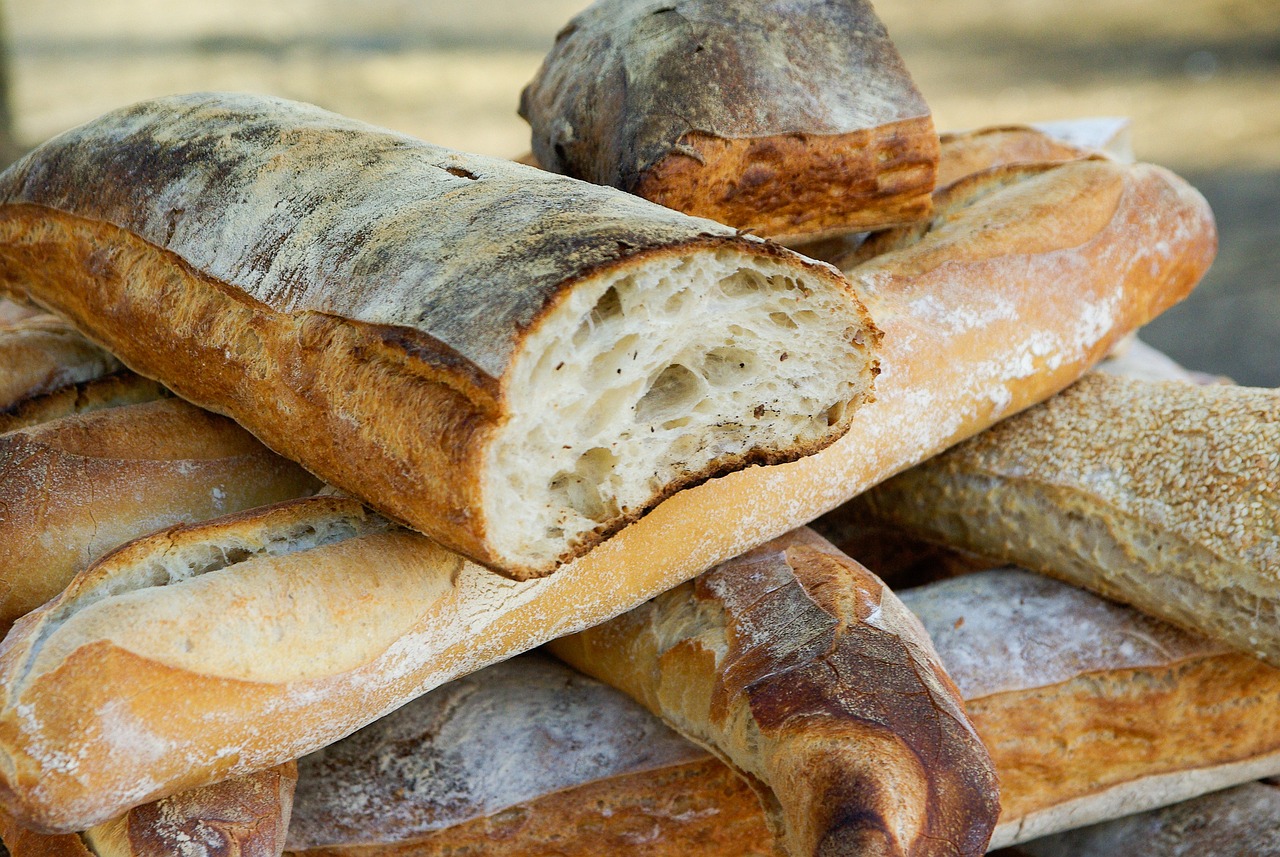
- Bread: You can use virtually any type of bread here, but white bread might make for a more common flavor for your crumbs. My favorite bread to use is sourdough, but that might be because it’s the bread I make (and accidentally leave to get stale on the counter) most regularly. You can even save up the odds and ends of different bread in a bag in your fridge or freezer until you’re ready to make a larger batch of breadcrumbs.
- Salt: This one is self-explanatory. It’ll help bring out the natural flavor of your bread.
- Optional, Herbs or Spices: There are a lot of fun possibilities for flavoring your breadcrumbs. These can be garlic powder, onion powder, pepper, parsley, thyme, basil, oregano, Italian seasoning, red pepper flakes, parmesan cheese, or lemon zest. I’ve shared one of our favorite combos for seasoning breadcrumbs in the recipe below.
- Food processor (or rolling pin): You’ll use a food processor to grind up your crispy bread easily. If you don’t own one, a little muscle work taking a rolling pin to a ziplock bag of your bread should do the trick.
Storing
The best part about homemade breadcrumbs is that they can last 3-6 months in the freezer or about 1 month at room temperature. Just store them in an airtight container, and you’re good to go. You can easily thaw your frozen breadcrumbs at room temperature for a few minutes before measuring out what you need.
Using bags for freezer storage is recommended as you can press out all the air to keep them fresher for longer.
Uses
This could be a long list, but some of our favorite recipes incorporating breadcrumbs are meatballs, homemade chicken tenders, eggplant parmesan, chicken parmesan, scotch eggs, breaded fish, au gratin potatoes, pasta, and green bean casserole. Let your imagination guide you!
Another amazing use for breadcrumbs is just sprinkled on top of any dish for an extra crunch. You can’t go wrong with crunch.
FAQs (Frequently Asked Questions)
The bread should be sufficiently stale but not rock hard. It should be dry enough to easily crumble into breadcrumbs. You can always dry out the bread further in the oven.
Store stale bread in a paper bag, loosely wrap it in a clean kitchen towel, or stick it in the freezer. Avoid airtight containers at room temperature to prevent mold.
Ensure the bread is thoroughly dried and use a pulsing motion in the food processor to prevent over-processing, which can lead to denser breadcrumbs.
More From Scratch Recipes
Cooking from scratch is a great way to save money for your household and end up with superior meals.
Homemade Breadcrumbs
Equipment
- baking tray
- food processor or blender
Ingredients
- 6 oz stale bread approximately 6 cups
- ½ tsp salt
For Italian Breadcrumbs
- ¾ tsp dried oregano
- ¾ tsp onion powder
- ¾ tsp garlic powder
- ¾ tsp dried parsley
- 1 ½ tsp salt
Instructions
- Preheat oven to 350 ℉. Line a baking tray with parchment paper.
- Tear or slice dry bread into 1" pieces. (If you are starting with fresh bread, see notes). Place in a food processor (see notes for alternative method) and grind into crumbs. You can grind them as coarsely or finely as you want here.
- Spread the crumbs out on the lined baking tray. Make sure they are in a thin, even layer.
- Bake for 10-15 minutes or until golden brown in color. Toss them halfway through cooking time.
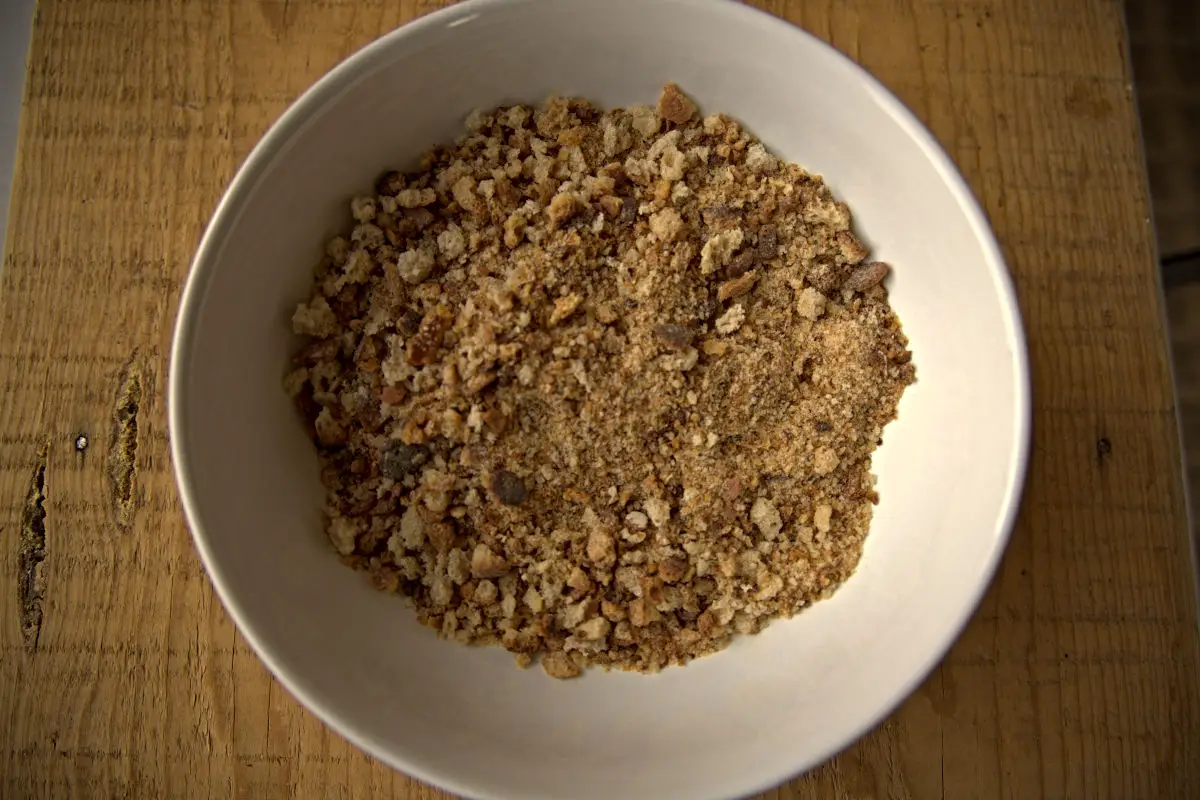
- While still warm, add to a medium bowl. Toss with just salt for plain breadcrumbs or with the Italian seasoning mix of dried oregano, onion powder, garlic powder, dried parsley, and salt.
- Allow crumbs to cool before storing in an airtight bag or container. These will last for 1 month at room temperature or up to 6 months in the freezer.
Notes
- If you don’t have a food processor, bake the bread chunks until completely dry, let them cool, place them in a bag, and use a rolling pin to crush them.
- For finer breadcrumbs, it will be easiest to remove any crust prior to tearing the bread.
- Feel free to experiment with other dried herbs (parmesan or lemon zest are also possibilities but will lower the shelf-stable capacity of the crumbs). In general, you’ll want to use 1.5 tsp of seasonings per cup of breadcrumbs.
- If you are starting with fresh bread, begin by preheating the oven to 275 degrees F. Slice your bread into ½-inch to ¾-inch thick slices (if not already sliced) and place them on a baking tray. Bake for 20-30 minutes or until your bread is nice and dried out. Allow them to cool before proceeding with this recipe.

Leave a Reply