All the chocolate lovers out there raise your hands. Everyone? That’s pretty much what I expected. Making homemade chocolate bark almost seems too simple to write a blog post about, and once you start creating your own, you won’t have to buy (alright, at least not as often) those expensive craft chocolate bars at the market. The instructions for making dark chocolate bark, milk chocolate bark, or white chocolate bark are the same, and you can experiment with all kinds of delicious add-ins. Here we’ve made a dark chocolate almond bark with sea salt.
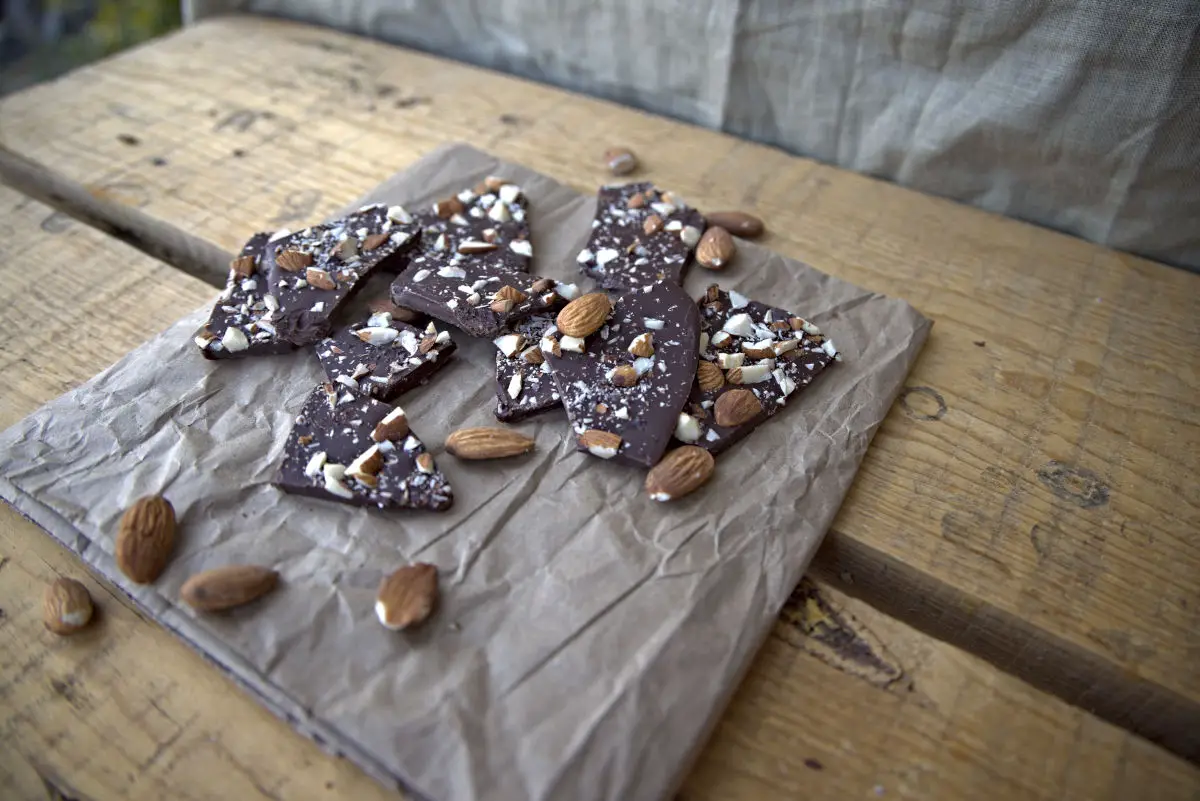
Homemade Chocolate Almond Bark
Simply melt and spread the chocolate, sprinkle with your choice of toppings, and allow it to set. It’s really that easy! I love making seasonal barks…a peppermint chocolate bark during winter, incorporating dried fruits and florals during spring, nutty chocolate bark (like a classic almond bark) during the summer, and adding fall spices during the autumn months.
What You Need For Homemade Chocolate Bark
-Chocolate: Consisting of so few ingredients, chocolate bark is only as good as the chocolate you start with. Buy the quality you can afford and a brand that you enjoy. You’ll want to use white, dark, or milk chocolate, but avoid chips. They tend to have additives that encourage them to keep their chip shape.
-Toppings: You can go as extravagant or as simple as you want here. I’ll list a few of our top suggestions below.
-Silicone mold (*optional if you want to make precise bars): Molds are pretty inexpensive if you’re more of a bar person and less of a bark person. We usually just go for the ease and fun of bark that you can break apart with your hands, but for gifting or more professional projects I might choose a mold.
OR
-Baking tray with parchment paper: You can use a parchment-lined baking tray as the template for pouring your chocolate onto.
Making Chocolate Bark
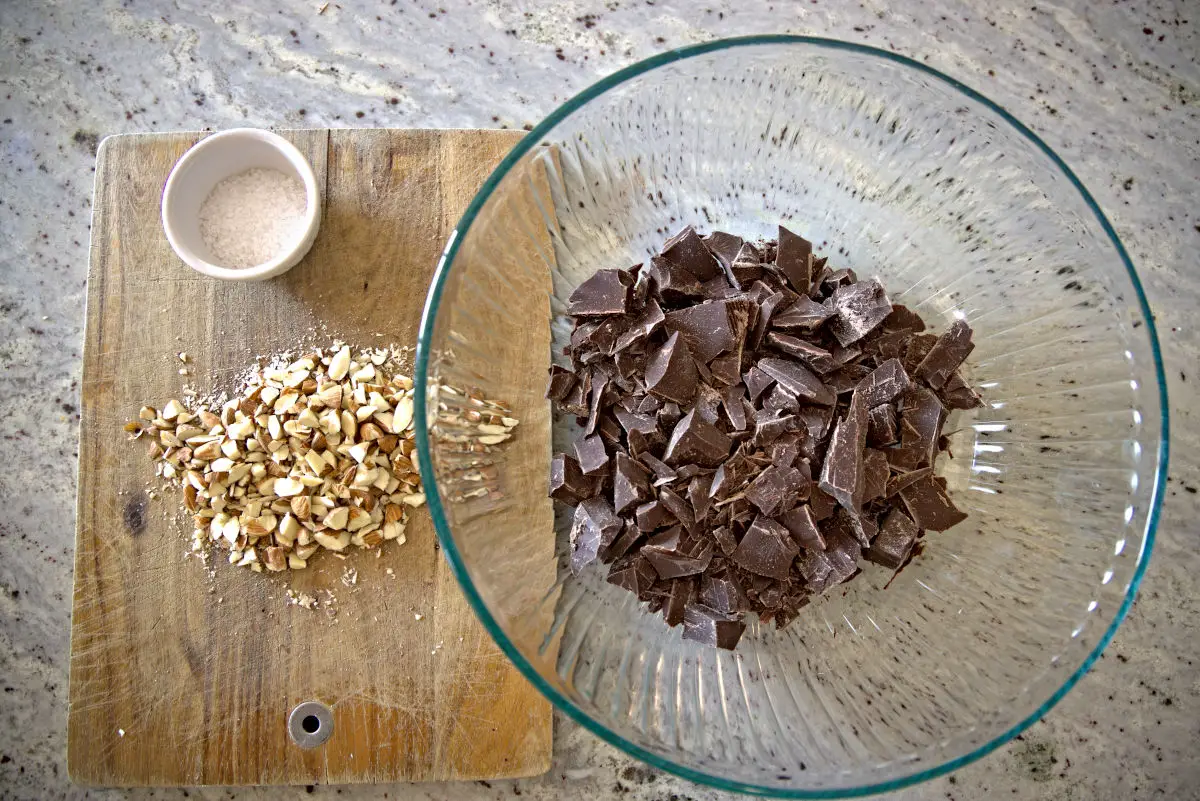
- Start with good-quality chocolate and chop it into bite-sized pieces. White, milk, or dark will all work, but chips won’t melt as well.

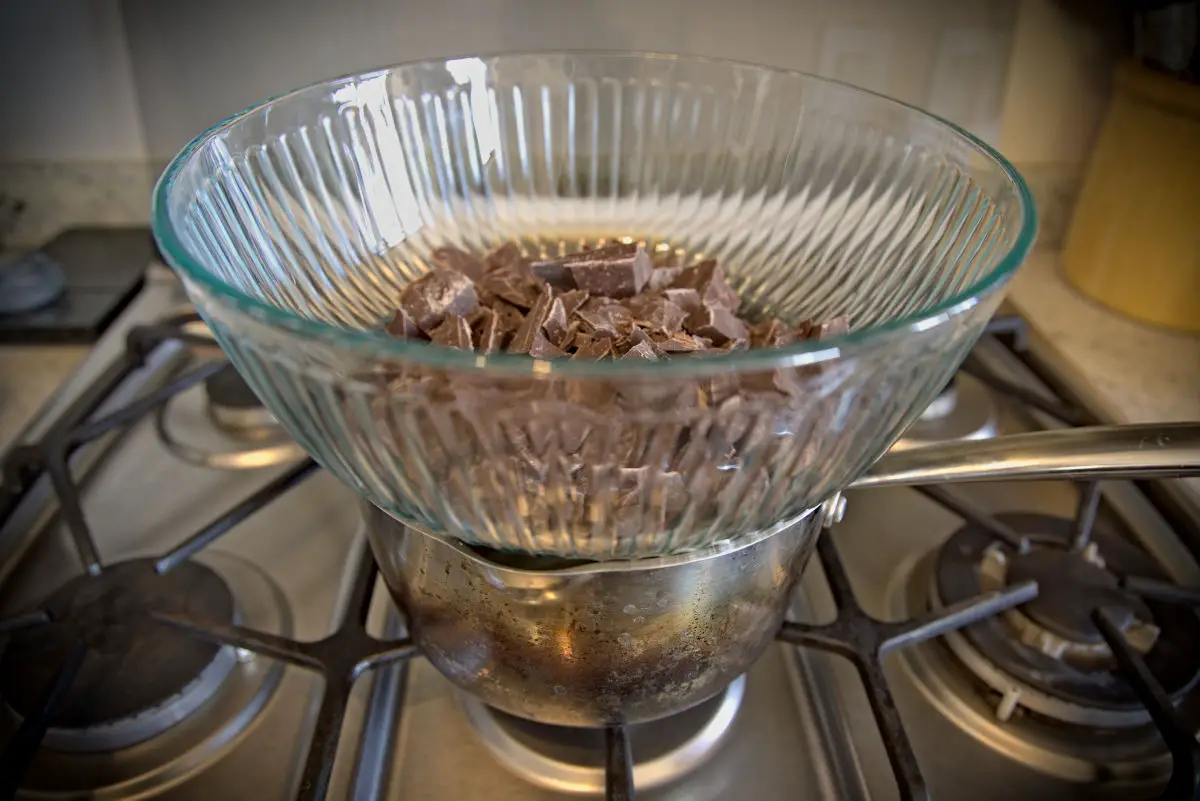
- Melt your chocolate.
You can choose to use the microwave to melt your chocolate or set up a double boiler.
Microwave: Place chocolate in a microwave-safe bowl and microwave in 30-second increments (stirring between) until the chocolate has melted completely.
Double Boiler: This is the method we use, as I like being able to melt the chocolate nice and slowly under my complete control. And I try not to use the microwave unless “necessary” or entirely too helpful to ignore. A double boiler is simply a heatproof bowl set over a saucepan filled with about an inch of simmering water. Just make sure the top bowl isn’t touching the water and place your chopped chocolate in the top bowl to melt. Continue stirring over heat until the chocolate has completely melted.
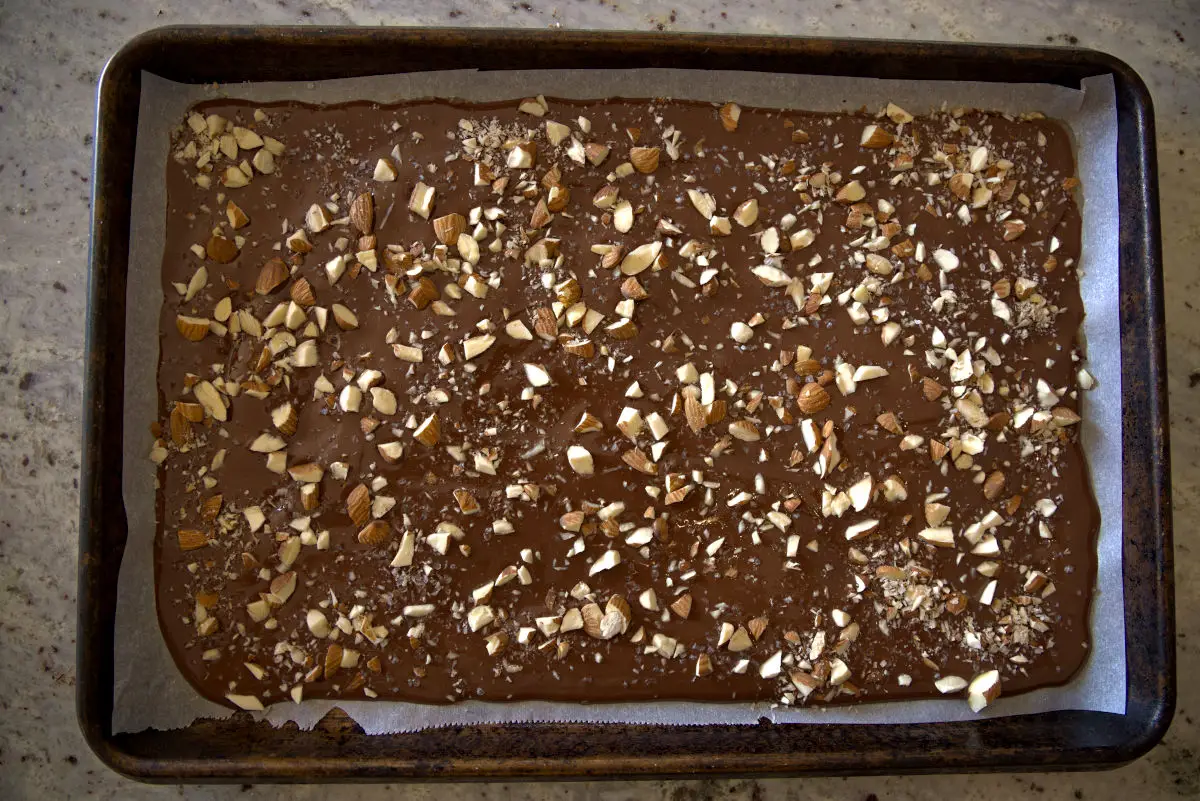
For the best results, consider tempering your chocolate. This is a controlled method that involves stabilizing the chocolate through precise heating and cooling. Note that we don’t use this method and still get BOMB chocolate, but it will ensure that you get crisp, shiny (not matte) chocolate that stays hard outside of refrigeration. It’s definitely worth trying if you are gifting or selling your chocolate. - Pour melted chocolate into molds or onto the parchment-lined baking sheet. If using molds, a spoon or measuring cup will help with the precision of pouring the chocolate. If using a baking sheet, spread the chocolate into a layer between ⅛ – ¼ in thick with a rubber spatula. Sprinkle your toppings uniformly over the melted chocolate before it sets. A good starting point is to use about 1 cup total of toppings for every 12 oz. of chocolate. You can press ingredients down gently using the back of a large spatula if large pieces are sticking up out of the chocolate.
- Let the bark cool for 10 minutes before putting it in the fridge to set for 30 minutes or let it cool in a cooler area of your home for at least 2 hours. If you have the time, letting it cool at room temperature will help prevent the formation of white splotches (completely safe and edible, and they only affect appearance) called bloom.
- Use a large knife to cut the bark into rectangles or do as we do and break it apart into chunks with your hands.
Toppings
Nuts, seeds, spices, fruits, botanicals…..this is the fun part!
Here are some of our favorite combos:
- almonds and sea salt
- shredded coconut, dried cranberries, and spiced pepitas
- dried strawberries, pistachios, and rose petals
- peppermint
- spiced chocolate (mix in cayenne, cinnamon, & paprika), dried cherries, and sea salt
- toasted mixed chopped nuts and sea salt
Other popular ingredients include crushed cookies, chia seeds, hemp seeds, dried apricots, golden raisins, goji berries, candies oranges, pretzels, dried raspberries, toffee, and candies.
Storing
Chocolate will last at least a week at room temperature, out of direct sunlight, and in an airtight container. For even longer storage, you can keep it in the fridge.
FAQs (Frequently Asked Questions)
It’s normal for untempered chocolate to get pale blotches called bloom on the surface after a few days, but it doesn’t affect the taste or edibility of your chocolate. Keep on munching!
Melt different types or colors of chocolate separately, then pour or drizzle them over the base chocolate. Use a toothpick or skewer to create swirls.
Aim for an even thickness of around 1/4 to 1/2 inch, depending on your preference. Thicker bark will be more substantial and take longer to set.
More From Scratch Sweets
Making sweet treats from scratch is a great way to control the types of sugars around your home. Indulge with a clear conscience.
- How to Make Fruit Leather (& 5 Recipes)
- Healthy Homemade Marshmallows
- How to Make Dried Cranberries (Naturally Sweetened)

Homemade Dark Chocolate, Almond, & Sea Salt Bark
Equipment
- baking tray
- parchment paper
- heat-safe bowl
- small saucepan
- rubber spatula
Ingredients
- 12 oz dark chocolate roughly chopped
- 1 c raw or toasted almonds roughly chopped
- ¾ tsp sea salt
Instructions
- Line your baking tray with parchment paper.
- Fill a small saucepan with an inch of water and set on the stove. Place chopped chocolate in your oven-safe bowl and set it on top of the pot to create a double boiler. Bring to a simmer over low heat and continue to stir until the chocolate is melted. This should take 5-10 minutes. *Alternatively, microwave in a microwave-safe bowl at 30-second intervals, stirring in between, until melted.
- Pour chocolate onto the lined baking tray. Use a rubber spatula to smooth out the chocolate into a layer ⅛-¼ inch thick.
- Before the chocolate begins to set, sprinkle evenly with chopped almonds and sea salt. Press the almonds gently with your palm into the chocolate.
- Let cool at room temperature for at least 10 minutes. If you are in a hurry, stick it in the fridge for 30 minutes to set afterward. If not, allow it to cool for at least 2 hours at room temperature in a cool location until set.
- Once set, break the set sheet of chocolate into pieces with your hands or use a sharp knife to cut it into rectangles.
- Enjoy immediately or store in an airtight container at room temperature (and out of direct sunlight) for at least a week- that is if it's not all devoured before then!

Leave a Reply