This one is a true “from scraps to riches” story. We use apple cider vinegar for many tasks in our home, and homemade apple cider vinegar is such a simple way to turn your apple scraps into pantry heaven.
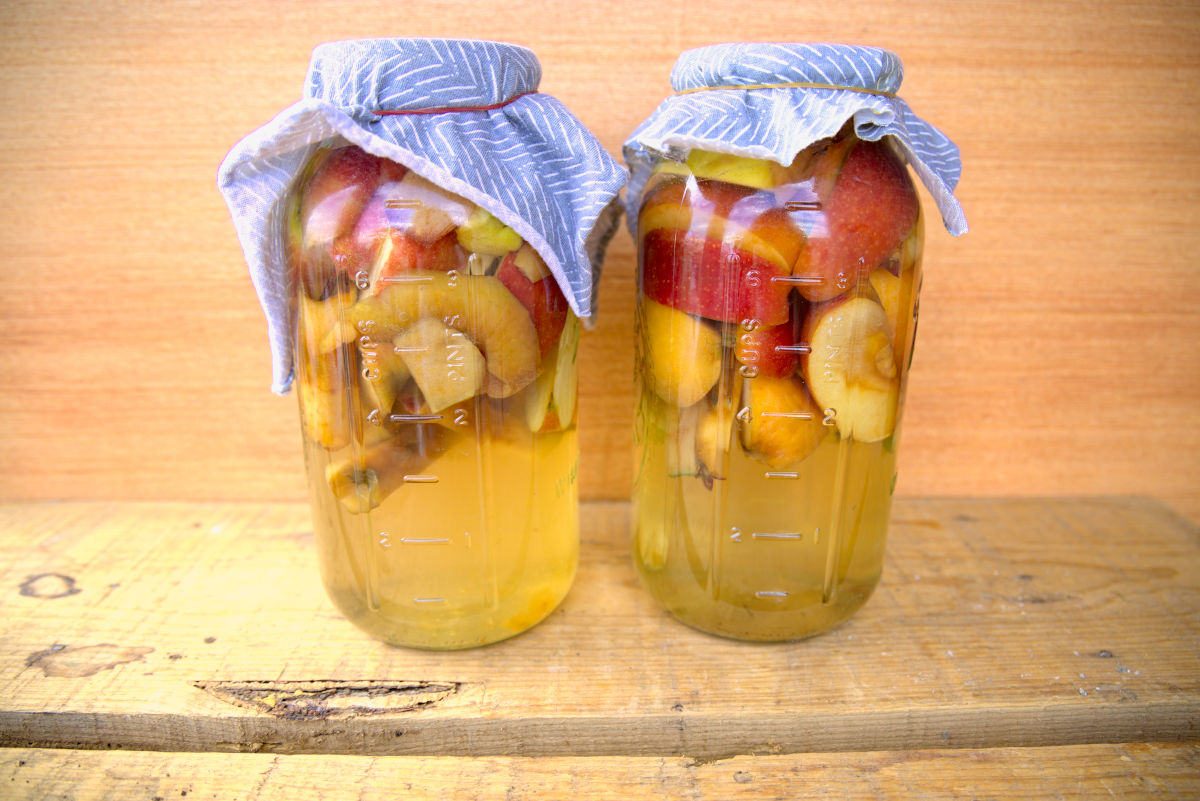
Homemade Apple Cider Vinegar
Now, technically this isn’t a “true” apple cider vinegar, and the correct term for it is apple scrap vinegar. Apple cider vinegar is made solely from raw apple cider (which at some point I will do a recipe on), but you’re still getting so many of the benefits of fermentation here. And you’re making something valuable from kitchen scraps!
Check out our more in-depth post on fermentation.
What Do I Need to Make Apple Cider Vinegar?
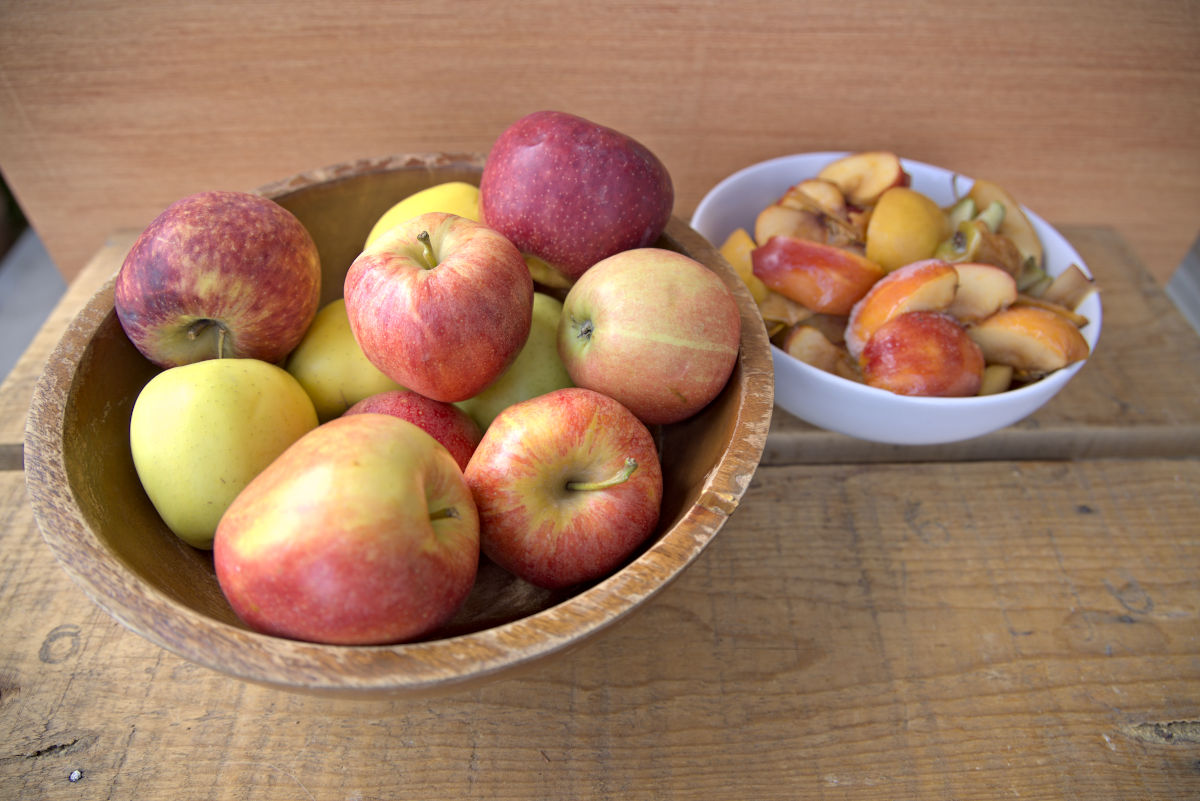
Fresh apples or apple scraps
Ideally, you will be able to use mostly apple scraps for this recipe. Because we are including the peels, organic varieties are preferred. But, with conventional or organic just be sure your apples have been well-rinsed. If you are starting with fresh, whole apples it might be more beneficial to go through the process of making true apple cider vinegar. Being able to use your scraps from other homemade apple goodies is where this recipe shines.
You can even collect apple peels/cores in a plastic bag in your freezer and then take them out to thaw when you have enough to make a jar of vinegar! Cold is not beneficial to fermentation, so thawing out your scraps before beginning will help the process. I always throw in a little bit of fresh apple into my vessel to ensure there are living bacteria ready to go to work. You can even use bruised or browning apples as long as there is not any mold growth or rotting.
If you can, try to collect a variety of apples for your vinegar! The flavor will be more well-rounded.
Sugar
You’ll need 1 TBSP of sugar for every cup of water you use. It’s easiest to measure out your water in a measuring glass, and then you’ll know exactly how much it took to fill the jar. Then, you can add in the correct amount of sugar and give it a good stir until it has dissolved.
You can use honey as an alternative but know that it might take longer as the fermentation process takes more time. It’s also useful to note that the beneficial bacteria growing consume the sugar during the fermentation process (yes, sugar is necessary), so there will be little to no sugar left in your final product anyway.
Water
You’ll want filtered or non-chlorinated water for this recipe. We are dealing with fermentation, and chemical additives like chlorine can inhibit the process and be harmful to your culture. If all you have is chlorinated water, leaving your tap water out in a bowl overnight will allow enough of the chlorine to evaporate for use.
Large glass vessel
You can easily use whatever size jar(s) you want for this recipe, but make sure they are glass. Vinegar doesn’t react well with metals.
Breathable material
I have several squares of an old pillowcase cut up for use in some of my ferments. Another option would be a coffee filter. I’ve heard cheesecloth can still let fruit flies in, so you might want to steer clear of that. The jar needs to be open to the air, but we don’t want bugs making their way in. You won’t want to use a fermenting lock in this recipe, because we actually need some of that bacteria from the air (the acetic acid bacteria) entering to create our vinegar.
Fermenting weights (optional)
The easiest (and most hands-off) way to ensure a healthy ferment is to use fermenting weights to hold your apple scraps below the surface of your liquid. Mold can quickly develop on solids exposed to air above the surface of the water.
If you don’t have access to fermentation weights, there are a other few methods you can try. If you have another smaller glass jar that can fit inside, use that as a weight. You don’t want to use metal or a material you aren’t quite sure of. Your ferment can be affected.
Fill a Ziploc bag with water, seal the bag, and place it at the top of your ferment. It should have enough weight to keep the solids submerged. If you are worried about plastic leaching into the contents from contact with vinegar, avoid this method. When I found out it was a possibility, I made the investment in some fermentation weights.
A more hands-on method is to give your jars a stir 1-2 times a day. This will keep the apples rotated so the same areas are not exposed to the air for too long.
Raw apple cider vinegar (optional)
Using a couple of splashes of finished raw apple cider vinegar can help innoculate your batch. It isn’t necessary since the cultures are naturally present in the air, but it can give the ferment a boost.
How To Make Homemade Apple Cider Vinegar
Prepare your apples
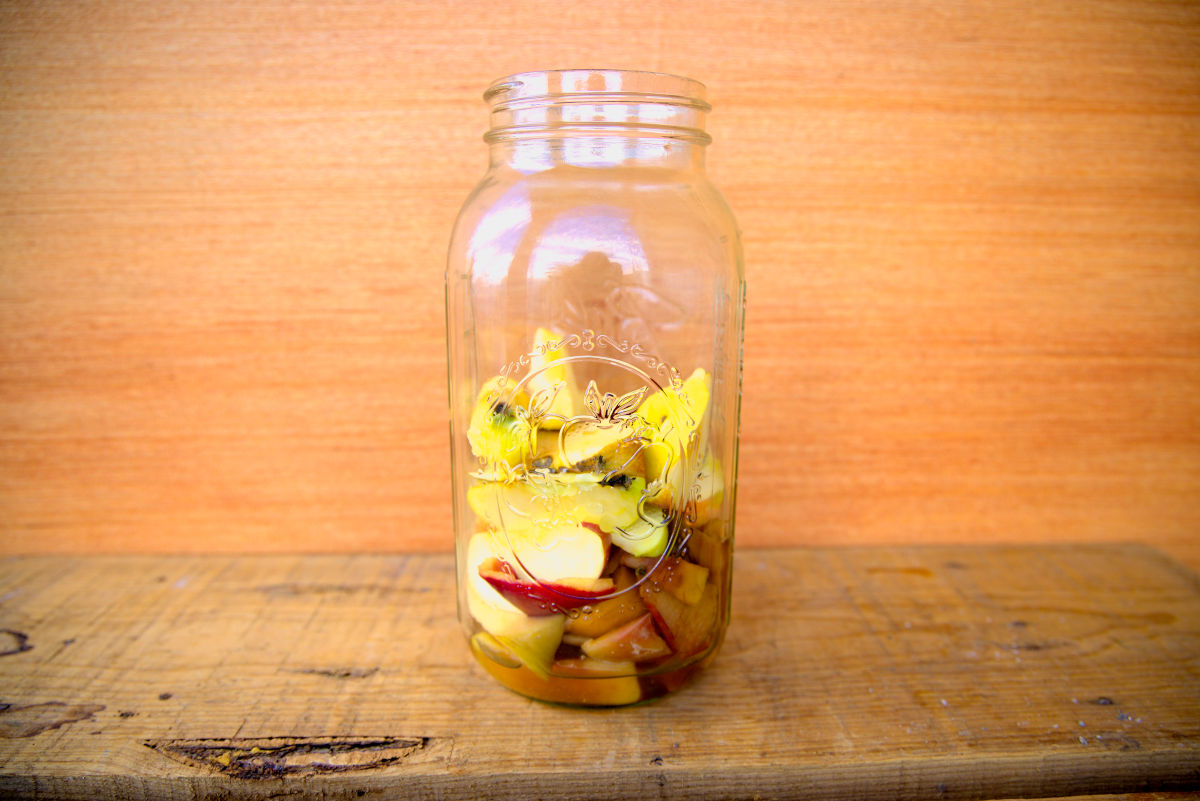
Wash and cut any apples you plan on using that aren’t scraps. They can be chunks or slices of any size. Apple cores and seeds can be included. Add your apples and defrosted scraps to a clean glass jar, filling it halfway. The amount of apple scraps you have will determine the size of the jar you should use. Remember that cleanliness and sterilization of tools and containers are key when fermenting. Unwanted bacteria can ruin your ferment.
Add water & sugar
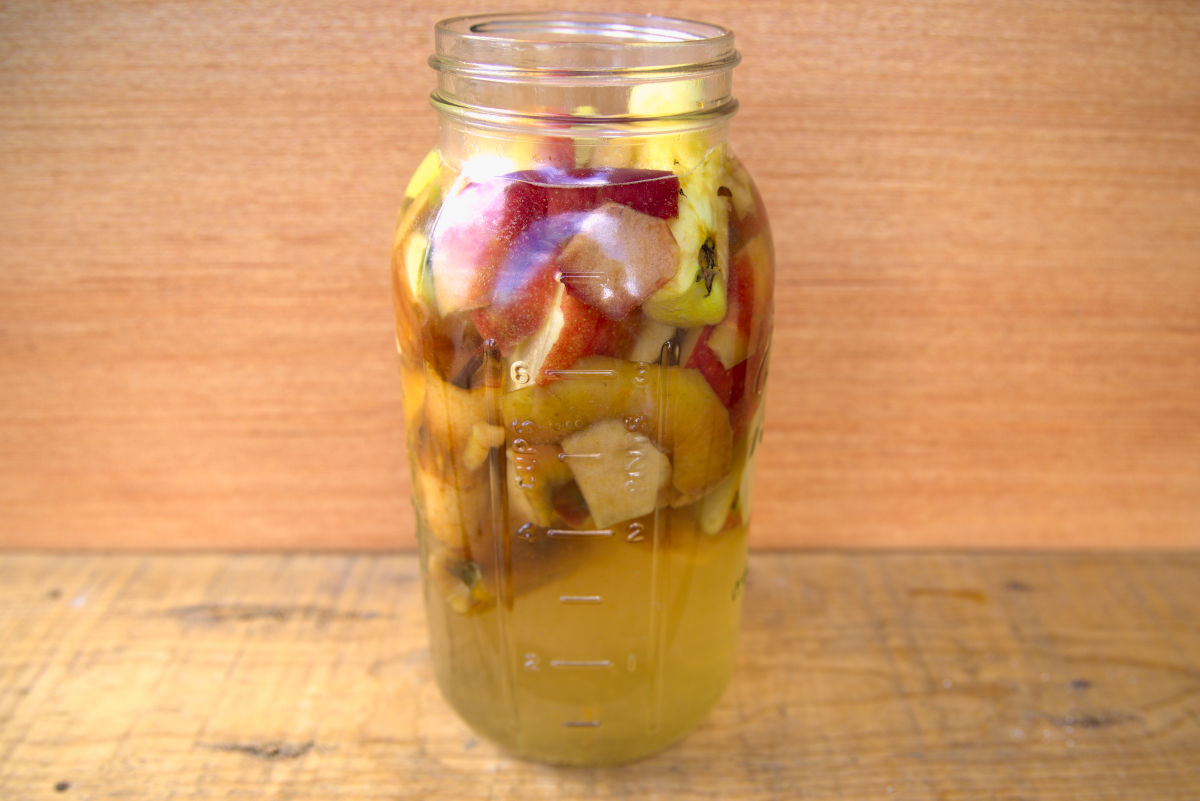
Fill your jars, leaving about 2 inches of headspace, with filtered water. Keep track of how much water you are adding. I do this using a large glass measuring cup. For every cup of water used, add 1 TBSP of sugar. Stir your concoction until all of the sugar has dissolved. If you are adding any raw apple cider vinegar (we add a couple of splashes), now is the time.
Prepare for fermentation
Set your fermentation weight on top of the contents. If you choose a more hands-on method, you can alternatively stir your jar(s) 1-2 times a day for the initial fermenting period to prevent mold growth on any apples exposed to the air. Cover your jar(s) with a breathable cloth (we use a piece of a pillowcase) and hold it in place with a rubber band around the jar’s rim. Place your jar(s) in a dark, cool location. If you want to leave them close, you can cover them with a black pillowcase to shield them from the light.
First stage of fermentation
This initial ferment will last about 2 weeks. During this time the natural yeast found on apples will be converting the sugar into alcohol and carbon dioxide. If you see streams of bubbles inside your jar, you are fermenting!
It is completely normal for your apples to start to brown and the liquid to begin shifting in color toward the cloudy, light brown/yellow we recognize as apple cider vinegar. It is also normal for sediment to build up in the bottom of your jar(s). If you notice any greyish scum forming at the top, skim it off. As long as there is not an unremovable amount of mold, continue your ferment.
Straining
After about two weeks, you’ll be straining the contents of your jar(s). At this point, it will have a pleasant apple cider flavor/scent, but it still needs to develop the tang of apple cider vinegar. Use a fine mesh strainer over a bowl to strain your apples out of the liquid. Return the liquid to a clean glass jar (it can be smaller since your apples are strained out), and cover the jar with your breathable cloth of choice and a rubberband holding it around the rim. Place once again in a dark, cool location.
Second stage of fermentation
This next stage could take anywhere from 4 weeks to 12 weeks (depending on how vinegary you like it). Periodically check your ferment for any signs of mold. If a thin, gelatinous membrane begins to develop on the top, this is good! It is a byproduct of fermentation and is just an accumulation of beneficial bacteria and yeast called “the mother” of the ferment.
Give your vinegar a taste test after 4 weeks and continue to ferment until it’s to your liking. You want to give your batch plenty of time to ferment as it will go through stages of converting the sugars into alcohol and then into vinegar. The acetic bacteria will be at work. Technically, a finished ACV should have a ph between 2 & 3, so you can always check that with a ph tester.
Finished apple scrap vinegar
When it’s time to bottle, use a funnel to fill your chosen jars/bottles with the finished vinegar. These are my favorites for this kind of bottling. Make sure they seal. If it has formed, you can remove and discard the “mother” before bottling, keep it in your vinegar bottles, or set it aside in a separate jar in the fridge to help innoculate another ferment.
Since it is raw vinegar, it will continue to ferment very slowly and strengthen with age. It will keep indefinitely at room temperature, but if you want to maintain the same acidity and don’t plan on using it within a few months I recommend keeping it in the fridge.
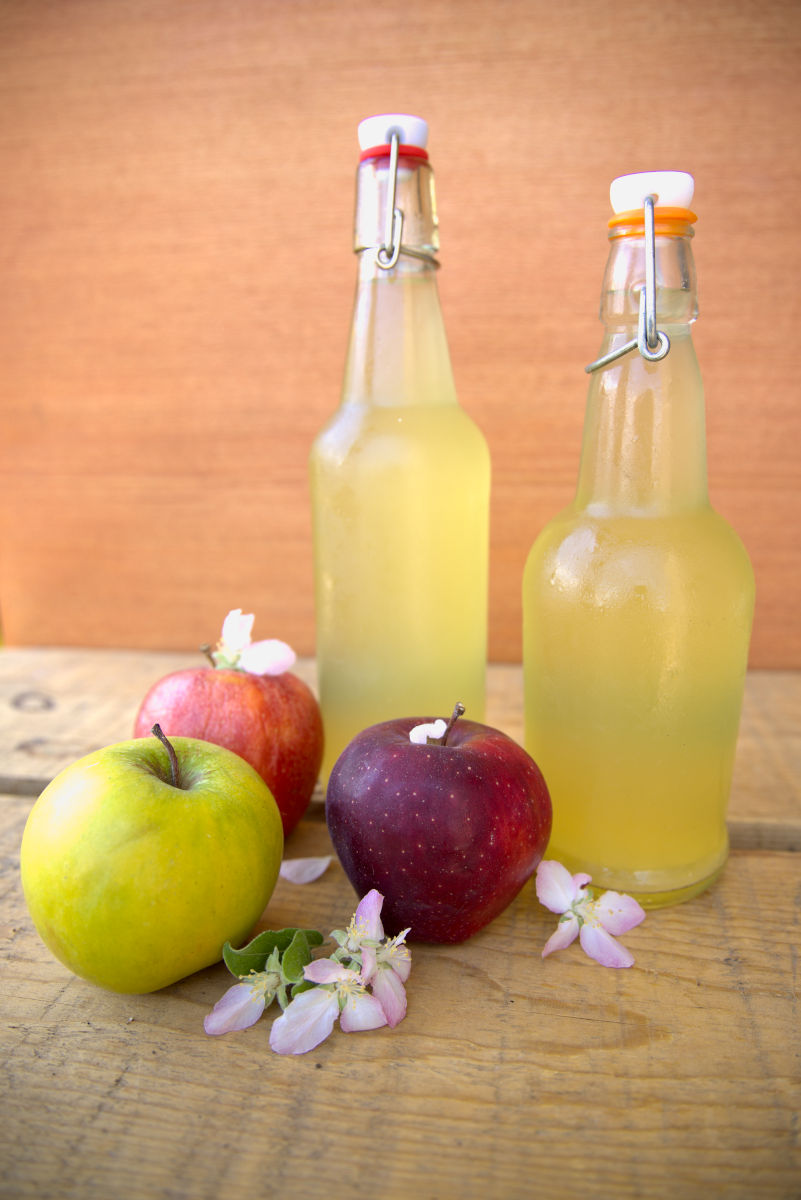
Uses for Apple Scrap Vinegar
While not technically “apple cider vinegar”, apple scrap vinegar still contains that beneficial acetic acid that is known to aid in digestion, improve and balance skin pH, and help with weight loss. It will likely be slightly less acidic and a bit milder than traditional ACV but still loaded with health benefits, antibacterial properties, and delicious flavor.
Use this vinegar in salad dressings, marinades, sauces, cleaning products, beauty products, tonics, and soups!
Make sure you follow proper dilution when using it as a cleaner or in beauty products.
FAQs (Frequently Asked Questions)
Avoid using your homemade vinegar in canning or pickling projects, as it will have a variable acidity. Most canning recipes require the use of vinegar at 5% acidity which has been standardized in bottled vinegar.
Yes, you can use scraps from any type of apple. Organic apples are recommended if possible, as they may have more beneficial microbes.
While you can use whole apples, using scraps is a more sustainable approach, and it allows you to use parts that might otherwise be discarded.
More Recipes Using Fermentation
Healthy guts are happy guts. Try more fermented recipes in your home kitchen.

Leave a Reply