While this simple farmer’s cheese is one I would absolutely recommend to those new to cheesemaking, its simplicity doesn’t deter from its functionality and delectability. To put it more bluntly, this cheese is a classic in my book! It’s one you can make from scratch in under an hour for you, your family, or guests to fight over…because they’ll be coming back for seconds, and thirds, and fourths…you get the point.

Farmer’s Cheese
Farmer’s cheese is a mild, soft, slightly crumbly cheese with a subtle milky flavor that takes on added flavorings well. This version is made by curdling milk with an acidic ingredient (either white vinegar or lemon juice), and it firms up enough to be pressed into a beautiful disk for storing and serving.
Making Farmer’s Cheese
Heat milk. Heat the milk in a large pot over medium, stirring frequently with a wooden spoon. Once it reaches 190 degrees F, turn off the heat and remove the pot from the stove.
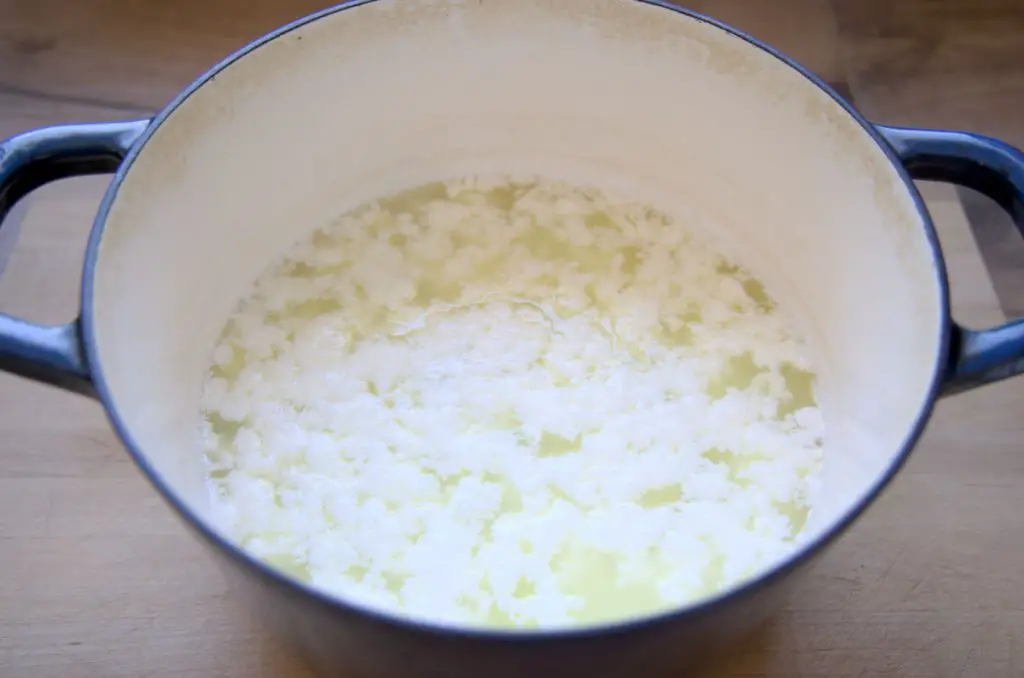
Add vinegar. Add your acid (white vinegar or lemon juice) and stir gently to combine.
Let sit. Allow the cheese to sit and curdle for 15 minutes.
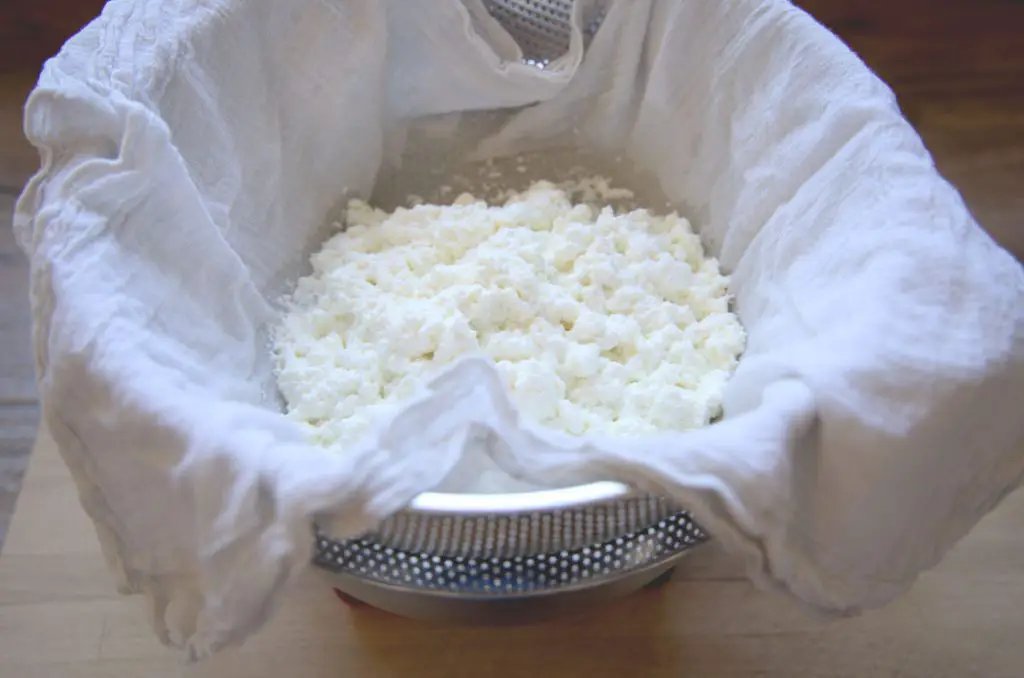
Strain. Pour or ladle the contents of the pot into a cheesecloth-lined strainer placed over a bowl (to catch the whey).
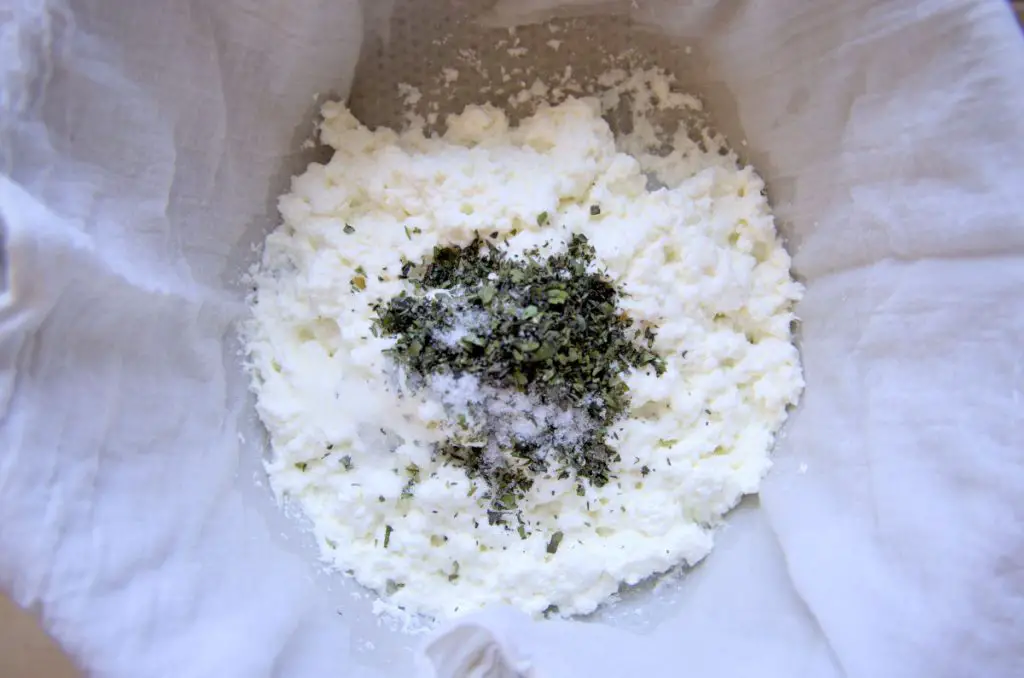
Add flavorings. If using, mix in salt and other flavorings with a fork.
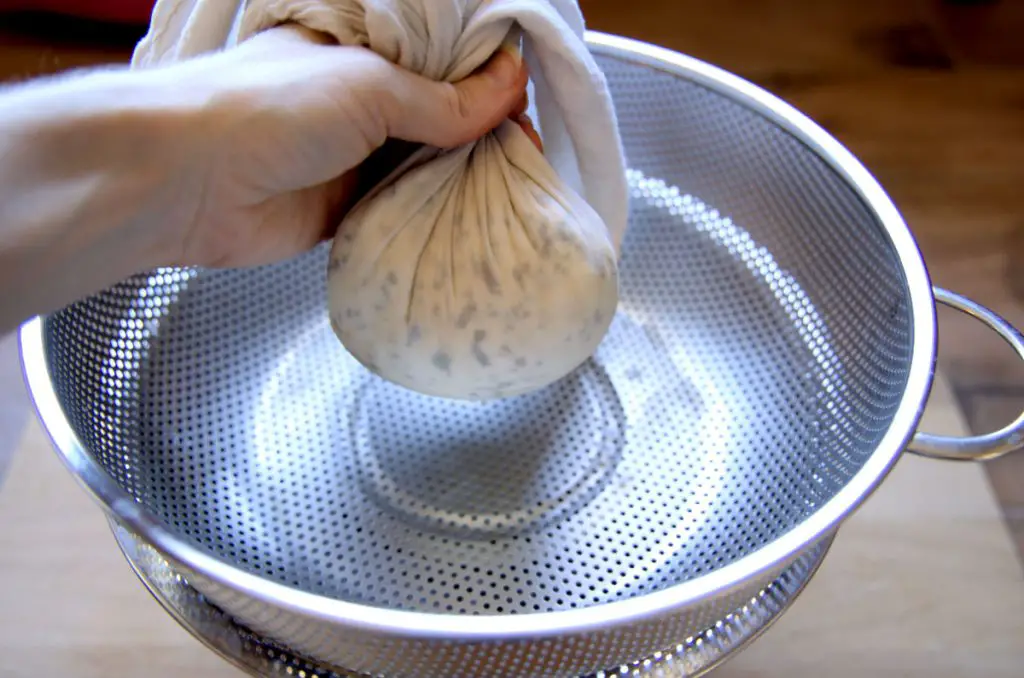
Squeeze. Gather the ends of the cheesecloth and give it a gentle twist so that it forms the cheese into a ball shape and squeezes out additional whey. For a creamier cheese, you don’t want to remove all the whey. You can add back in strained whey if it becomes too crumbly in this part.
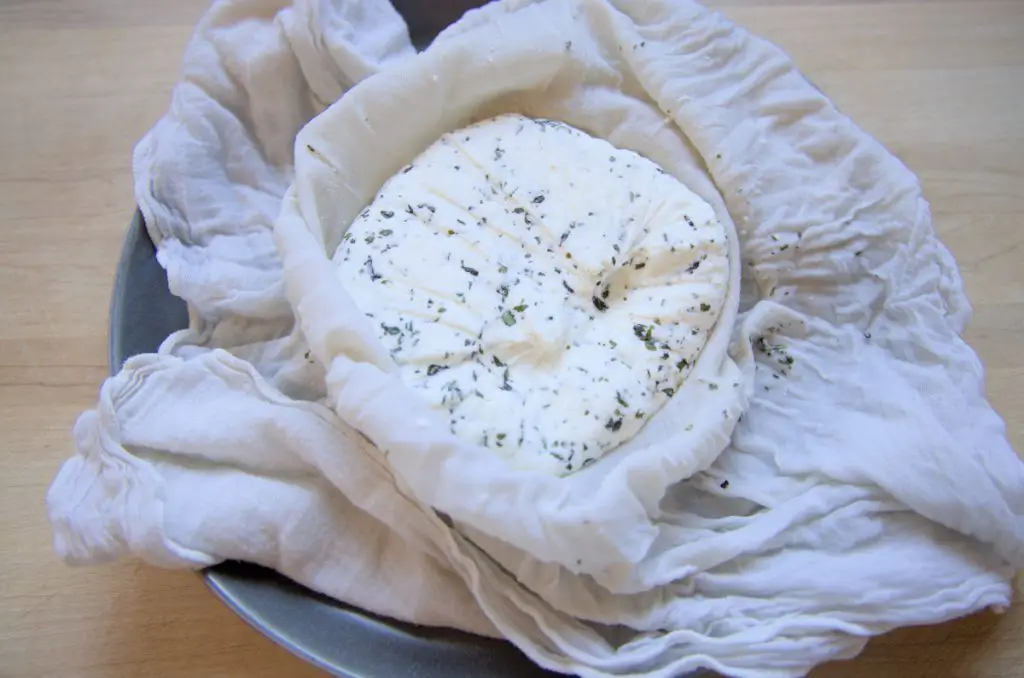
Test. Open up the cheesecloth to test for texture and taste. Squeeze out more whey if it’s too wet, add some back in if it’s become too dry, or adjust seasoning if using.
Press & chill. Form the cheese back into a ball by gathering and twisting the cheesecloth. Place the cheese on a small plate with the knob down and use another small plate to press down the cheese until it forms a disk 1-2” thick. Stick the plate of wrapped cheese in the fridge for an hour to solidify its form. Enjoy!

Optional Flavorings
The beauty of farmer’s cheese is the flavor is naturally mild, so it is a great base for adding either savory or sweet flavorings.
Some of my favorite combinations include herbs, maple cinnamon walnut, minced dried veggies, garlic & herbs, and hot pepper & cilantro.
Storing & Using
If you don’t devour it within hours of making it, this cheese should last 7-10 days in the refrigerator. Store it wrapped in plastic wrap or in an airtight container for best preservation.
You can freeze this cheese by wrapping it firmly in plastic wrap and placing it in a ziplock bag in your freezer or by vacuum sealing it. The texture of the cheese upon defrosting will change slightly and become more crumbly, but it is still wonderful for use in recipes. It will store for 3-6 months this way.
While my favorite way to enjoy this cheese is spread on homemade bread or crackers, you can also use your farmer’s cheese in baked pasta dishes, on salads, spread on sandwiches, as a ravioli filling, in cheese pastries, as a crepe filling, and more!
FAQs (Frequently Asked Questions)
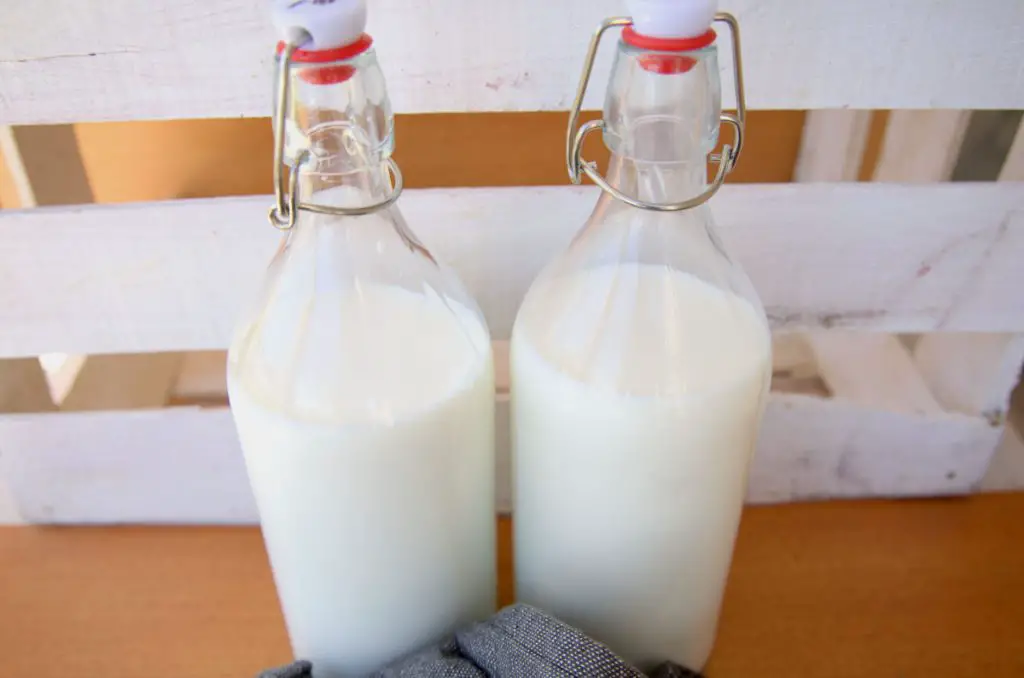
While whole milk will yield the creamiest results, you can use milk with any percentage of fat. Keep in mind that using low-fat or skim milk may have a slightly different texture and flavor. While traditionally raw milk was used, pasteurized milk works perfectly fine for making farmer’s cheese at home.
Making farmer’s cheese at home is a relatively quick process. It typically takes about 1 to 2 hours from start to finish, including heating the milk, adding the acid, and straining the cheese.
The leftover whey from making farmer’s cheese can be used in various ways. It’s rich in protein and nutrients, so you can use it in smoothies, soups, or as a substitute for water in baking recipes.
More From Scratch Dairy
Transform milk into countless delectable products in your home kitchen.

Farmer’s Cheese
Equipment
- Dutch oven or large pot
- cheesecloth
- strainer
- instant-read or candy thermometer
Ingredients
- ½ gal whole milk
- ¼ c white vinegar
For Herb Cheese
- 2 tsp salt
- 2 tsp rosemary, minced
- 1 tsp oregano, minced
- 2 tsp basil, minced
- 1 tsp parsley, minced
Instructions
- In a large pot, heat the milk on your stove over medium. Stir frequently until the milk reaches 190℉.
- Turn off the heat and remove the pot from the burner.
- Add the white vinegar and stir gently to combine.
- Allow the mixture to sit for about 15 minutes while the curds form.
- Line a strainer over a bowl with a cheesecloth. Pour or ladle the pot's contents into the lined strainer for the cloth to catch the curds.
- If using, add the herbs and salt to the cheese curds and gently mix with a fork.
- Gather the cheesecloth around the cheese and twist it to form a ball. Gently squeeze to release more whey, but you don't want it completely dry.
- Open up the cheesecloth to test the cheese for texture and flavor. You can add back in whey if it has become too crumbly or add additional seasonings for your desired flavor.
- Form the cheese back into a ball by gathering up the cheesecloth with a gentle twist.
- Place the wrapped cheese knob side down on a small plate. Use another small plate to press down on the cheese until it forms a disk 1-2" thick.
- Place your plate of wrapped cheese in the fridge to set for at least an hour. Remove the cheesecloth and enjoy!
Notes
- Save your whey for use in smoothies, breadmaking, or soups.
- Check out the blog post for other flavoring ideas.

Very easy to make! 2 tsp of salt is too much
Easy to follow directions. I made it and added some of the herbs to it. It is delicious! Thank you for sharing!