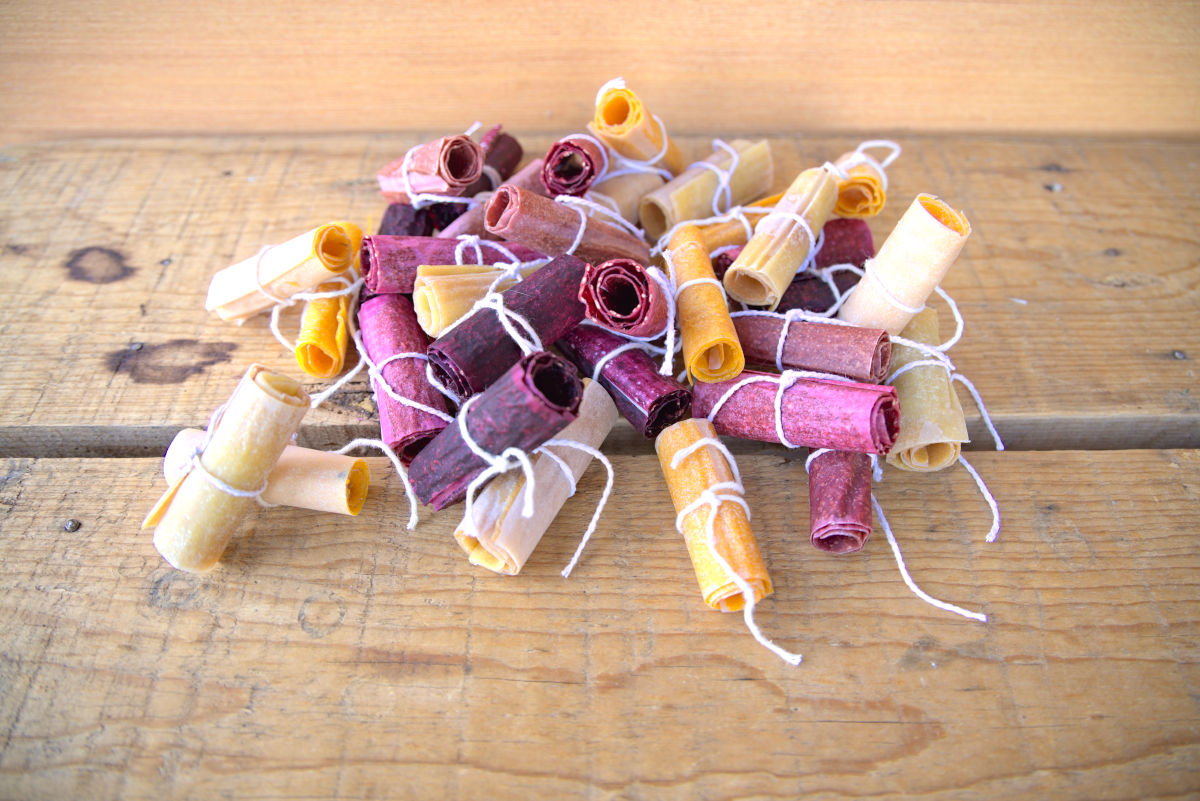
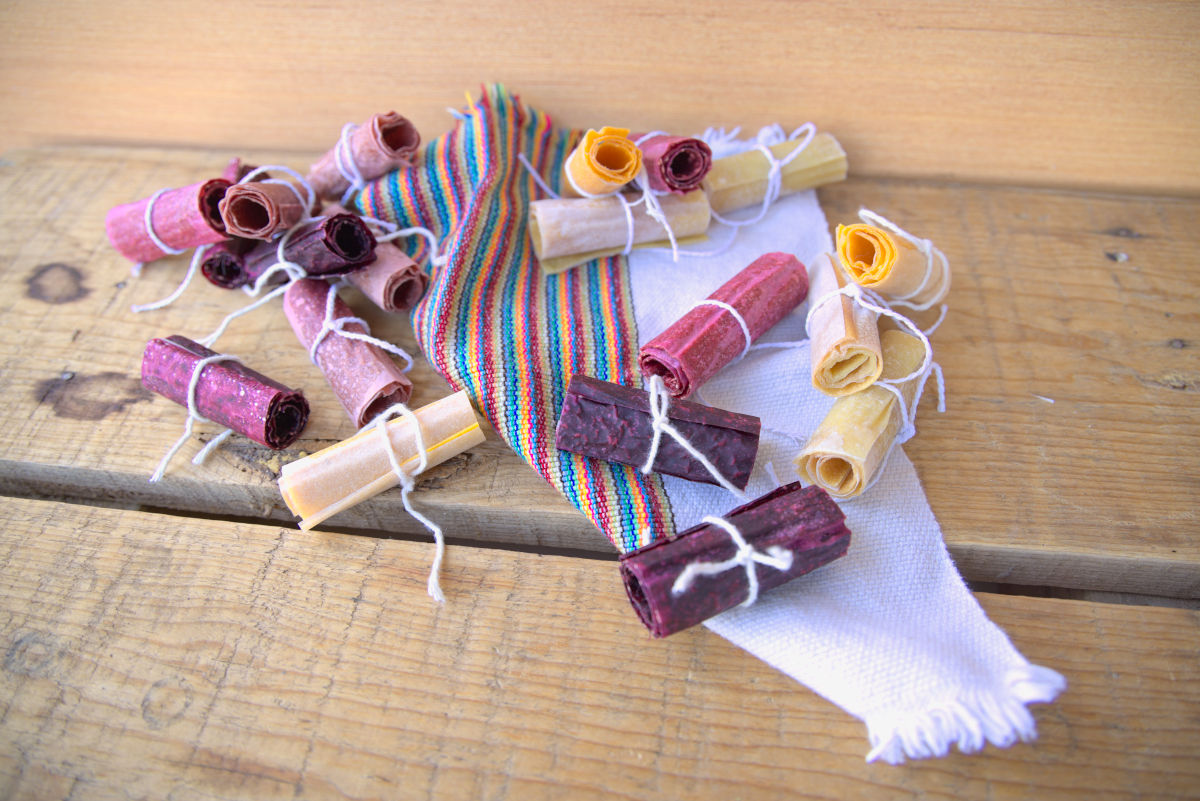
If you’ve ever found yourself reminiscing about those fruit rollups you had as a kid, you’re not alone. What if I told you that you could make something similar at home with just fruit and no added sugars, artificial ingredients, or preservatives? Well, you might not believe it until you try it, but learning how to make fruit leather will seriously up your snack game.
How to Make Fruit Leather
Whether you have extra fresh produce to use up, need a healthy snack to satisfy your sweet tooth, or have kids in need of healthier snack alternatives, fruit leather is your answer. They’re insanely easy to make, and you can get as creative as you want with flavors. I love to use the dehydrator to make these, but you can just as easily use your oven.
The Basics for Fruit Leather
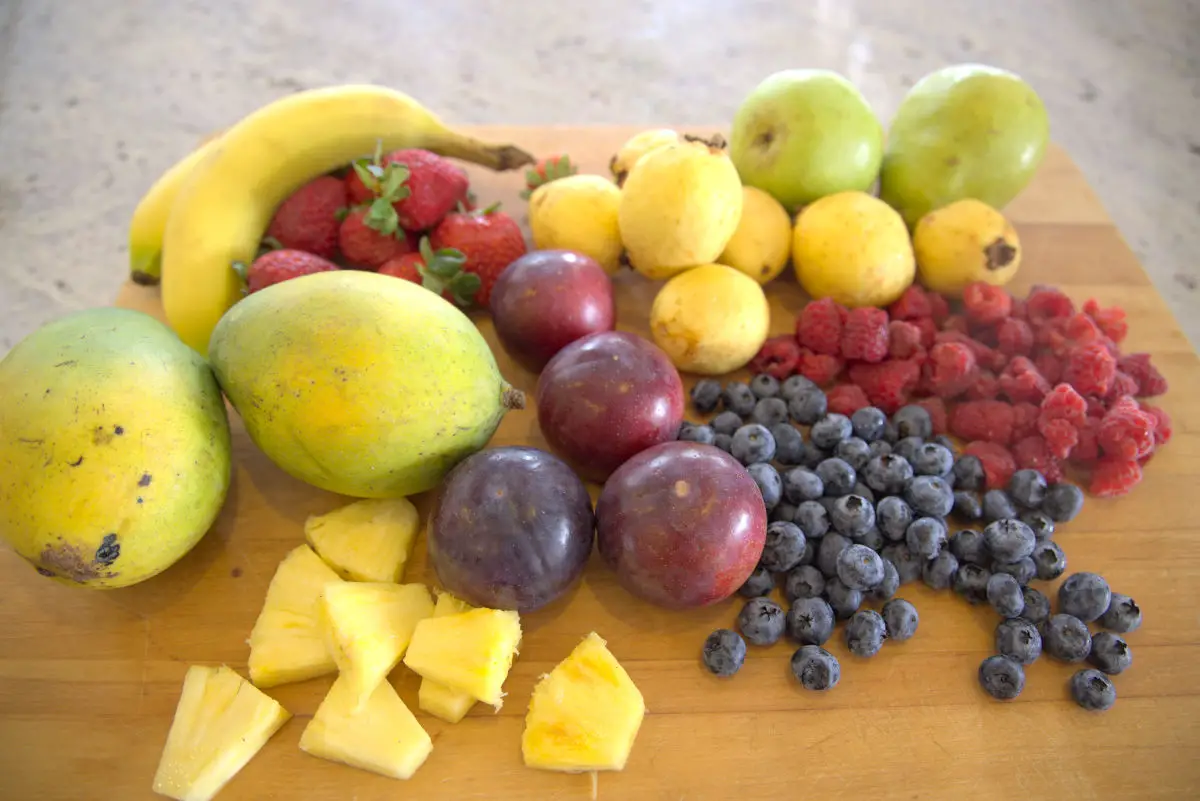
Believe it or not, the only ingredients you need for this recipe are ripe fruit and possibly fruit juice.
Prepping your fruit. Make sure you give any fruit you won’t be peeling a good wash. Different fruits will require different preparation at this point. Peel anything with a skin, pit anything with a central seed, core anything with a larger core, and boil down anything that is hard. The blender will take care of the rest. If you want to get rid of any large seeds, run the mixture through a sieve or food mill after blending. I like to leave the smaller berry seeds in my fruit leather, but guava seeds are best removed.
Let’s talk sweeteners. I make all of my fruit leather without any added sweeteners, but if you feel that the fruit is too tart by itself, try adding honey, maple syrup, or agave. Add 1 TBSP at a time to the blender until it is to your liking. You could also use naturally sweeter fruits like apples or bananas to boost the sweetness.
Get your tools together. You’ll need a blender, parchment paper (you can use silicone sheets if you prefer), baking trays for the oven or dehydrator trays, and scissors or a pizza cutter for cutting your final product into portioned strips.
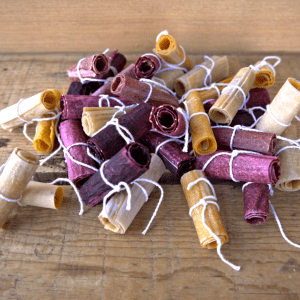
Preservation. I like to make a large batch all at once, roll them up, and keep them in the fridge. They last about 2 months like this. A great alternative for even longer-lasting leather is to roll them up in their parchment paper and keep them in a sealed bag in the freezer. They will keep around a year like this! You can easily thaw a few in the fridge prior to eating.
Tips For Success
If you want to preserve the lighter color of some of your fruit leathers when they’re dehydrating, adding lemon juice will do so. I like to add lemon juice when I’m making lighter-colored leathers like mango pineapple, guava pear, apple, or peach.
If you want to thicken your pureed fruit mixture, try adding banana. If your mixture is too thick, try adding a splash of fruit juice. For some fruits that are naturally hard like apples, consider cooking them down on the stove before adding them to the blender.
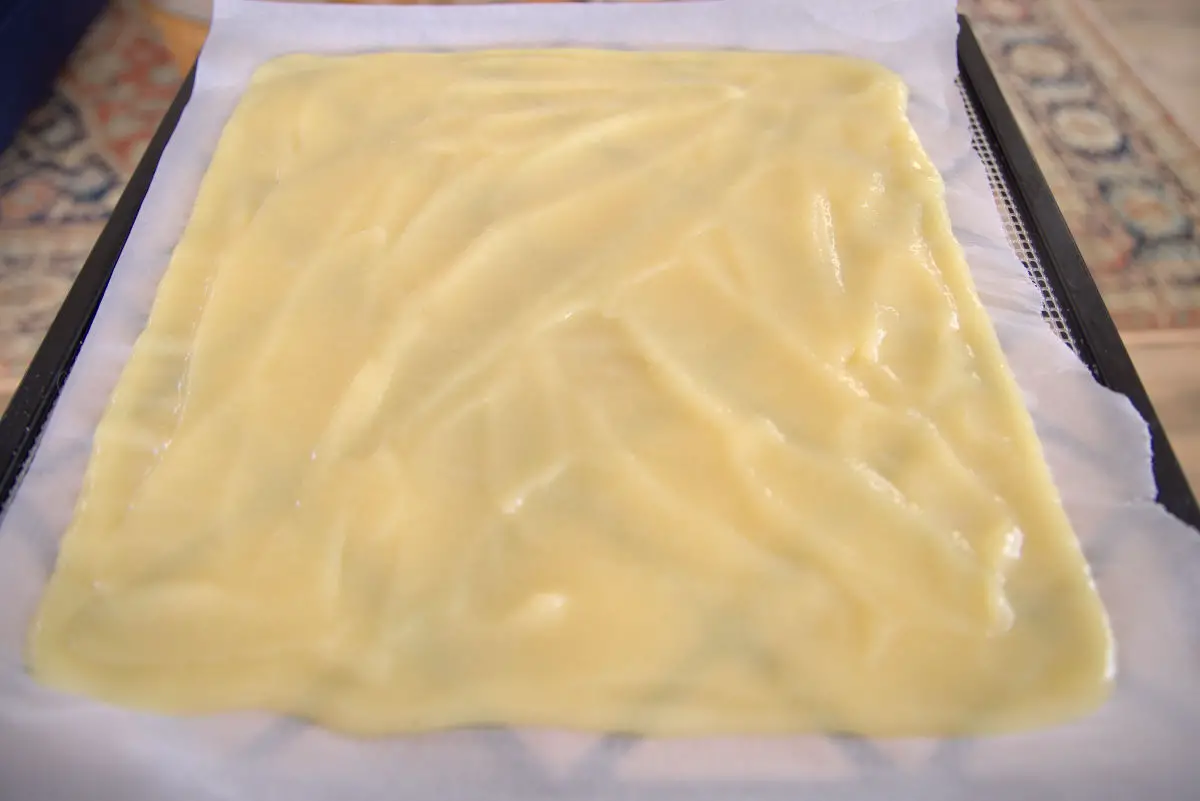
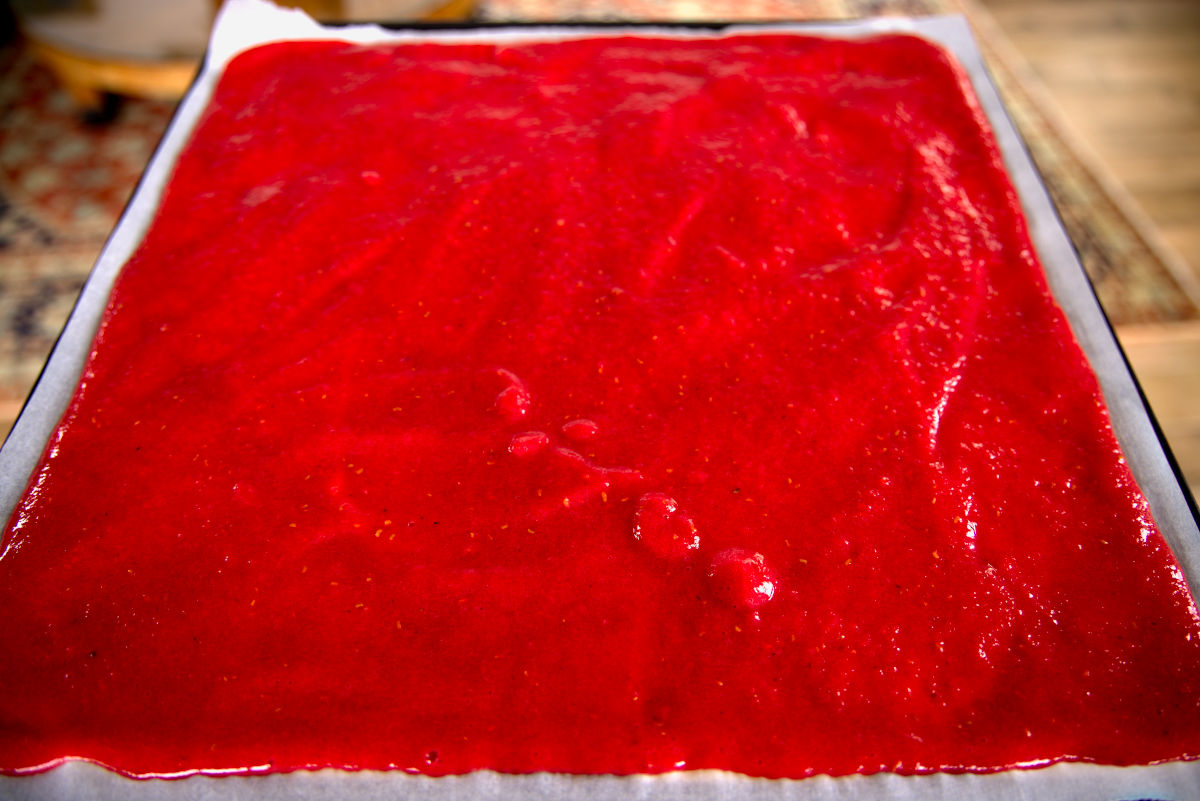
Spread your puree thinly, but not too thinly. You want to spread it to about ⅛-¼ inch thickness. If you can see the parchment paper through the puree, you’ve spread it too thinly.
When you pour it onto the sheet, spread it from the inside to the outside. The outside will cook quicker than the inside, so this method will help prevent the outside from being spread too thin. You can use the back of a spoon or a rubber spatula for this. Gently shaking your tray from side to side can help even everything out.
Follow your dehydrator’s manufacturer’s instructions on temperature and timing for your fruit leathers. Ours cook at 135 degrees for about 8 hours. Check your fruit leathers at 4 hours and every hour or two after. If you’re using your oven, set it to a temperature of 200 degrees F if possible. Once again, check them at 4 hours and then every hour or two after. In general, your fruit leather will be ready in 6-10 hours.
Your fruit leather is ready when it is no longer sticky (it could still feel slightly tacky), doesn’t indent when you lightly press on it, is smooth, and has lost its original shine.
Use parchment paper and cut it to fit the size of the tray. After they are dehydrated, It’s so easy to just trim the paper, use scissors to cut them into strips, and then roll them up for storage. It’s possible to spread your puree on silicone mats, but I find the storage much easier with parchment paper. Do you!
Make sure to let the fruit leather dry completely before storing it to prevent any condensation from building up in your storage container.
Fruits to Choose
There are tons of possible fruit variations! I’ve even seen some recipes adding herbs, vegetables, and spices.
Common fruits to use include peaches, pears, apples, bananas, strawberries, raspberries, blueberries, blackberries, pineapple, mango, plum, grapes, guava, apricots, and cherries.
You can even use frozen or canned/jarred fruit! Just thaw your frozen fruit before using it and drain off any excess liquid.
Here are a few simple flavor combinations that you must try! I can’t possibly pick my favorite. Each recipe only makes one sheet of fruit leather, but I recommend multiplying them to fit however many trays you have.
Strawberry-Banana
- 8 oz strawberries
- 2 large bananas
Strawberry-Raspberry-Blueberry
- 8 oz strawberries
- 6 oz raspberries
- 6 oz blueberries
Pineapple-Mango
- ¼ pineapple
- 1 mango
- 1 tsp lemon juice
Plum-Raspberry
- 4 plums
- 6 oz raspberries
Pear-Guava
- 2 pears
- 7 guavas
- 1 tsp lemon juice
*strain mixture through a sieve after blending
FAQs (Frequently Asked Questions)
Absolutely! Cinnamon, vanilla extract, or citrus zest can add interesting flavors. Experiment with small amounts and adjust to your taste.
Yes, you can use frozen fruit. Thaw it before blending, and you may want to drain excess liquid to achieve the right consistency.
More Ways to Use Your Fruits
Fruits contain natural sugars that help you feel better about indulging in that sweet tooth. Here are more ideas for adding fruit to your life.
- Homemade Apple Cider Recipe
- How to Make Dried Cranberries (Naturally Sweetened)
- How to Dehydrate Fruit
Healthy Fruit Leather
Equipment
- dehydrator (optional)
- blender
Ingredients
- ripe fruit (see above for recommendations)
- sweetener (if desired, use honey)
Instructions
- If using an oven, preheat it to 200℉.
- Prepare fruit. Wash fruit that needs it and peel, pit, or core those that contain skin, pits, or cores. If you are dealing with a harder fruit, roughly chop it and soften it by simmering it in a pot on the stove.
- Add fruit to a blender and blend until smooth.
- Taste and add sweetener if needed.
- Prepare dehydrator trays or baking sheets with parchment paper. Cut the parchment paper to size.
- Pour the puree onto the paper and use the back of a spoon or spatula to spread it evenly to between a ⅛-¼ inch thickness.
- If using a dehydrator, place the trays in at 135° for around 6-10 hours. If using an oven, place them in for around 4-8 hours. For either option, check your fruit leather after 4 hours and every 1-2 hours after until dry. When they have lost their initial shine, aren't wet, and a gentle press doesn't leave an imprint, then they are done.
- Allow them to cool completely at room temperature.
- Use shears to cut the fruit leather and attached parchment paper into strips. lay them flat or roll them up into a storage container, jar, or sealed bag. You can store them in the fridge or freezer.
Notes
- The blog post contains five recommended fruit combination recipes for fruit leathers if you want to start with something tried and true.
- If you are adding a sweetener, try to stick with natural ones such as honey, agave, or maple syrup.
- Adding lemon juice will help preserve the light color when dehydrating.
- The blog post contains helpful information on how to thicken or thin out your puree to a desired consistency.
- If stored in the fridge, these last at least 2 months for us. If stored in the freezer, they will last around a year. If mold appears, they have spoiled.

Leave a Reply