Is your garden overflowing with ripe tomatoes? Are you finding it hard to stay away from all the fresh and in-season tomatoes at the market? Learning how to make dried tomatoes at home is a fun way to preserve this summer crop. We’ll explain how to use the sun, a dehydrator, or your oven to make delicious dried tomatoes that will last you months. My favorite recipe (included here) uses fresh herbs for homemade herb-dried tomatoes.
How to Make Dried Tomatoes
When you’re missing the bold flavors of fresh tomatoes in the winter, having dried tomatoes on hand can be a lifesaver. With all their excess moisture removed, they offer a condensed sweet and tangy flavor ideal for amping up many dishes. You can save on some serious space by using this preservation method, as several pounds of tomatoes will condense down to a few small jars when dried.
“Are these the same as sun-dried tomatoes?” Actually, most sun-dried tomatoes sold commercially are dried using machinery. So, yes! Trust me, your tomatoes dried indoors will still offer the same brilliant flavor as those truly “sun-dried” ones. Especially if they’ve ripened on the vine and been picked straight from your backyard or a local farm.
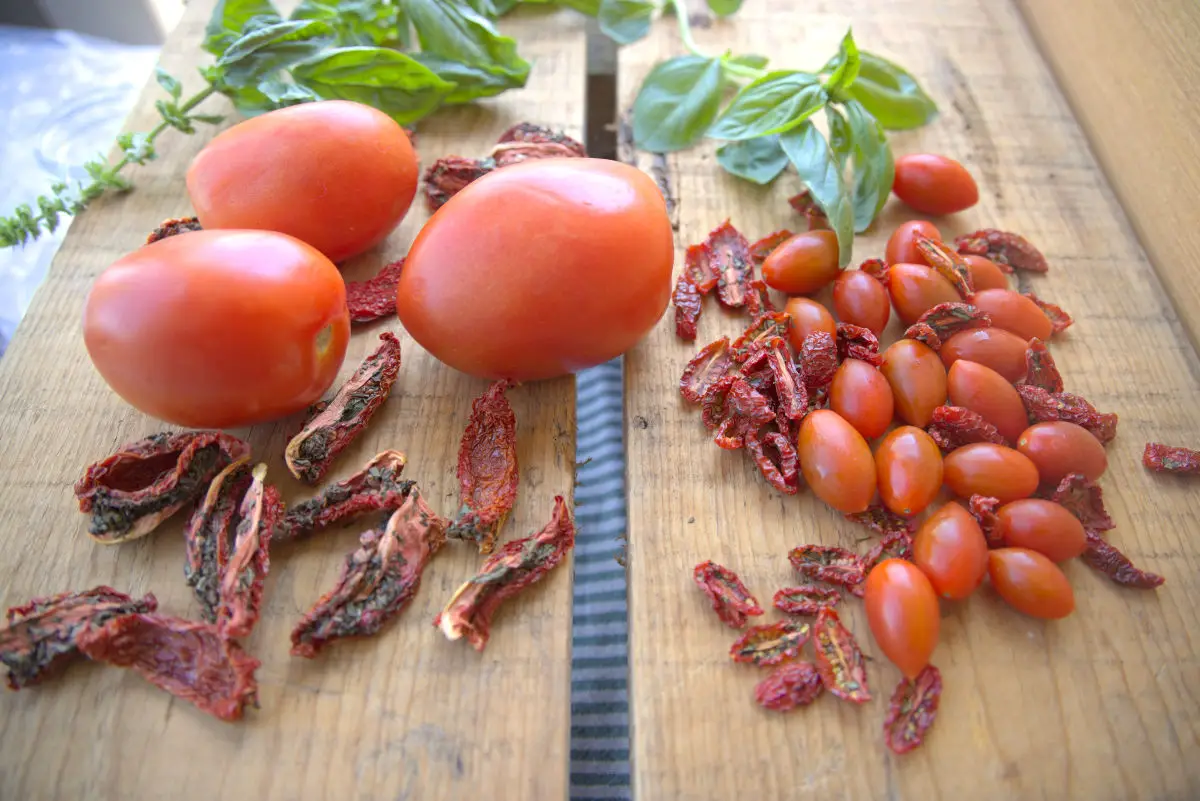
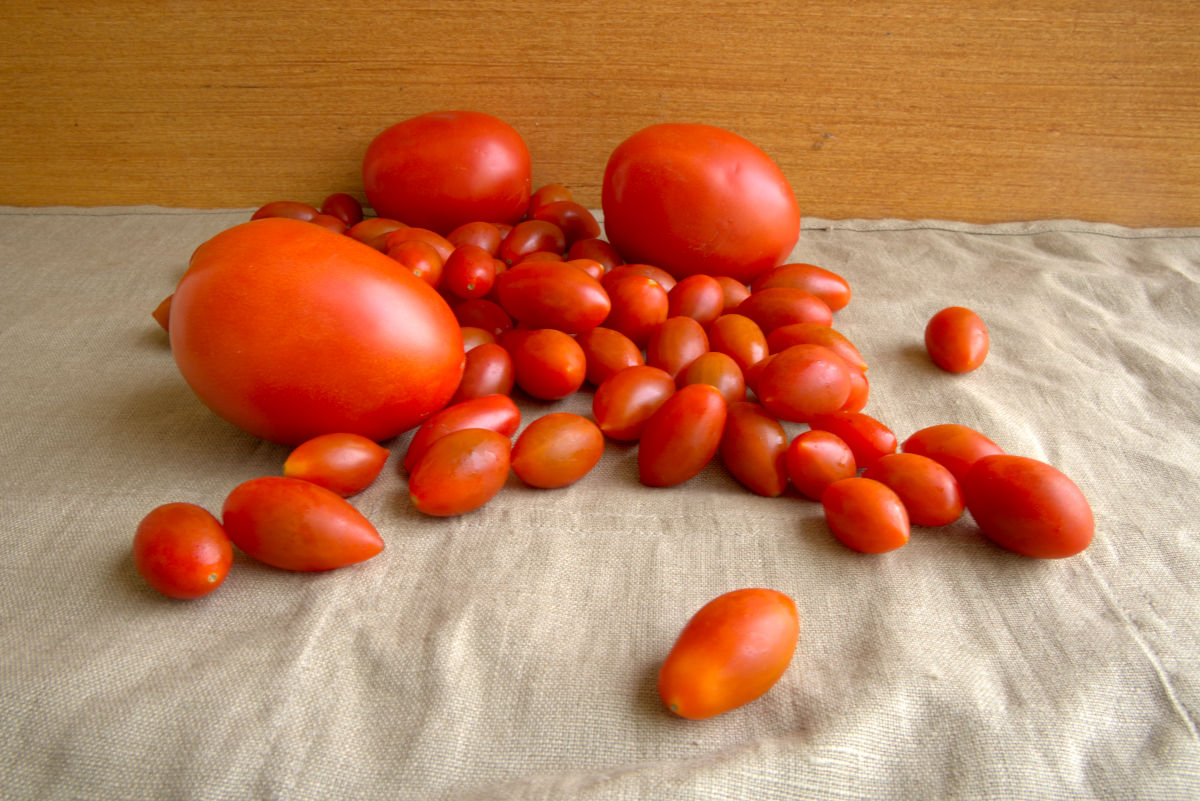
Choosing Your Tomatoes to Dry
You can’t go wrong here. If you enjoy the tomato flavor raw, you’ll enjoy it even more (and more intensely) when dried.
Cherry and grape tomatoes tend to have less water and seeds, making for a quicker drying process. They’ll keep their remarkable sweet flavor.
Plum tomatoes like Roma and San Marzano are fleshier tomatoes that dry beautifully. These are my personal favorites!
Larger beefsteak tomatoes can also be dried successfully. While not the meatiest option, they can easily be sliced for drying.
Method 1: The Sun
This one won’t be for everyone. There’s a reason why most truly sun-dried tomatoes come from places like southern Italy, and that reason is the weather.
Tomatoes need a hot, arid climate to dry properly in the sun. We have humid, rainy summers where we are, so when the tomatoes are peaking, unfortunately so are our moisture levels.
But, if you live in a hot, dry climate, it’s definitely worth trying! Things to be prepared for are protection from bugs and other animals (a cheesecloth draped over is a good option), cooler night temperatures when they should be brought inside, and the use of drying trays or screens to help with circulation. This method takes the longest of the three- anywhere from several days to a couple of weeks.
Method 2: The Oven
This is a great option for those who don’t have a dehydrator as an appliance and want to get the job done relatively quickly.
One disadvantage of the oven is that you’ll be heating up the house for many hours during most likely a hot time of the year. But if you have some cooler corners to escape to, it shouldn’t be too bad.
You’ll want your oven on the lowest heat setting in order to dry and not cook your tomatoes. Anything below 250 degrees F should work well, and if your oven doesn’t go that low you can use the “warm” setting. Don’t forget to place parchment paper on your trays before arranging your tomatoes (not touching each other) to bake.
You’ll want to monitor your oven closely for doneness, as drying times can vary drastically based on size & moisture of the tomatoes and the temperature of your oven. They will likely take around 4-8 hours, but after 3 hours I would check on them every hour or half hour (depending on how quickly they’re drying out).
To speed up the process, after 2 hours of cooking you can use a spatula to press down on the tomatoes and help expel more moisture. You can also flip your tomatoes over halfway through the drying process to help them dry more evenly and quickly.
Method 3: The Dehydrator
This is my method of choice and another awesome reason to invest in a dehydrator.
Using a dehydrator is the most hands-off way to get perfectly dried tomatoes. We remove our tray liners because we find that it helps the tomatoes dry more evenly. Make sure your tomatoes are arranged with the skin side down and with room between each other. Set your dehydrator to 225 degrees F and wait for the magic to happen.
Drying times can vary based on the size & moisture content of your tomatoes and the brand of your dehydrator. Our smaller tomatoes take around 15 hours and the larger ones take closer to 20 hours.
When Are They Done?
For the maximum shelf or fridge life of your dried tomatoes, you’ll need to make sure your tomatoes are mostly dried out. You can consider them done when they are very dry, but still slightly flexible. You don’t want them entirely crisp or brittle, and you do want them to have maintained some pliability. But, too much moisture left in them will lead to faster spoilage.
How to Store Dried Tomatoes
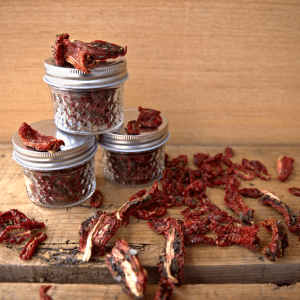
Once you’ve learned how to make dried tomatoes, you can choose to store your tomatoes in a cool, dark location, in the fridge, or in the freezer. It is best to store them in an air-tight container with a good seal. We use small mason jars for storage.
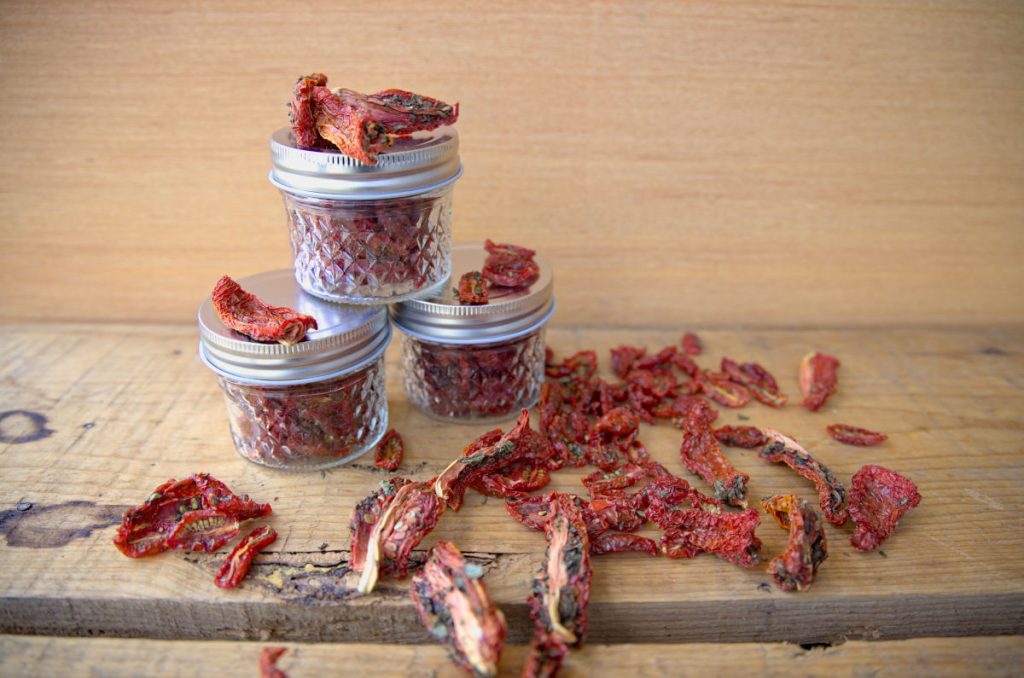
If you’ve dried out your tomatoes well, storing them in a cool, dark location is ideal as far as saving on valuable fridge or freezer space. But, it can be riskier for a long shelf-life. They should last around 6 months if properly dried before storing. I recommend storing your dried tomatoes in many small jars because moisture will inevitably re-enter as you open them for use. Reintroducing too much moisture will lead to moldy, unusable tomatoes. After the first week of storing them, check your jars for signs of humidity inside. If there are signs of moisture, you can dehydrate your tomatoes longer before returning them to their jars.
If you prefer to keep your tomatoes a bit moist or are worried about them spoiling in the pantry, it’s safest to keep them in the fridge. Submerging those left a little moist in olive oil will help with even longer preservation in this case. Feel free to add additional dried seasonings, fresh seasonings, or freshly minced garlic at this stage if you choose to add olive oil. If the smell ever becomes rancid, that’s a cue to throw them out.
If you have the space, freezing your dried tomatoes is definitely an option. You can pack them into freezer bags and count on them to last for up to a year. If you want to pack them all into one bag, freeze them spaced out on a tray first and then combine them in a bag.
Using Dried Tomatoes
When adding them to soups, stews, or sauces you don’t have to worry about rehydrating them prior to use. Your tomatoes will reconstitute naturally as they’re slowly cooked in the liquid.
Otherwise, rehydrate them for use in breads, casseroles, frittatas, pastas, salads, dips, pizza, chicken or shrimp dishes, and more! I’m sure you’ll come up with plenty of ideas for their use once you’ve given them a taste.
Rehydrating: Soak your tomatoes in warm water for 30 minutes or until they have softened. You can even use or save that flavored, nutritious water.
You’re ready to make and enjoy homemade dried tomatoes for months to come! These savory bites that pack a serious punch won’t leave you disappointed.
FAQs (Frequently Asked Questions)
If you’re someone who dislikes tomato peels, blanching (briefly boiling, then cooling) can make peeling tomatoes easier. Otherwise, leave the skin on for added texture.
Yes, you can dry tomatoes without herbs for a more neutral flavor. Season them later when using in recipes.
Absolutely. These are the herbs I enjoy, but feel free to experiment with whatever fresh herbs are in your garden. Maybe even throw in some minced garlic.
More Ways to Preserve Tomatoes
Those ripe, summer tomatoes don’t last forever, but with a bit of preserving, you can make them last through the year.
Herb-Dried Tomatoes
Equipment
- dehydrator (optional)
Ingredients
- tomatoes
- fresh oregano, basil, thyme, and rosemary
- salt
Instructions
- Wash tomatoes and cut them into halves, quarters, or slices depending on their size.
- Wash herbs and mince. Use 1.5 TBSP per 2 lbs of tomatoes.
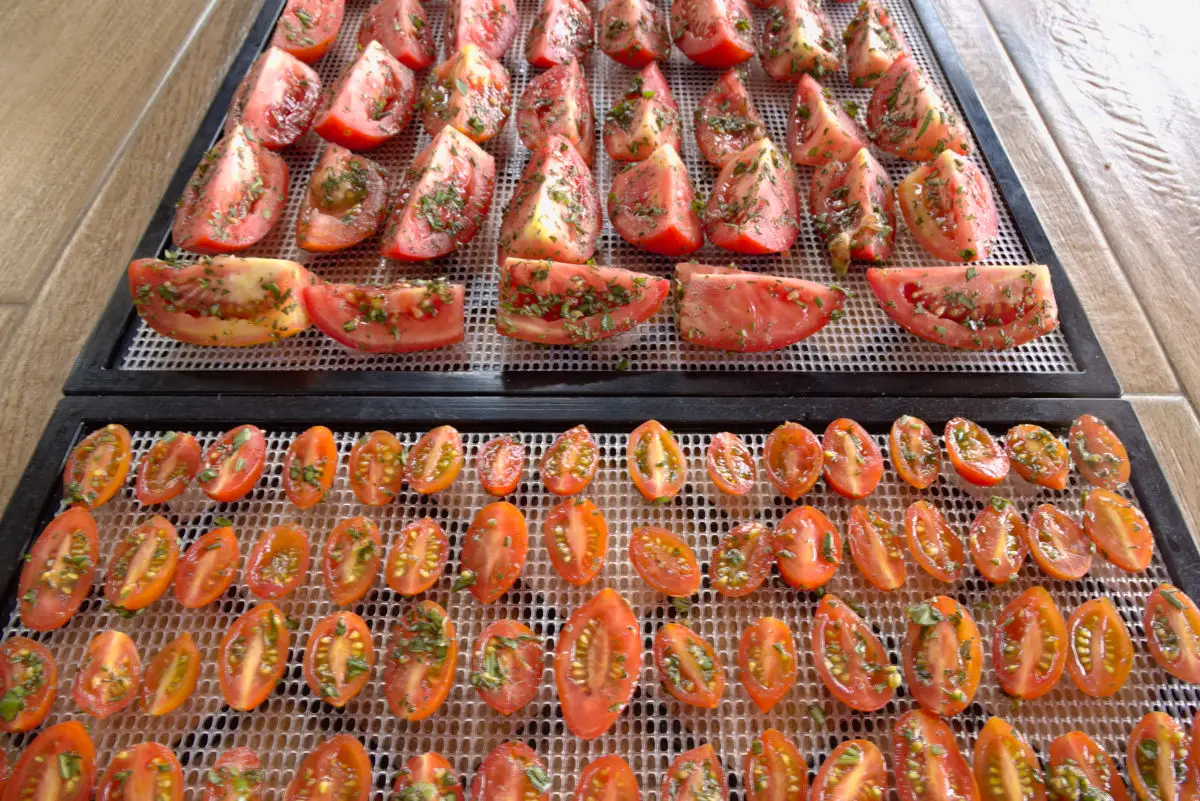
- Add tomatoes to a bowl. Separate into multiple bowls by the size of tomatoes if you are using multiple varieties. Add herbs and gently toss.
- Place cut tomatoes on drying racks or on baking trays with parchment paper. Don't overlap the tomatoes. Place equivalent-sized tomatoes on the same rack or tray to make their removal when finished easier.
- Sprinkle lightly with salt.
- Dry in an oven at 250 ℉ or below or in a dehydrator at 225 ℉. In the oven, they will take around 4-8 hours, and in the dehydrator, they will take around 15-20 hours. Dry until mostly dried, but still slightly chewy.
- Store in airtight containers in a cool, dark location or in the fridge.* If you want to store them in the freezer, split them into small bags or freeze them separated on a baking tray before combining them into one bag.


Leave a Reply