Nothing compares to the satisfaction of eating rich, slightly sour, creamy homemade yogurt….I mean as far as yogurt consumption goes. Learning how to make yogurt is simple, yet full of surprises. Just as in other fermentation processes, you are at the mercy of nature a bit, and part of the fun is in the experimentation. With milk and some live cultures, you are on your way to simple & flavorful plain or greek yogurt.
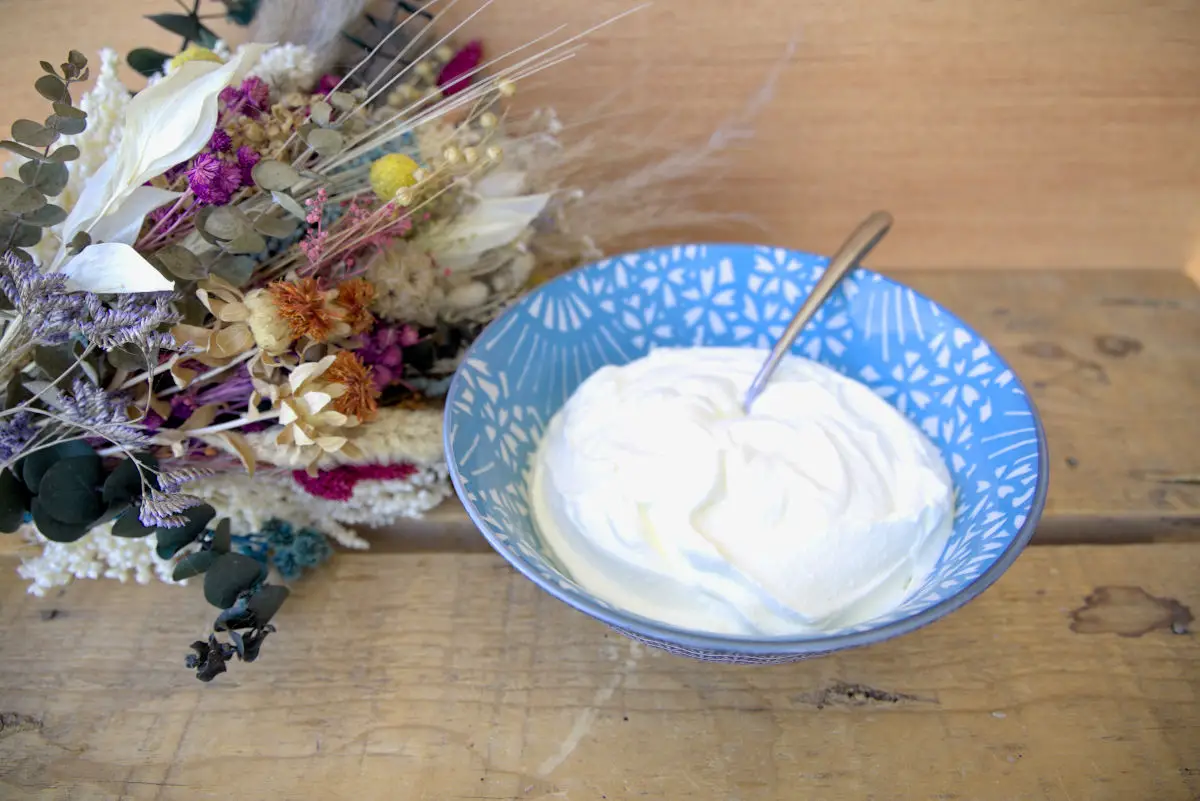
How to Make Yogurt
There are methods for making yogurt using special equipment, but I’m all about reducing the number of single-use tools in my kitchen. This recipe is made in a dutch oven (or heavy pot) and requires a free oven for a few hours.
Why Make Your Own Yogurt?
When it comes to practicalities, homemade yogurt ticks all the boxes. It’s cost-effective, delicious, and nutritious.
You’ll save money buying milk instead of yogurt, and it just takes a little patience to make the magic happen. A gallon of milk will produce around ¾ gallon of yogurt depending on the amount of whey strained out. So, not only are you putting yourself more in control of the ingredients in your yogurt, but you’re saving money in the process. Say goodbye to additives and preservatives and save some dollars along the way.
Homemade yogurt has a freshness that can’t be rivaled. You’re making fermented food with live cultures, so the health benefits are maximized, the flavor can be soured to your own taste, and the thickness is controlled by YOU. Check out our post on fermented foods here.
How to Make It
Your milk will affect your final product. This seems obvious, but it’s helpful to remind yourself of this when preparing to make that choice. My preferences are raw milk and whole pasteurized milk and they are arguably the best at achieving consistently thick, creamy yogurt. Experiment with different brands of dairy milk and milk with varied fat content, though. I’ve heard of people having success with pretty much everything from skim to half and half & raw to ultra-pasteurized (even though it’s not recommended on many sites). If you use skim, ultra-pasteurized milk and find little success, try starting with whole (regular) pasteurized milk and see if that aids the process. The method for using non-dairy milk is different, so stick to dairy here.
For a starter, you can choose any brand of yogurt (goat or cow) that contains live cultures or start with a purchased freeze-dried starter. Different brands of yogurt will yield various results. Avoid yogurt with preservatives or additives if possible, and if you find your final product unsuccessful, switch up your starter! It could make a world of difference.
If you are in the habit of making yogurt regularly, save a bit of your homemade yogurt as a starter for your next batch! It will have the most potency within 7-10 days of being made. I’ve heard of people freezing the whey from a homemade batch to use as a starter, but I have yet to try it myself. I’ll update you all if so!
The step of heating the milk is not to pasteurize it but rather to affect the structure of the milk proteins so that a thick yogurt can form. So, don’t skip this step!
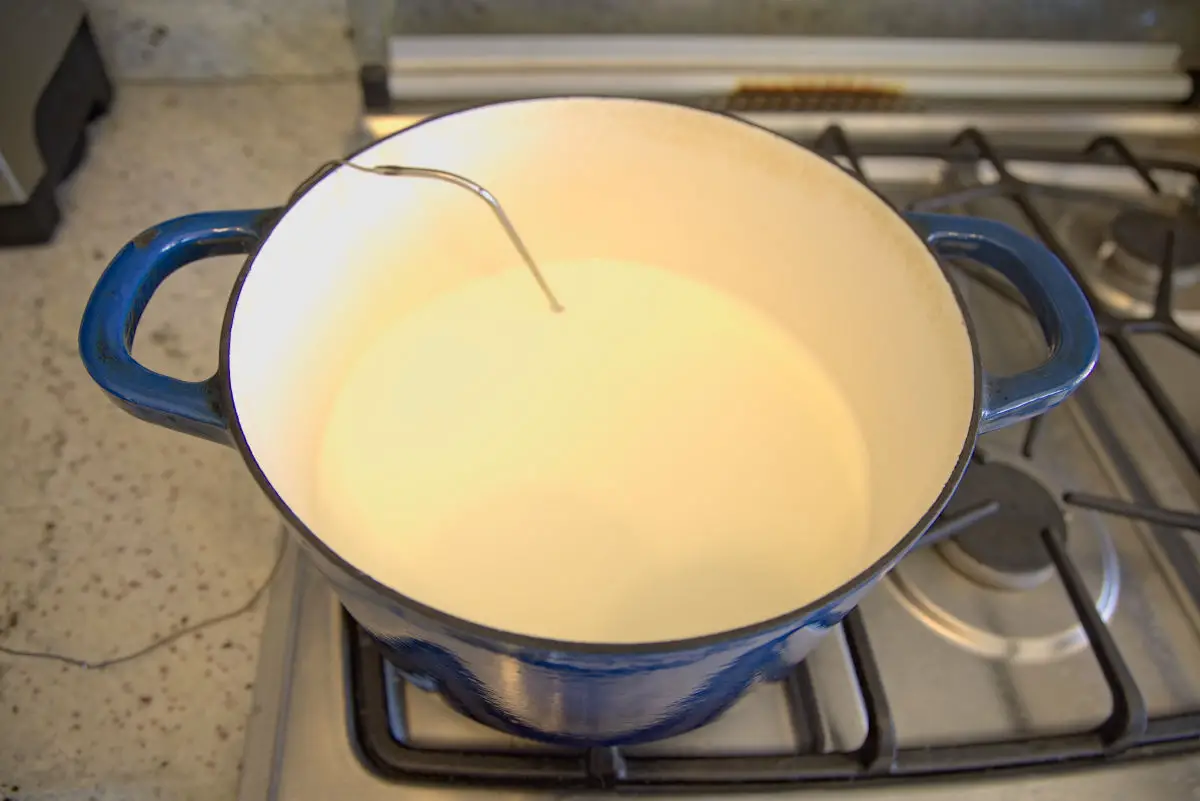
Place your milk in a large pot over medium-low heat. Insert a thermometer. You’ll want to slowly bring your milk up to 180 degrees F, stirring frequently to keep the milk from burning on the bottom. This should take about 40-60 minutes. Use this time to multitask in the kitchen! Hold your milk around 180 degrees F for 10-20 minutes. You don’t want to go above 190 degrees F. Look to stay between 170 & 190 during this time.
Remove your pot from the heat and let it cool uncovered until it reaches 110 degrees F.
If a thin skin appears on the top of your milk, just use a skimmer to skim it off at any point before adding your starter.
*If you are incubating in the oven, turn the light on at this time to get it pre-heated.
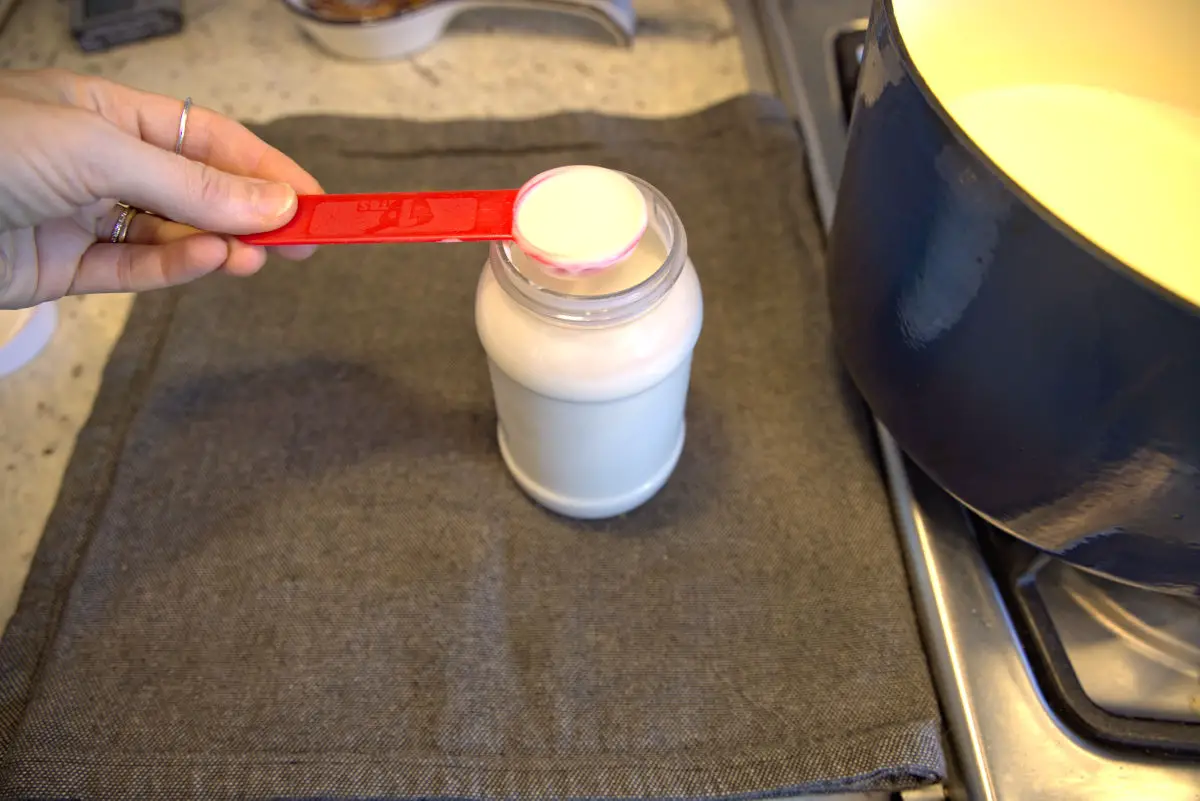
Add 1 TBSP (if starting with a half gallon of milk) of your chosen culture and gently whisk it into the milk. *Some people claim that refraining from mixing in your starter will actually help reduce graininess, but I personally haven’t had that experience*. Place the lid on your pot.
The crucial step of incubation creates an environment that allows healthy bacteria to multiply. My chosen method is to wrap my pot entirely in a towel and place it in the oven with the light turned on. Another method uses a towel-lined cooler as an incubator. Here are six methods you can use if you prefer. The goal is to establish an environment where your yogurt can be held at around 110 degrees F.
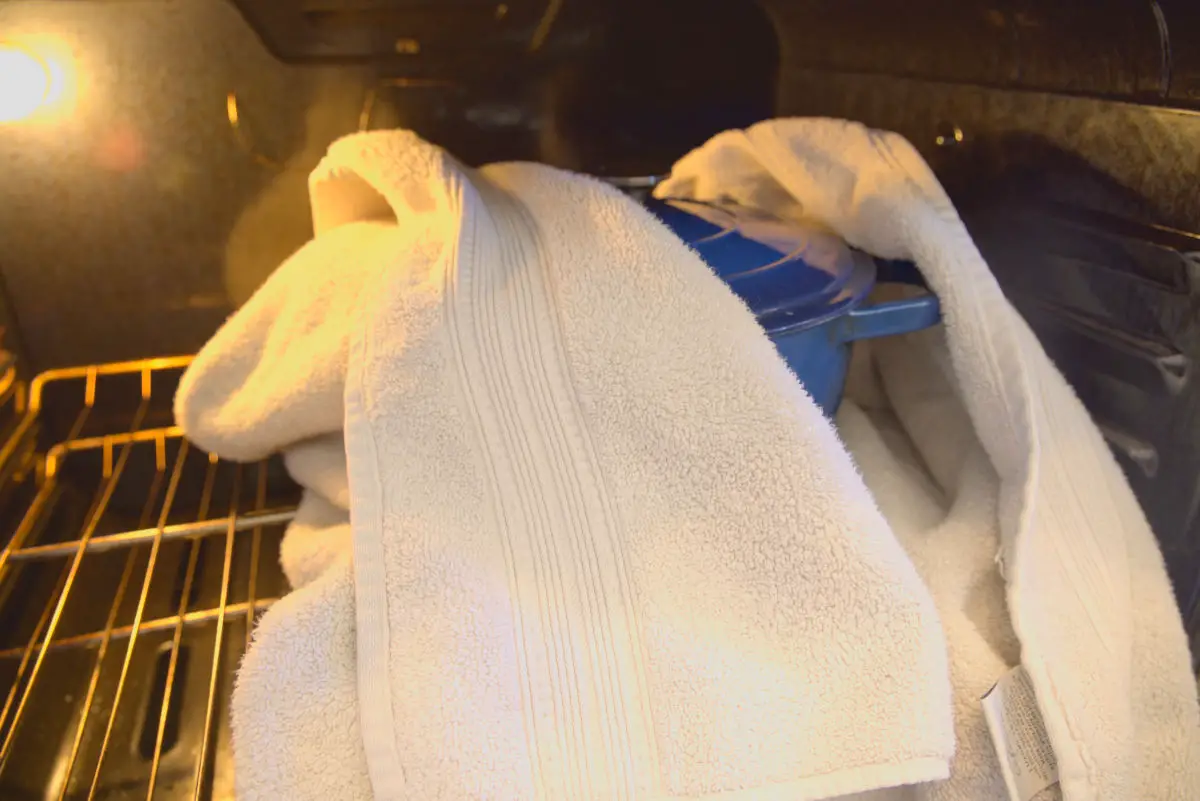
Place your yogurt in its warm location for 4-12 hours. I know, what a range. But, that’s dealing with live cultures! It should set within 4-5 hours, but leaving it for longer will increase the tangy flavor. I have found a sweet spot at around 6 hours, but you will find your own.
To check that your yogurt has set, remove the lid and carefully jiggle the pot. It will wobble like Jell-O when set.
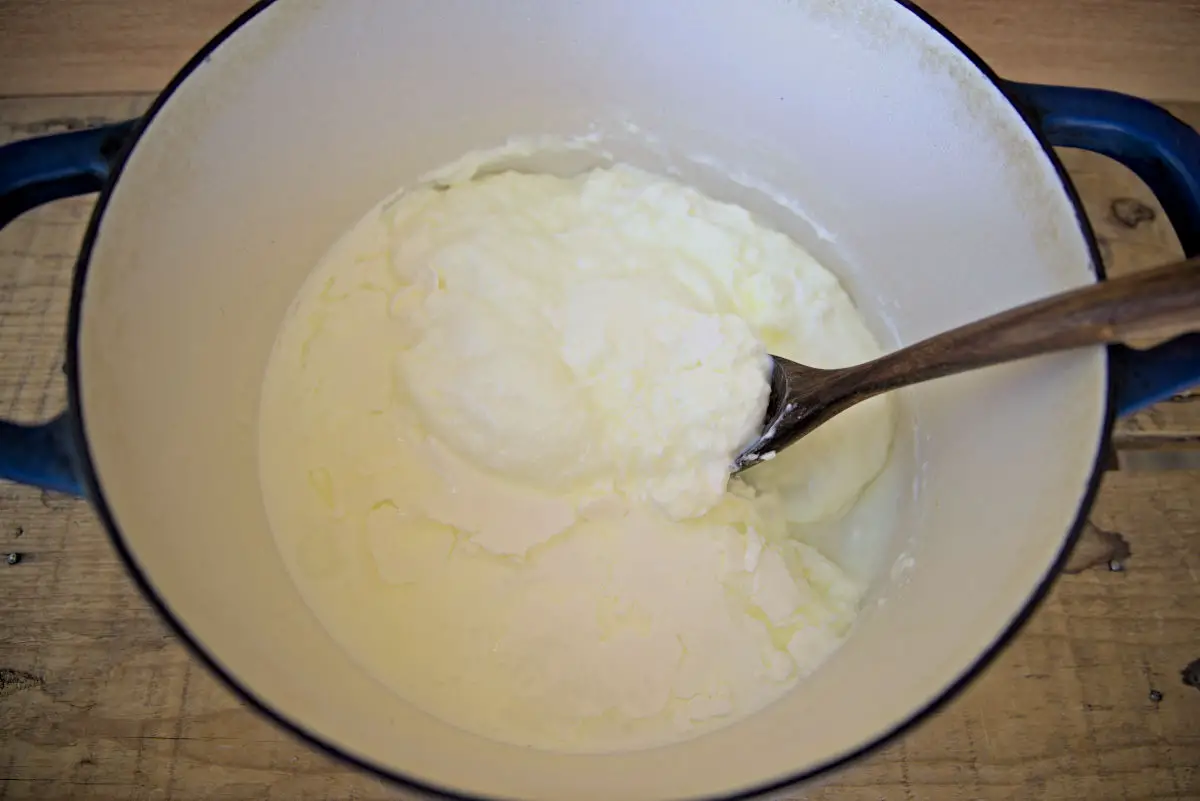
At this point, you can choose whether or not to strain your yogurt. The longer you strain, the thicker your yogurt. This is the only difference between regular and greek yogurt! The added sourness comes from this additional time it’s left to strain.
The method I use for straining is cheesecloth placed in a large strainer over a bowl (to catch the whey). If you don’t have cheesecloth, a coffee filter is a great alternative. Leave your yogurt to strain at room temperature for 1-12 hours. I know, what a range again. The longer you let it strain, the stronger the culture you’re developing becomes, the thicker your yogurt, and the tangier the flavor. Feel free to taste it incrementally. I usually let it strain for around 6 hours to help ensure I have a strong culture to add to my next batch of yogurt.
Don’t throw out your whey! You can use it as a substitute for broth or water in cooking oatmeal, making soups, baking bread, cooking pasta, or making smoothies. You can also freeze your whey in jars or in ice cubes (using an ice cube tray) for future use.
Spoon your yogurt into a clean container, seal it, and set it in the fridge for at least an hour or until ready to use. It should last for around 2 weeks! If you are making another batch and planning on using some of this as a culture, use it within 7-10 days for the best results.
*If you prefer flavored yogurt, there are a multitude of ways to flavor this base recipe. And they can all be done naturally!
Troubleshooting
There are several factors that could lead to grainy yogurt, and believe me I’ve made my fair share of it.
Make sure your starter yogurt doesn’t contain additives. This could affect the consistency of your final yogurt. Stick to yogurt with simple ingredients and active cultures.
Make sure you heated your milk nice and slowly. Heating your milk too quickly can result in a gritty texture for your final yogurt. It should take about 40-60 minutes for your milk to reach 170 degrees.
Make sure you aren’t overheating your milk. You want the milk to stay around 180 degrees for 10-20 minutes, but make sure it doesn’t rise above 190 degrees. I usually stay close and stir often during this time.
Don’t add too much starter.
A longer incubation period can lead to grainy yogurt. If you really want that sour taste from a longer ferment (I can’t blame you, cause I do), it’ll come at the risk of a grainier texture. After you’ve strained your yogurt, try giving it a good whisk. This will help smooth it out.
Some people claim that not stirring in their starter culture helps to smooth out their yogurt, but I have found whisking it in yields a better result. It’s worth testing out both methods if you are getting a grainy yogurt.
Straining your yogurt can help reduce graininess. Your starter milk contains natural milk solids and proteins that break down during the incubation/fermentation, but sometimes it doesn’t happen completely. Taking the extra step of straining your yogurt can assist.
Make sure your incubation temperature is held during the process. It should remain roughly between 100 -110 degrees F. If you used my oven method, was the towel wrapped fully and was the light left on the entire time?
You might have used an inactive starter. Especially if you have been saving whey or homemade yogurt to use as your next starter, you might eventually run into a wall where the active bacteria isn’t strong enough to support another generation of yogurt. Grab a fresh starter of yogurt with live cultures from the store and try again.
If your yogurt didn’t set, don’t throw it out! It can be a great substitute for buttermilk in recipes or you can make a soft cheese like ricotta from it.
How to Use it
Your homemade yogurt should last around two weeks. Like milk, just give it a good look and sniff if it’s gone much longer. If it has developed any mold, toss it.
We use our homemade greek yogurt incredibly often in our house! It’s great for use in healthier baking, in morning smoothies, topped with homemade granola and fresh fruit, dolloped on soups, and as a substitute for sour cream in any recipe. What an easy way to add probiotics to your diet!
FAQs (Frequently Asked Questions)
A yogurt maker can simplify the process by maintaining a consistent temperature, but it’s not necessary. You can make Greek yogurt using basic kitchen equipment.
After the initial fermentation, strain the yogurt by placing it in a cheesecloth or muslin-lined colander over a bowl. Allow it to drain in the refrigerator or at room temperature for several hours or overnight. Leaving it at room temperature will add to the yogurt’s fermentation and thus sourness.
Yes, you can sweeten Greek yogurt with honey, maple syrup, or sugar. Add flavorings like vanilla extract or mix in fruits or preserves.
More Fermented Recipes
There’s no ignoring the health benefits of fermentation, and making your own fermented recipes is a fun and rewarding process.
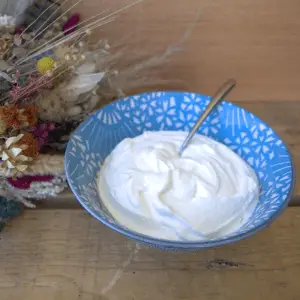
Yogurt (Plain or Greek)
Equipment
- dutch oven or large pot with lid
- thermometer
- large towel
- skimmer
- cheesecloth or coffee filter
- large strainer
Ingredients
- ½ gal pasteurized whole milk or raw milk
- 1 tbsp yogurt with live cultures
Instructions
- Pour milk into dutch oven and place it on the stove over medium-low heat. Leave uncovered and use a thermometer to gauge the temperature. Slowly bring the milk to 180℉, stirring occasionally to keep the milk from burning.
- Once at 180℉, keep the milk around this temperature for 10-20 minutes. You want it to stay in the range of 170℉-190℉.
- Allow the milk to cool to 110℉. If skin forms on the surface of your milk, use a skimmer spoon to remove it. *During the cool down, turn your oven light on but leave the oven door closed to pre-heat the space.
- Add 1 TBSP of your yogurt culture to the pot and gently whisk to combine with the lukewarm milk.
- Place the lid on your pot, wrap it in a towel, and set it on a rack in your warm oven. Leave the light on and close the oven door. *See notes for alternatives
- Allow your milk to culture for 4 to 12 hours- at least until set. The sweet spot for me is usually around 6 hours. The longer it is left, the more sour it will be but at a higher chance for a grainy yogurt. Check that it is set by removing the lid and gently wobbling the pot. It will have thickened if properly set.
- For a thinner, looser yogurt you can distribute your yogurt into jars and place it in the fridge. For thicker yogurt (known as greek), continue with straining.
- With a cheesecloth set inside a colander over a bowl, spoon your yogurt into the cloth. Allow it to drain at room temperature for 1-12 hours. The timing is entirely up to preference. The whey will drain and your yogurt will continue to thicken and sour during this time. The culture will also strengthen. To ensure a strong culture forms to innoculate my next batch, I usually leave mine for around 6 hours.
- Once satisfied with the straining, spoon your yogurt into clean jars and place it in the fridge. If your yogurt is a bit grainy, try whisking it together to help smooth it out. Your yogurt will keep for around 2 weeks in the refrigerator. If you are saving some to culture your next batch, use it to make a new batch within 7-10 days.
Notes
- There are several methods for keeping your yogurt at a consistently warm temperature. Wrapped in a towel and placed in the oven with the light on is the method that works best for me. Feel free to research other options like placing it above the fridge, using a designated incubator, or various techniques for using a cooler.
- I have read that you can use milk of any fat percentage and pasteurization level to make homemade yogurt, but I have found whole milk or raw milk to be the most consistent in setting to a lovely thickness. Feel free to experiment.
- For your starter, choose a yogurt with live cultures and minimal additives. You can use your homemade yogurt to culture your next batch if used within 10 days (although I have gone successfully to 14 before).
- Save your drained whey! You can use it as a substitute for broth or water in cooking oatmeal, making soups, baking bread, cooking pasta, or making smoothies.
- The blog post has more detailed tips on making this yogurt, so give it a read! It also contains a link to a post about how to naturally flavor your yogurt.

Hi! I’ve been making my own yogurt ever since I moved to Mexico years and years ago, and learned that almost all “plain” or “natural” yogurt here was sweetened. I started doing it in my crockpot and now use my Instant Pot. I think that’s an even easier way to get the milk to 185 degrees without stirring. The Instant Pot also holds the yogurt at the low temp without needing to be wrapped in towels.
I love that! I’ve tried the instant pot method too, and it’s great. I don’t know why the dutch oven has become so routine for me, but any way you get that homemade yogurt is a good way!