If you’ve never made your own chicken broth before, this post might be the best and easiest upgrade to your everyday cooking life. Learning how to make chicken broth and stock will save you money, keep you in control of the ingredients you’re consuming, and add some serious flavor to your meals beyond what any box can offer. This chicken stock recipe is simple, flavorful, and bound to become a staple in your home.
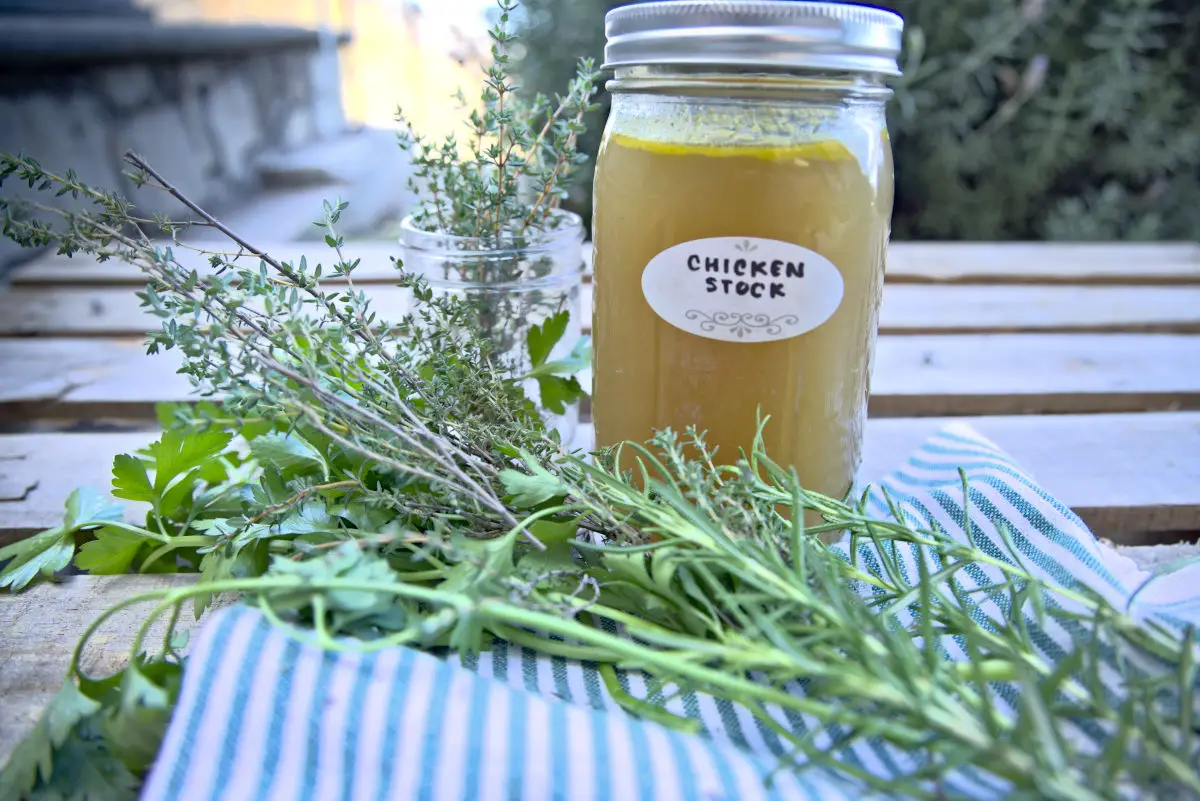
Homemade Chicken Broth & Stock
You don’t need a precise recipe to make a flavorful, aromatic pot of homemade chicken broth or stock, and it can be chocked full of scraps that otherwise might end up in the trash. There are a few helpful tips and tricks you’ll want to get started on your stock-making journey. And trust me- once you’ve made it I guarantee that it will be a love affair kind of journey.
Learning how to make chicken broth and stock will give an instant enhancement to your soups, stews, casseroles, and whatever else you like to make with them. In many recipes calling for water- such as cooking rice, beans, and quinoa- you can substitute your homemade chicken stock for added flavor and health benefits.
Chicken Stock vs. Chicken Broth
Firstly, let’s get some clarification. The terms chicken broth and chicken stock are often used rather interchangeably, but they do technically have a couple of differences.
Chicken stock is made primarily from the bones. When simmered for a longer period (4-24hrs) they will release a nutrient-dense, richly flavored collagen. If you aren’t familiar with the health benefits of collagen, supporting gut health, joint health, and immunity are just a few.
Chicken broth is made primarily from the meat. It can be simmered for a shorter period and still produce a deliciously meaty flavor.
We’re going to walk you through making chicken stock here (because we’re all about that collagen), but know that the process of making broth is almost identical other than the fact that broth can be cooked in less time. Anytime a recipe calls for broth or stock, you can easily replace it with your delicious homemade stock.
Methods for Cooking Chicken Stock
Large stock pot on the stove
This is the method we use here, and it’s our go-to. Just plop all your ingredients into a large stock pot (10 to 14-quart is preferable, but I’ve done a smaller batch in a 6-quart dutch oven before), cover with water, bring to a boil, and then let simmer until you’re satisfied with the flavor.
Large stock pot in the oven
If you need to free up some stovetop space, you can bring your pot to a boil on the stovetop and then place it in the oven at 250 degrees until it’s done.
Pressure cooker
If you’re pressed for time, the pressure cooker is a way to speed up the process. You can set the machine to high pressure for 30 minutes to 1 hour. I personally like the complex flavor I get from the low and slow method more, but do what works!
Slow cooker
Getting the proper boil and then simmer going can be a bit tricky, but using a slow cooker can be a very hands-off method. Combine your ingredients and cook in the same way you would with a pot on the stove.
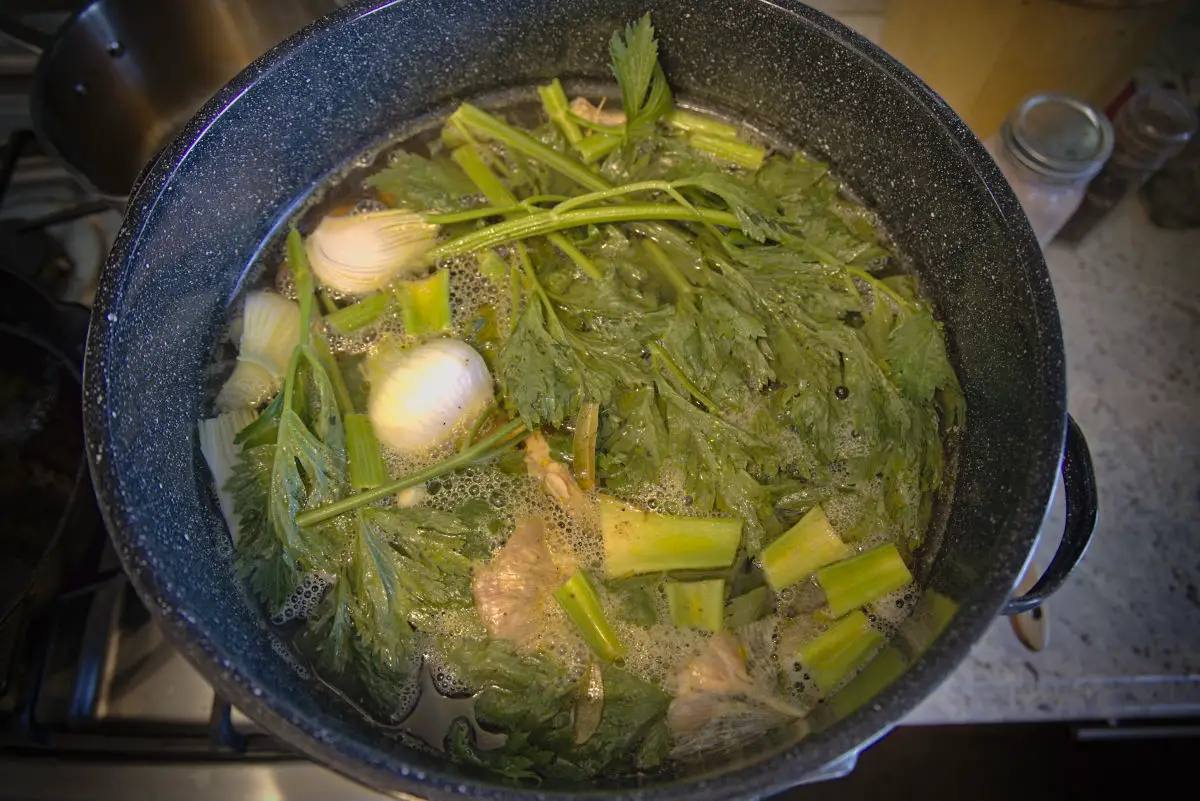
*To finish (after any of the above methods), strain the contents of your pot through a fine mesh strainer and store the liquid in jars or airtight containers. Allow them to cool before placing them in the fridge or freezer.
Best Vegetables To Use in Stock
This is by far my favorite part of making stock. The creative in me loves to play with adding different combinations of flavor enhancements all while seemingly carelessly tossing “a little bit of this and a little bit of that” into a pot to make some magic.
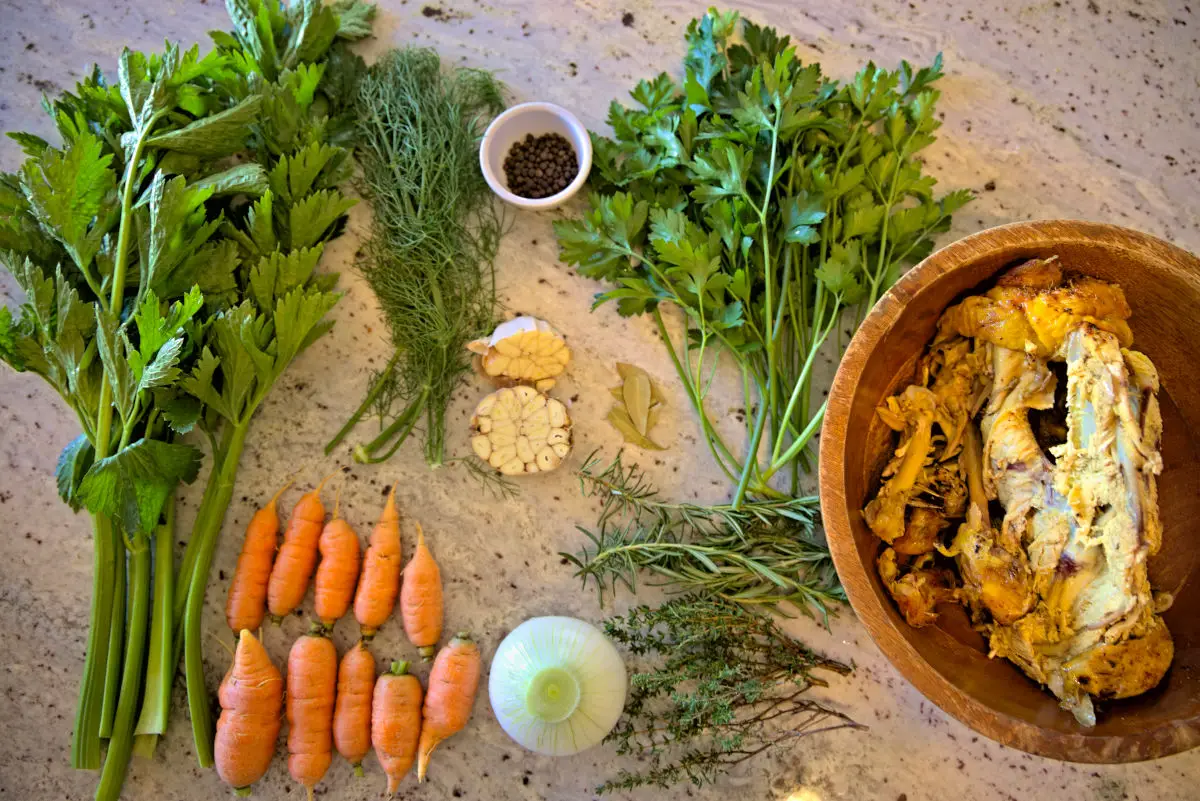
The most common vegetables used in making homemade chicken stock are carrots, celery, and onions.
Alliums: Members of the allium family are a must in our book. This can include halved whole heads of garlic, roughly chopped leeks, quartered skin-on onions, and halved skin-on shallots.
Other Veggies: We’ve already covered the classic roughly chopped carrot and celery, but you can play around with adding chopped fennel, turnips, parsnips, or mushrooms.
*Hot tip: save the “scraps” when you’re cutting up any of these veggies for your weekly meals. You can keep a marked bag in the freezer to collect them and then plop them right in the pot from frozen when you’re ready to make stock.
Aromatics
We use thyme, parsley, rosemary, peppercorns, fennel fronds, and bay leaves in this recipe, but you can go simpler or more exotic! We happened to have these in the garden and on hand.
You can play around with using dried chiles, sage, ginger, lemongrass, parmesan rinds, and whole coriander, BUT know that some of these can intensify the flavor of your stock in a very particular way. Use them first in small qualities and with that cautionary note.
Dried herbs are fine in a pinch, but fresh herbs will give you the greatest depth of flavor.
Browning
This is a technique some people use to create an even deeper, more savory flavor, but it’s one we’ve found we can do perfectly fine without. Actually, perfectly perfect. It’s not a necessary step, but if you want to take it, it’s worth testing out.
Before adding all your ingredients to the pot, you can sear the meat, bones, and anything from the allium family in a large pan over medium-high heat until it’s golden brown in color. Then, continue with our recipe.
Skimming
As your stock simmers in all its glory, you might notice some foam appear at the surface. It isn’t harmful in the least (in scientific terms it’s denatured congealed protein from the meat), but it will make for a cloudier stock. If you care about clarity, go ahead and give it a skim with your skimmer when it appears. It will most likely form toward the beginning of the simmering process.
You also might notice a layer of fat forming on your stock. That is also unharmful, and in fact, it adds to the flavor of the stock. BUT, once again, if that bothers you just skim it off as it rises or wait for your stock to be jarred and cooled to easily scoop off the layer from the top.
You’ve got options.
Storing & Preserving
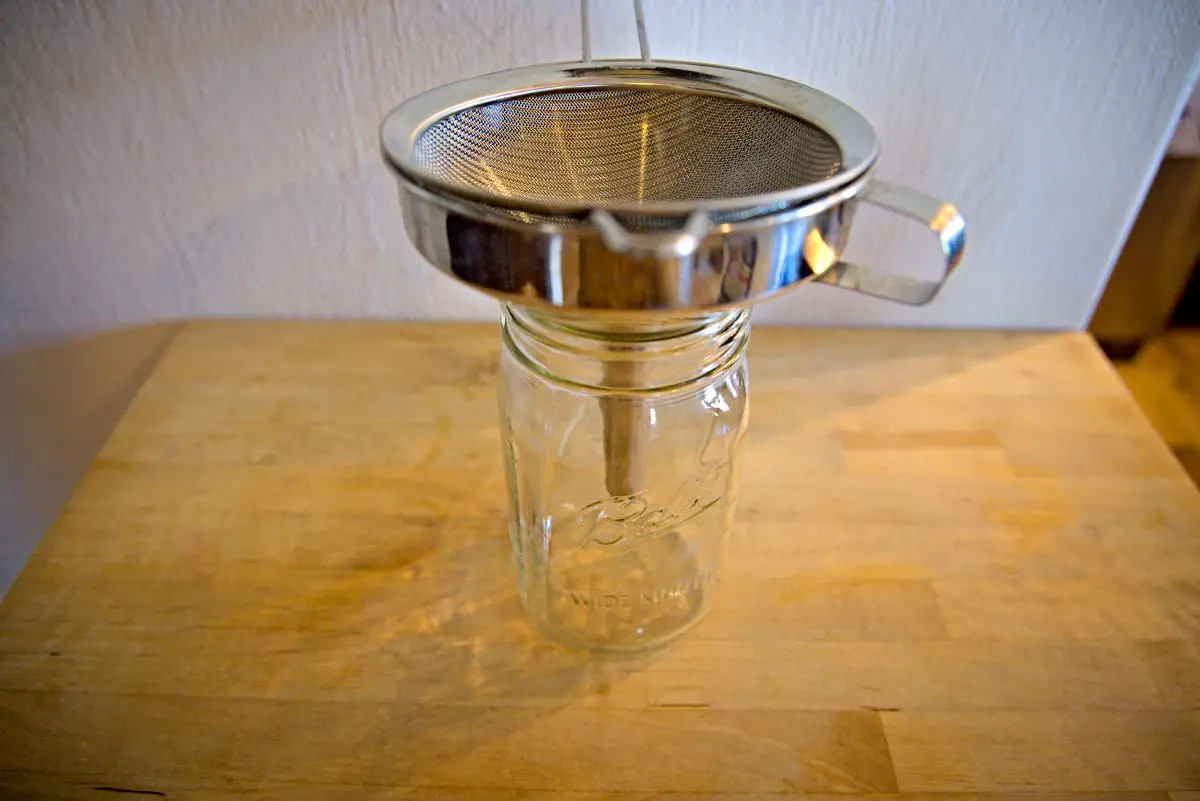
You can choose to store your stock in the refrigerator or the freezer. You’ll use a fine mesh strainer set inside a funnel to ladle your broth into your chosen storage containers.
Refrigerator storage: Let the stock cool and place it in airtight jars or containers (my favorites are quart-sized mason jars). It will keep in the fridge for 3-5 days. This is the best option if you have a dinner planned in a few days to use it up.
Freezer storage: Let the stock cool and place it in airtight jars, containers, or bags. Keep in mind that the liquid will expand in the freezer, so don’t fill your containers all the way to the top. Don’t ask me if I’ve ever had a glass jar crack in there. The stock will last at least 6 months with this method. Making a large batch to freeze for use over a few months is the method in our house. Just defrost it in the refrigerator overnight (or if you’re making a spontaneous dinner, in a pot of warm- not hot- water on the counter for an hour or so). Easy enough, right?
Here’s a tip for your chicken carcass: If you don’t have time to make the stock right after you’re done devouring the meat off of the carcass, just place it in a ziplock bag in the freezer until you’re ready to cook with it. You can put it in the pot straight from the freezer, and it will defrost in the process.
FAQs (Frequently Asked Questions)
While the second batch will be lighter, you can reuse bones for another round of stock. The resulting stock is often referred to as “second stock.”
Both raw and cooked chicken can be used. Raw bones add more flavor, while cooked chicken can still contribute to a tasty stock.
More From Scratch Cooking
Cooking from scratch is a great way to save money for your household and come out with superior meals.
- Canning Marinara Sauce (Garlic-Herb Recipe)
- Homemade Breakfast Sausage Recipe
- Healthy Homemade Granola
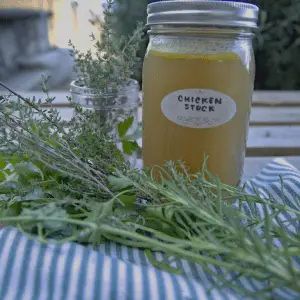
Homemade Chicken Stock
Equipment
- Large stock pot (ideally 10-14 quart) or dutch oven
- Skimmer spoon
- Ladle or large spoon
- Funnel
- Fine mesh strainer
- Glass jars or food storage containers
Ingredients
- 1 leftover chicken carcass cooked
- 2 large carrots unpeeled & cut in 2" chunks
- 1 whole head of garlic cut in half (skin on is fine)
- 1 onion cut in quarters (skin on is fine)
- 4 sprigs of thyme
- 4 sprigs of rosemary
- 1 tbsp peppercorns
- 3 bay leaves
- 3 stalks of celery cut in quarters
- 1 bunch of fennel fronds optional
- 1 bunch of parsley
- salt to taste
Instructions
- Place all ingredients (except the salt) in a large stock pot.
- Fill the pot with water so that it covers the ingredients by about 2 inches.
- Bring the water to a boil.
- Reduce the heat to bring the pot to a gentle simmer. Cover and let the pot simmer for at least 5 hours (up to 24 if you're going for a super-concentrated stock).
- After 5 hours, taste to see if it's to your liking and continue to simmer if it isn't. You can always add more hot water to the pot. Sometimes I'll boil a teapot of water to add to the pot if the water level goes too far below the pot's contents. Season with salt to taste when you've achieved the richness you want from the stock.
- Let the pot cool before using a skimmer spoon to lift out the vegetables and carcass. These can be discarded.
- Set out your jars for storage. These can be mason jars or any other airtight containers. Place the funnel inside a jar with your fine mesh strainer sitting in it and use your ladle to fill (with room for expansion if freezing) the jar with the stock. Continue filling the jars until all of your stock is distributed.
- Make sure the jars are sealed and place them in your refrigerator or freezer for storage. Enjoy your stock in soups, stews, gravy, casseroles, and more!
Notes
- You can choose to skim the foam or the fat from the stock as it simmers. Skimming the foam will lead to a clearer stock and skimming the fat will lead to a less fatty (and in my opinion slightly less rich) stock.
- Any type of chicken bones will work in the recipe. Just make sure you have enough to account for the size of a carcass. Sometimes I will use thigh bones, leg bones, or wings depending on what I have cooked. Rumor has it that chicken feet are a collagen goldmine and have some incredible health benefits.
- I used a 5lb. chicken for this stock, and it yielded 6 quarts of stock. Your yield might be different depending on the amount of chicken bones & vegetables used and how concentrated you want your stock.
- To make chicken broth, you can use more chicken meat than bone and simmer for about 3 hours.
- To save room on storage you can simmer your stock longer, make a more concentrated stock, and just add water when you’re cooking with it.
- The stock will keep for 3-5 days in the fridge or around 6 months in the freezer.
- Check the blog post for other helpful info and tips!

Leave a Reply