As an early spring perennial vegetable, asparagus can be grown as food for you and your family for over 15 years if taken good care of in its early development. It can be productive in USDA zones 3-10 and makes for a nutrient-dense addition to your homegrown food supply. We’ll help guide you through how to grow asparagus both from seed and crown so you can enjoy those crisp, sweet spears for years to come.
How to Grow Asparagus
Asparagus might struggle in wetland areas, but it tolerates dry climates and those with winter ground freezes. Once established, asparagus will be a reliable harvest for you!
The plants are either male or female. Male plants will be the most productive and deliver the highest yields because they don’t spend their energy developing seeds. You can purchase solely male plants through several companies online or embrace the landscape of whatever pops up in your garden.
Starting From Seed
Starting asparagus from seed is the more time-consuming method, but the benefits exist in it being cheaper and offering additional options for varieties of plants.
You can either start your seeds indoors in seed trays (or something similar) or outdoors in a bed for later transition to another larger space. Soaking your seeds in water for a couple of hours before sowing can help promote good germination in both instances.
If starting indoors, your seeds will require soil temperatures between 70-85 degrees and light to germinate. Fill your cells with moist potting soil, place 2-3 seeds in each cell, cover the seeds with a thin layer of perlite or vermiculite, gently water the seeds in, and place the trays on a heat mat or heated surface under grow lights to germinate. You can cover your trays with a humidity dome or plastic wrap to help hold the moisture and humidity.
Your seeds may take around 3 weeks to germinate, and you’ll need to keep the soil moist throughout that time. After 3-4 months of growth, you can transplant your plants outside.
If starting outdoors, sow your seeds in spring an inch deep and about 2-3” apart in rows 1’ apart. Seeds will germinate in about 3 weeks, so keep the area well-watered. Stay on top of weeding so the young plants develop strongly. If you have cold winters, mulch your bed in the fall to prevent frost damage.
Before the spears emerge the following spring you can carefully dig up and transplant the crowns to a more permanent location in trenches. If using this method, you can watch for which plants bloom and form seed pods (only the female) and choose whether or not you want to transplant solely the more productive male plants to their new permanent location. Below we describe the method for planting out the crowns.
Planting Crowns
Planting from crowns will be more expensive than growing your asparagus from seed, but it will cut a year off of your harvest waiting period. It also enables you to buy and plant only the more productive male plants. It’s often the recommended method since it saves time and ensures you’re starting with healthy plants.
The best time to purchase crowns is in the early spring. If you are unable to plant your crowns upon receiving them, you can store them wrapped in newspaper in a refrigerated or cool space.
If you want to give your crowns a boost before planting, soak them in compost tea for a few hours or overnight. Otherwise, it is recommended to soak your crowns for 1-2 hours in tepid water before planting out.
You’ll want to plant your crowns 12-18” apart either in trenches or individual holes. Space your rows 3-6’ apart if planting multiple rows.
When digging trenches, do so 6-12” deep.
Some resources will tell you to plant your crowns spread out like an octopus- with the bud facing the sky and the roots spread out from the center. This is a great option, but a simpler and equally effective method is to lay the crowns from head to toe (or bud to root end) flat inside the trench with the buds still 12-18” apart.
Pile 2-3” of the removed soil back onto the crowns to cover them and give them a good watering to help them get established. As they grow, progressively add back the rest of the soil until it forms a slightly mounded row where the trench was dug.
Where to Plant Asparagus
Asparagus thrives in full sun (8 hours a day) and well-draining soil. You’ll want to carefully choose and prepare your location since asparagus will grow for 15+ years in this location. It doesn’t like to grow in acidic soil and prefers a pH close to a neutral 7.0.
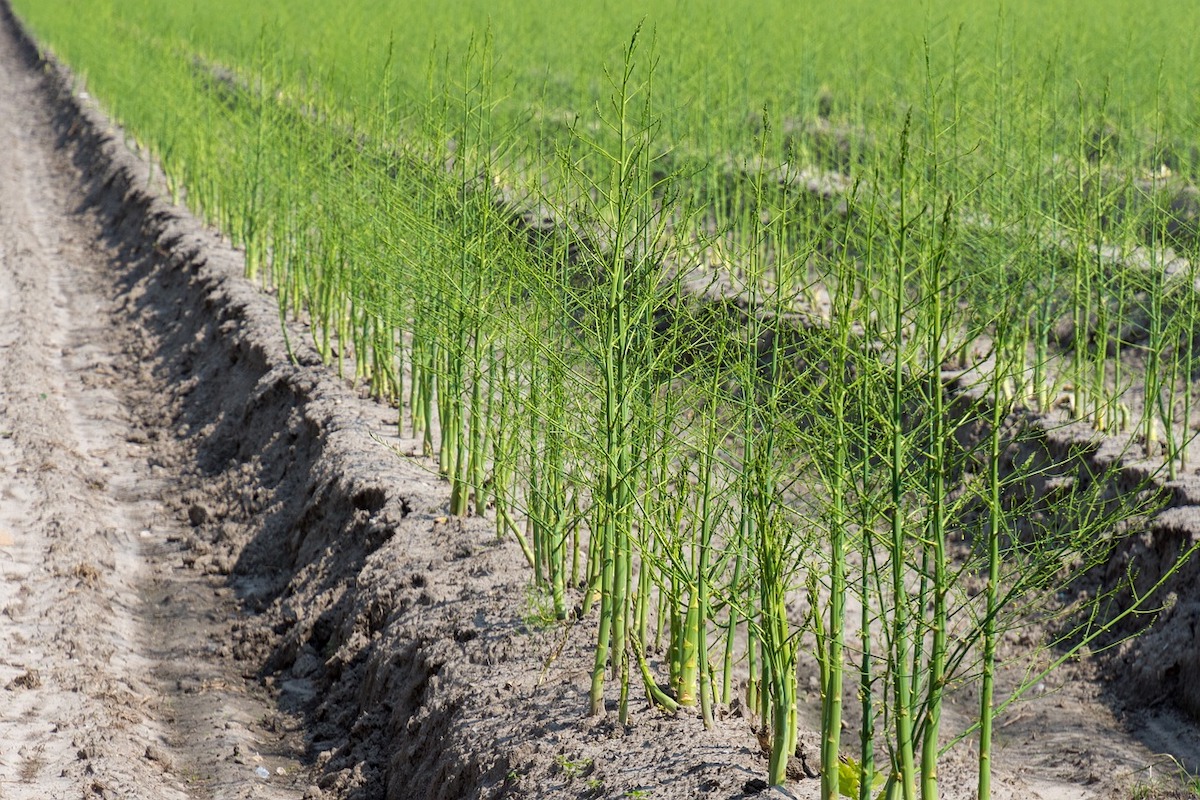
Keep in mind that your asparagus will grow many feet tall in its fern stage, so make sure to plant it in a location where it won’t be shading out other sun-loving plants.

Caring For Asparagus
Watering
You’ll need to be more attentive to their watering needs during their first few years of development, but once established their long, fleshy roots enable them to be drought-tolerant plants.
Soil moisture is important for developing asparagus plants, and you’ll want to ensure your patch receives at least 1 inch of water per week.
Fertilizing
Like any other producing plant, asparagus needs nutrients to produce its delicious spears. Adding a layer of compost 1-inch thick around the base of the plants in the early spring as they’re coming out of dormancy is a simple and effective method of doing so. You can also use other well-rounded (close to equal parts N-Nitrogen, P-Phosphorous, and K-Potassium) granular fertilizers or liquid fertilizers.
Weeding
Keeping your patch well-weeded during its first few years of growth is essential. They need to establish strong roots for the best future production of spears; weed pressure can halt their growth. One common method for weed suppression is laying a thick 2-3 inch mulch around your plants. Try shredded leaves, grass clippings, or straw.
Hand weeding when asparagus plants are young is often the best method of cultivation. With shallow roots, you want to be careful not to use a cultivation tool too closely or deeply around your plants- especially when the spears are developing.
Mulching
Mulching around your plants in the fall can be an excellent way to hold moisture, protect your asparagus plants from hard frosts, and keep weeds down.
Harvesting
If starting from crowns, you’ll want to wait at least another year (the crowns are typically 1 year old) after planting before you begin to harvest your spears. If you’re starting from seed, tag on an extra year to that waiting period. Let your asparagus become ferns to develop strength in your plants.
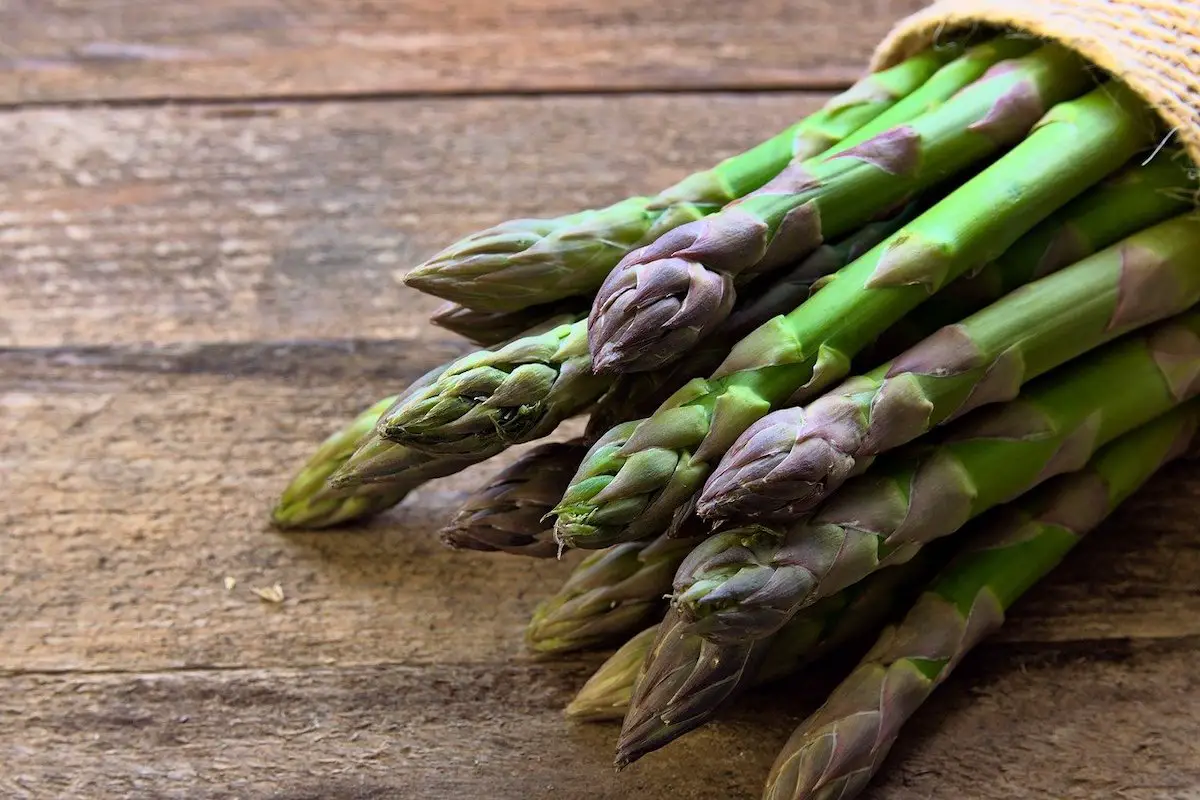
Once your spears are robust enough to harvest, you can harvest individual spears between 8-12 inches in height by cutting them off at the soil surface. If the spears have begun to develop foliage it is best to leave them in the ground to replenish the plant for next season. Initially, your plants will produce spears during a 2-week window, and in their maturity, you will be able to harvest for around 8 weeks.
When the plant begins sending up spears that are less than a pencil thick in diameter, you should stop harvesting for the season.
At maturity, each asparagus plant will produce around ½ pound of asparagus spears each season.
Pruning
The fern growth is essential for allowing your plants to take in nutrients for next year’s spear growth. Don’t prune your asparagus until the ferns have browned and died back. At this point, you can prune the plant back to 2” above the soil.
Pests & Diseases
Some pests and diseases you might encounter include aphids, asparagus miners, asparagus beetles, botrytis, and fusarium root rot.
Preserving
There are both simple and more time-consuming methods for preserving asparagus for long-term storage.
If you have the freezer space, you can blanch the spears in boiling water for about 5 minutes, allow them to dry, and then store them in the freezer in a freezer bag. You can vacuum seal them for even greater protection against freezer burn.
Pickling your asparagus is another enjoyable method for preservation. You can pickle and leave your jars in the fridge or use a recipe that can be canned for even longer storage. With just some vinegar, pickling spices, garlic, sugar, and salt you can have a healthy snack from garden-grown veggies.
Get to growing!
FAQs (Frequently Asked Questions)
You’ll want to wait until the second or third year before harvesting asparagus to allow the plant to establish a strong root system. This promotes long-term health and productivity.
top harvesting asparagus in late spring or early summer when spear diameter decreases. Allowing the remaining spears to grow into fern-like foliage helps store energy for the next growing season.
Common pests include asparagus beetles and aphids. Diseases such as fusarium wilt and rust can also affect asparagus.
More Growing Tips
Check out more of our garden guides to help you build your garden and have a successful growing season.

Leave a Reply