Learning how to dry herbs is the perfect way to enjoy your garden treasures all year long. As the seasons change and your flowers or herbs go into dormancy or they reach the end of their annual cycle, imagine if it didn’t have to be quite so heartbreaking. If you’ve already taken the rewarding step of growing fresh herbs, there are several methods you can use to preserve them for use throughout the entire year.
How to Dry Herbs
If saving money is the name of the game, we have you covered. If having continual access to organic herbs is what you’re after, we’re here for you. Drying your own herbs can save you money at the market and give your cooking that much more natural flavor and aroma. Looking for how to dry fresh basil? How to dry parsley? We’ve got answers.
Harvesting
Every herb has its preferred method of being harvested. If you aren’t too familiar with a particular one’s needs, a quick search will give you all the answers.
In general, snipping your plants regularly helps to encourage new growth and support a healthy plant. When harvesting, make sure to limit your harvest to less than a third of the plant. You don’t want it to be too shocked which can stunt its growth of foliage.
Collect your herbs on a dry, sunny morning after the morning dew has evaporated but before the brunt of the sun exposure. This is an ideal time, but of course, pick them when you can. Choose healthy leaves that aren’t already browning or diseased. We’re looking for peak flavor and aroma here, folks. This will ensure that we’re collecting and conserving the boldest natural oils of the plants.
If you’re harvesting a plant for its foliage, harvest before the plant blooms. If you’re harvesting a plant for its flowers, harvest after the buds appear but before the flower has opened completely. And if you’re harvesting for seed, wait until the seeds have completely dried out on the plants. We’re focusing on harvesting foliage in this post.

Common Herbs to Harvest
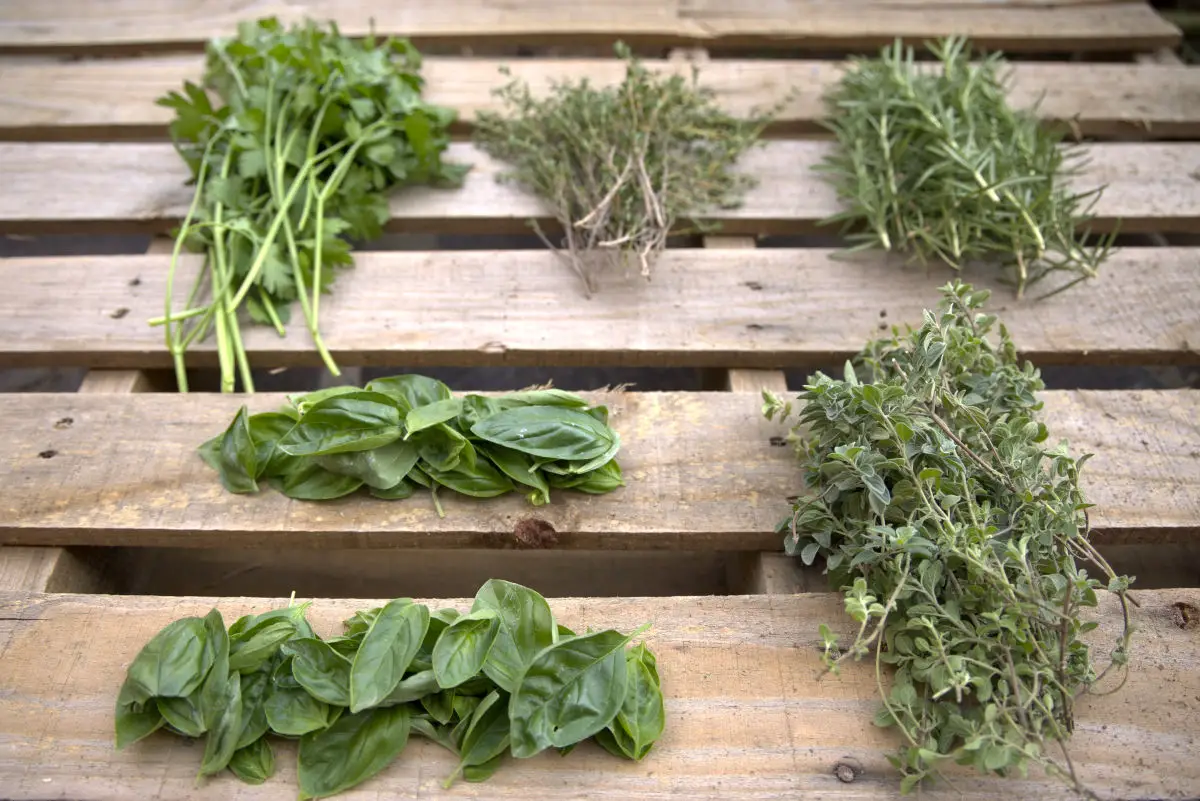
Harvest by leaf: basil, marjoram, mint
Harvest by the stem: thyme, sage, tarragon, rosemary, oregano, parsley, oregano
Hang to Dry, Lay to Dry, or Use a Dehydrator?
After harvesting comes the drying. If you don’t see any noticeable dirt, dust, or pests, try to refrain from washing the herbs and adding that extra moisture. Don’t fret if they need a rinse, though. Just pat them dry with paper towels or dish towels after. If you have a salad spinner, this can be a good gadget for removing some excess moisture as well.
Which method should you use to dry your herbs? The most popular are hanging dry, laying to dry, and using a dehydrator. Some herbs work better with certain methods, but you’ll get a feel for what works best for you and your space.
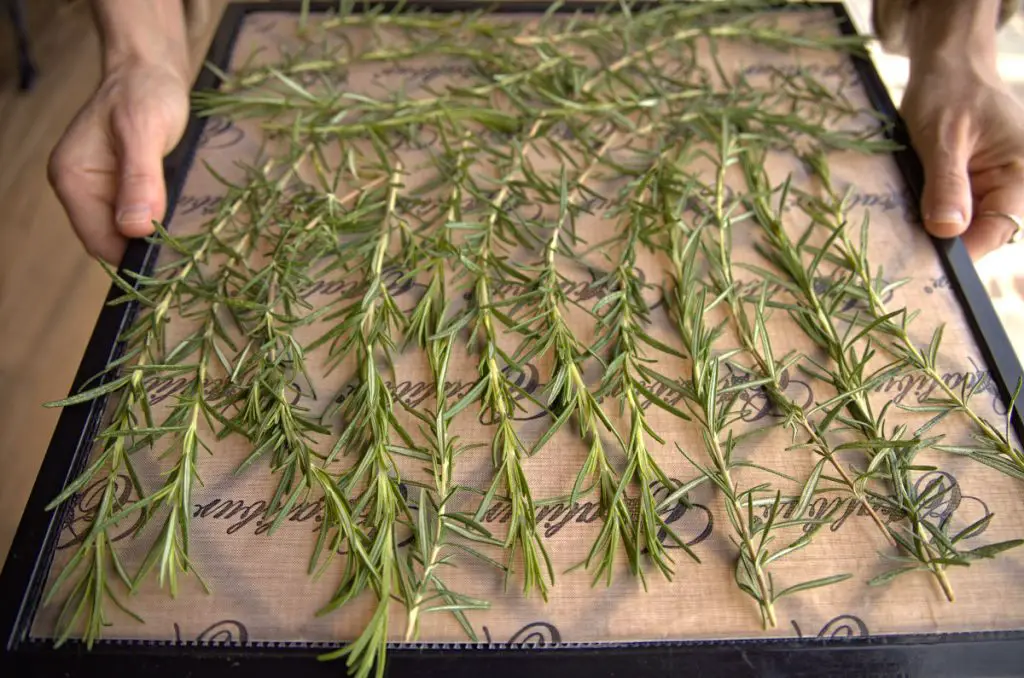
Herbs with a lower water content do well when hung to air dry. These include thyme, rosemary, oregano, sage, and dill.
Herbs with a higher water content do well when dehydrated quicker (such as in a dehydrator)- preventing the growth of mold more directly. These include basil, mint, lemon balm, cilantro, and parsley.

Hanging to Dry
Once you’ve harvested your herbs and are satisfied with their cleanliness, bundle them for drying. It should be a small bundle to ensure that they get enough airflow to promote healthy drying. Because they will shrink when drying, using elastics is safer than using any type of string. It’s not as aesthetically pleasing as that rustic, farmhouse twine, but you won’t be at risk of losing your precious herbs to the dusty (and in my case incessantly dirtied by the cutest of cat paws) floor.
Hang them in a dark, temperate environment. You want them out of direct sunlight. Herbs can take anywhere from a week to a month to fully dry when hanging, so check them once or twice a week until they are completely dry & brittle to the touch.
Laying to Dry
This involves laying the stems or plucked leaves on a tray, towel, rack, or drying screen to dry. You’ll want to provide them with decent circulation, so make sure the air isn’t too stagnant and the herbs have room to “breathe”. A drying screen is a great way to ensure that environment and can even be made at home! Hmmmm I think I have an idea for a future blog post…
Anyway…place them outside of direct sunlight & in a dry, temperate location. They should be dry between a week to a month. They’re ready to store when they’re brittle!
Using a Dehydrator
While this method does involve more of an upfront cost, once you invest in a dehydrator, you’ll fall in love with all of the possibilities for its use. Homemade dried mango anyone?
Follow your manufacturer’s guide for settings, but you should be dehydrating on a low setting between 95-115 degrees F. In more humid areas you might set it to more like 135 degrees F.
Strip large leaves like sage, mint, & basil from their stalks before drying them in the dehydrator. Place herbs in a single layer on your drying racks and wait for the magic. This method should take between 1-4 hours, but if you haven’t gathered this by now, you’ll know they’re done when they’re brittle. Check every hour for their doneness. It’s helpful to put varying herbs on different racks, as some will dry faster than others.
Other Methods
Microwave Drying: I don’t have any hands-on experience with this one, because I try not to use the microwave for many tasks. But, if it sounds appealing to you, know that it is an option.
Oven Drying: This method can be a bit more volatile because of the lack of complete control of a low temperature, but it might work well for you! Place your herbs on parchment-lined baking sheets and preheat your oven to its lowest setting with the oven door slightly ajar. As with the dehydrator, don’t overlap them on the trays.
Place your herb trays in (leaving the door ajar), check at 30min, and rotate or shake if needed. They can dry quickly, so be sure to check every 15 minutes or so after that. Ensure that they are cooled before storing to prevent mold growth from moisture build-up in the container.
Sage leaves, mint leaves, rosemary, thyme, and parsley leaves are good choices for this method.
Don’t be afraid to experiment to determine which methods work best for you!
Storing Herbs
You’ve done the “hard” work, and now it’s time to seal the deal. Remove leaves from any stems that were dried in the process, and store your dried herbs in glass jars or other sealed containers. Keep them in a cool, dark location for best preservation. We keep them in the cupboard for easy access, because herbs can boost a kitchen success or disaster.
The herbs will technically keep indefinitely, but like all the spices in your pantry, the longer they sit the more their nutrients and flavor will deplete. I recommend using them within a year.
Uses For Dried Herbs
While the most common use is in the kitchen, there are other ways to include your home-dried herbs in your life.
Teas: I’m a hobbyist tea drinker, and some of my favorite cups come straight from the garden. Throw some dried rosemary, mint, chamomile, or lavender into your homemade blends…..the garden (or grocery store) is the limit.
Crafts: Is there anything better than giving a gift with a touch of homemade and homegrown? We’ll pretend for a second that receiving a gift like that isn’t at least equally as awesome. Add a touch of flare to a handcrafted item or a carefully wrapped present, and I’m sure it won’t go unnoticed.
Bath Products & Beauty Products: There are some amazing recipes on the internet about using herbs in homemade soaps, salves, lotions, and more.
Medicinal: Many of the herbs you can dry from the garden are proven to aid in overall health. They can help to relieve itching, soreness, anxiety, and beyond. If you dip your toe into the world of herbal medicine, you’ll be sure to end up diving in.
FAQs (Frequently Asked Questions)
While it’s possible to dry herbs in the microwave, it may not preserve the flavor and color as well as other methods. Air drying or using a dehydrator is often preferred.
If possible, avoid washing herbs before drying, as moisture can hinder the drying process. Instead, gently shake off any dirt or debris.
Herbs are fully dried when the leaves crumble easily between your fingers. They should be brittle and free of moisture.
Recipes That Utilize Herbs
Whether it’s fresh or dried, I love tossing garden herbs into my recipes. Here are some suggestions for using yours.


Leave a Reply