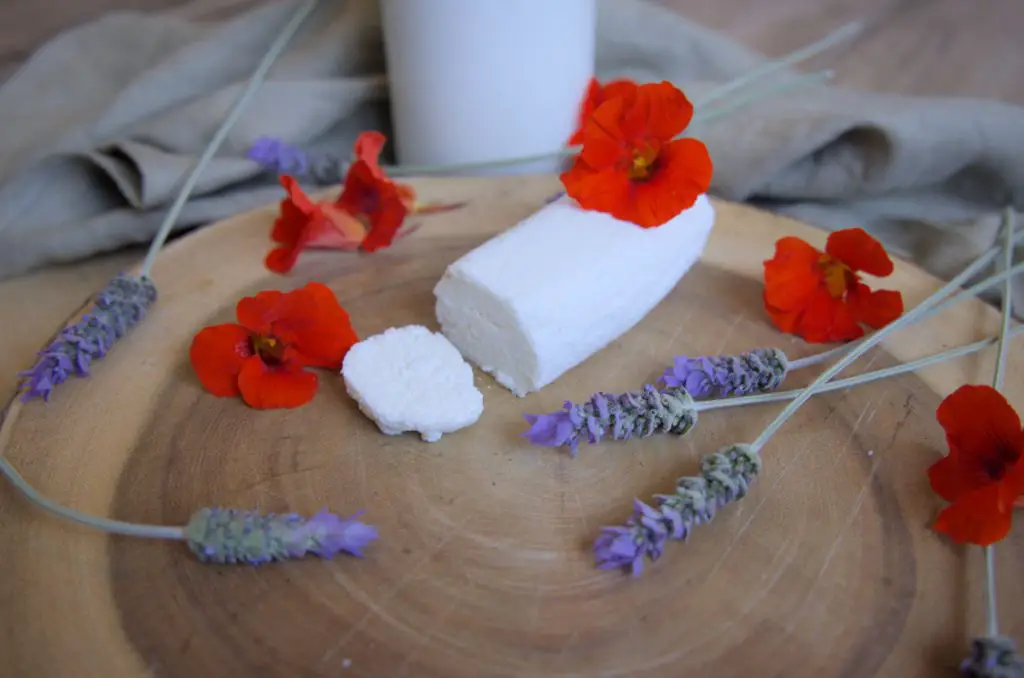
Looking for an easy recipe for a delicious homemade cheese that won’t take all day to make? This goat cheese is mild in flavor, creamy or crumbly in texture, and brings out the subtle, natural tang of goat milk. Skip the cheesemaking kit with this simple recipe that uses only 3 easy-to-find ingredients and doesn’t require culturing. I use this goat cheese in breakfasts, lunches, and dinners in our home.
How To Make Goat Cheese
People have been crafting cheeses like this in their home kitchens for hundreds of years, and it’s a great way to make a versatile cheese while saving money at the grocer. This simple goat cheese recipe doesn’t require a culture, as it’s made using the process of acid/heat coagulation. It’s perfect for beginner cheesemakers or for those times when you just need to keep it quick and simple.
Ingredients
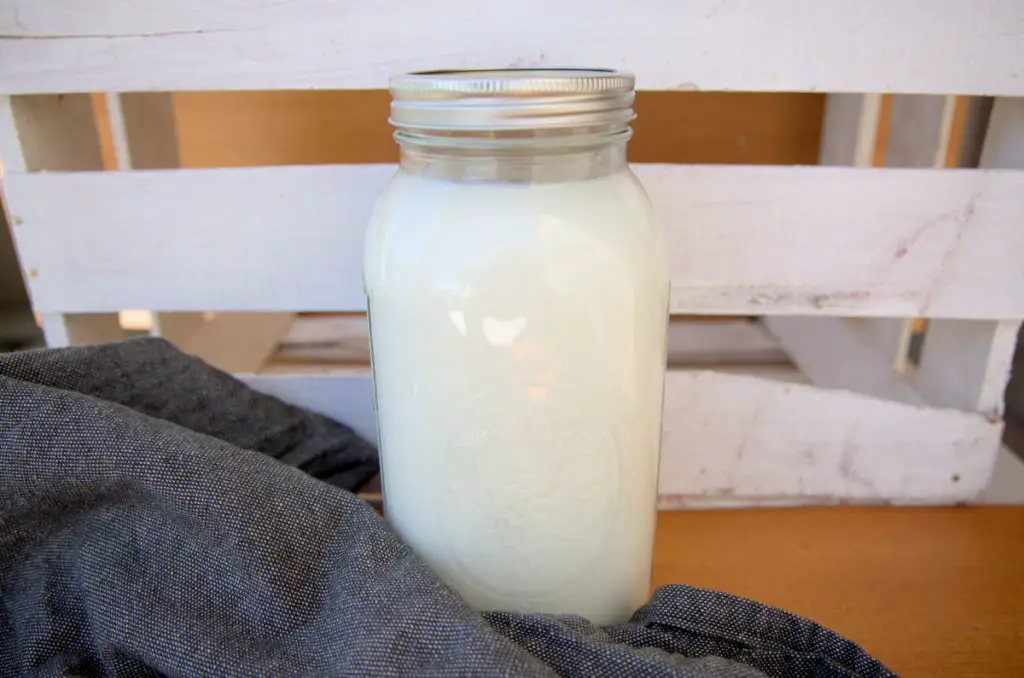
Goat Milk– While fresh farm goat milk is my favorite choice, it’s not always the easiest to source. Look for good quality goat milk (because it will determine the final flavor of your cheese). It is recommended to avoid ultra-pasteurized goat milk, but I have had success with it as well. If your goat milk isn’t curdling, though, try switching to raw or regular pasteurized milk.
Citric Acid– This ingredient separates the whey from the curds when heated. You can also use lemon juice or vinegar as alternative acids.
Salt– You’ll want to stick with non-iodized salts such as Kosher, Sea Salt, or Pink Himalayan.
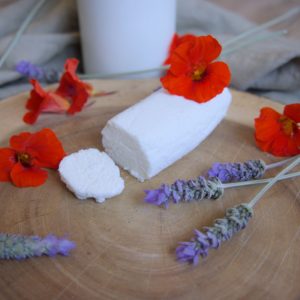
Flavorings– I make classic goat cheese most often, but there are many flavor combinations you can experiment with in your homemade goat cheese. Herbs, honey, garlic, fruit zest, edible flowers, seeds, or nuts can make for unique flavors and presentation when either combined into the cheese before rolling into a log or rolled on the outside.
Equipment For Goat Cheese
This is a simple cheese that requires minimal equipment.
Large Pot– Make sure you’re using a pot made from a non-reactive metal. Stainless steel or enameled cast iron are ideal choices.
Cheesecloth– I love these reusable cheesecloth sheets with hemmed edges, and they come in handy for all kinds of cheesemaking and straining projects. Make sure to use a double layer to strain your goat cheese to catch the small curds.
Thermometer– While it’s possible to make this cheese without a thermometer, the safest way to ensure precision and success is to get an exact measurement of temperature. You can do this easily with an instant-read thermometer.
Strainer– A strainer or colander will be necessary for allowing your curds to drain. You’ll also need a bowl for the strainer to fit on to collect the whey as it strains.
How To Make Goat Cheese
Prepare Citric Acid. Add the citric acid to cool water and stir until it has dissolved. Pour the milk into a pot, add the dissolved citric acid, and stir it gently but thoroughly into the milk.
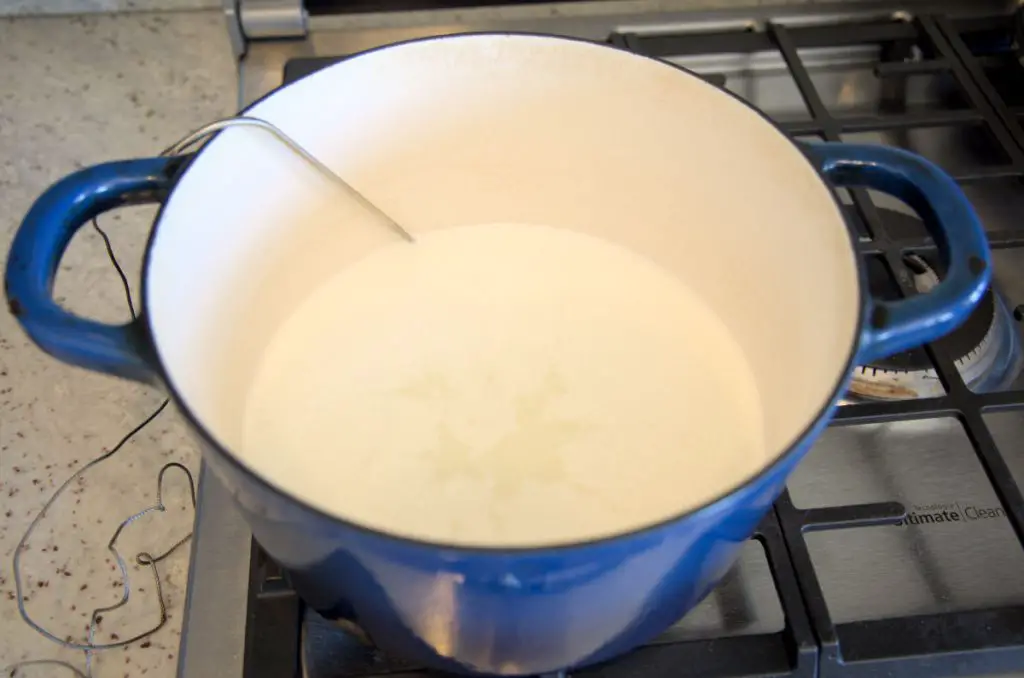
Heat Milk. Heat the pot of milk over medium-low, stirring frequently to prevent scorching, until it reaches 190 degrees F.
Rest. Remove the pot from heat. If you are using lemon juice or vinegar instead of citric acid, now is the time to add them, stirring in thoroughly. Place the lid on the pot and let it sit for 15 minutes while the curds separate from the whey.
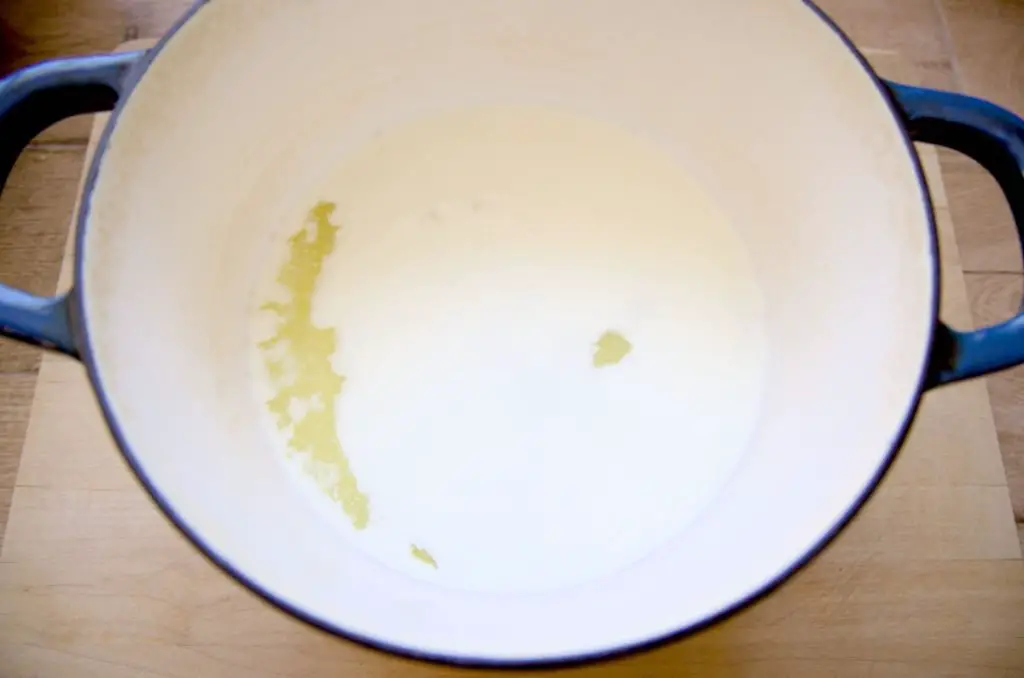
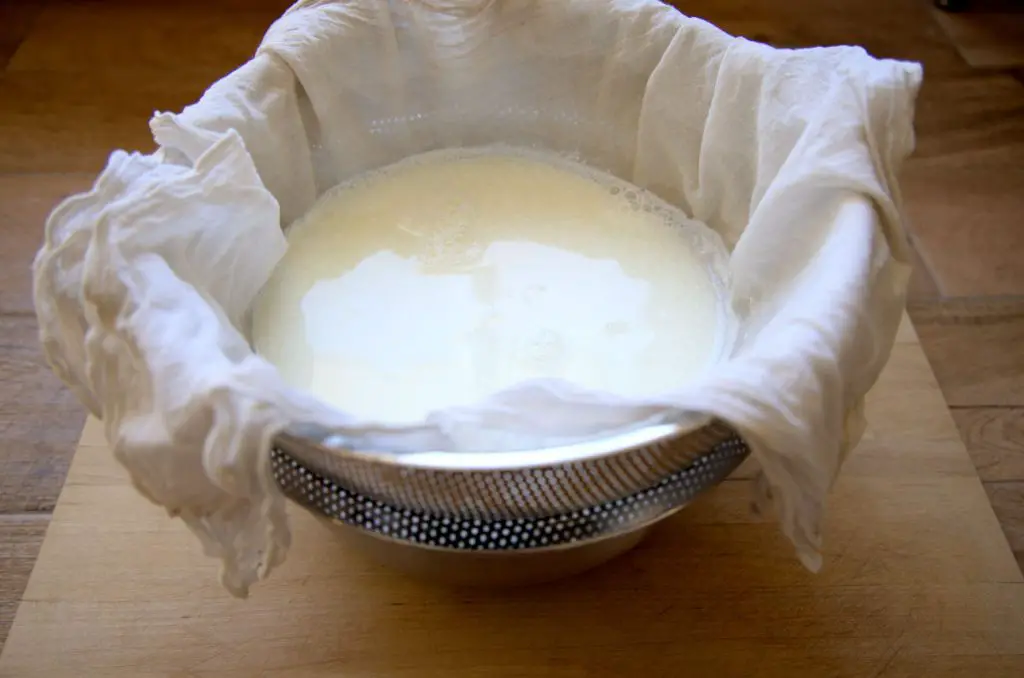
Strain. Pour the mixture into a double cheesecloth-lined strainer set over a bowl. This will allow you to catch and preserve the strained whey.
Let Drain. The timing of allowing your cheese curds to drain can vary based on the consistency you’d like to end up with. For a spreadable cheese, somewhere between 2-4 hours should be sufficient while it might take 5-8 hours for a crumbly cheese. For cheese logs, ours usually takes 4-6 hours for the ideal consistency.
You can speed up the straining process slightly by collecting the corners of your cheesecloth and tying them to the faucet or some other handle to drain. Just make sure there is a bowl beneath it if it isn’t draining into the sink. With cats running around, we find it simpler to leave the curds in the cheesecloth-lined strainer over a bowl somewhere they can’t access it! The things we do for our animals…

Add Salt. Scrape your cheese from the cloth into a small bowl to mix in salt and other seasonings. Use a spoon to mash the ingredients together gently. You can also add these flavorings straight to the cheese in the cheesecloth if that’s simpler for you.
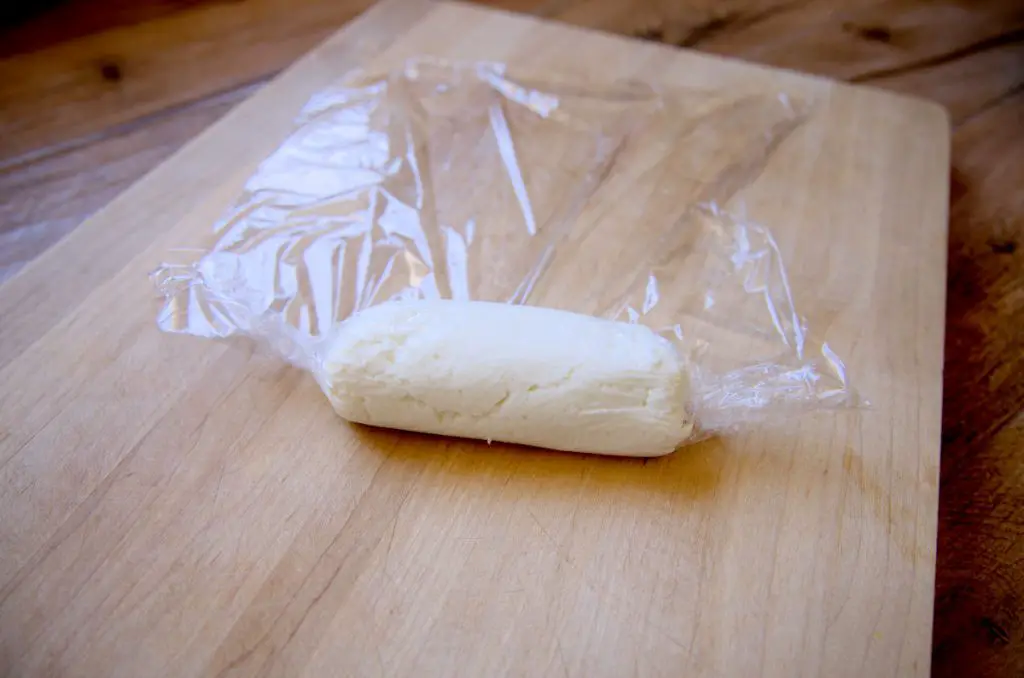
Roll (optional). Mold your log by placing it in a clump on a piece of beeswax wrap or plastic wrap. Use the wrap to roll the cheese into form. Twist the ends closed around the log shape. Be gentle when rolling your log so as not to smear the cheese, but make sure to give it enough pressure to remove any air gaps from the cheese.
Set. Allow your cheese to set in the fridge for at least an hour. Enjoy!
Storing & Eating
One of my favorite things about this goat cheese is that it’s a cheese that handles being frozen and then defrosted very well. So, that means you can make larger batches less often! Store your tightly wrapped cheese logs in the freezer for up to 6 months and defrost them in the fridge overnight. I like to place several wrapped logs in a freezer bag for storage.
This goat cheese can also be stored in the fridge for up to 3 weeks. As far as preservation is concerned, the more you can prevent air from touching the cheese, the better. This is why I opt for a well-wrapped cheese roll as opposed to an airtight container. But if you aren’t worried about multi-week preservation, any airtight container will do the job.
This goat cheese recipe can make a softer cheese perfect for spreading on veggies, toast, or crackers, and it can also make a more crumbly cheese delicious when sprinkled on salads, eggs, roasted vegetables, pizzas, pasta, soups, shakshuka, and more!
That whey you strained off your cheese can also be kept and used! If you have chickens, it’s great to add to their diet. If you don’t, try using it as a water substitute in breadmaking or in your soups as a replacement for some of the liquid.
FAQs (Frequently Asked Questions)
Using flavorless citric acid shouldn’t leave your cheese with any kind of aftertaste. If you’re using lemon juice or vinegar, try switching to citric acid or gently rinsing the curds after they’ve been drained of the whey but prior to adding the salt or other seasonings.
Some people add a touch of heavy cream to their finished goat cheese to make it creamier, but I’ve personally never found the need. If you choose to, add just ½ tsp at a time until you’re satisfied.
The basic ingredients for making goat cheese include fresh goat’s milk, a coagulant such as citric acid, lemon juice, vinegar, or rennet, and salt. Some recipes may also call for cultures or starters to develop specific flavors and textures, but this recipe is designed to be as simple as it gets.
More Homemade Dairy
Learn how to make more simple dairy products at home with these recipes.
Simple Goat Cheese
Equipment
- Dutch oven or stainless steel pot
- cheesecloth
- instant-read thermometer
- strainer
- large bowl
Ingredients
- 8 c goat milk 2 quarts
- 1.5 tsp citric acid or ⅔ c lemon juice or ½ c vinegar
- ¼ c water
- 1 tsp salt non-iodized
Instructions
- Add the citric acid to ¼ c cool water and stir until it has dissolved.
- Pour the goat milk into a large pot on the stove, add the dissolved citric acid, and stir it gently but thoroughly to combine.
- Heat the pot of milk over medium-low, stirring frequently to prevent scorching, until it reaches 190 ℉.
- Remove the pot from heat. If you are using lemon juice or vinegar instead of citric acid, now is the time to add them (no need to include the ¼ c of water), stirring in thoroughly. Place the lid on the pot and let it sit for 15 minutes while the curds separate from the whey.
- Line a strainer or colander with a double layer of cheesecloth and place it over a bowl that will be able to catch the draining whey liquid. Pour the mixture into the lined strainer.
- Allow your curds to drain for 2-8 hours, depending on how spreadable or crumbly you would like them. The longer you allow the curds to drain, the less whey they will contain and the more crumbly the cheese will be. To make a cheese log, somewhere between 4-6 hours is the sweet spot for us.
- Add salt and any desired seasonings to your cheese and stir in gently with a spoon. You can do this right in the cheesecloth-lined strainer or in a separate small bowl you've scraped your cheese into.
- If forming your cheese into a log, place it in a clump on a piece of beeswax wrap or plastic wrap. Use the wrap to roll the cheese into form. Twist the ends closed around the log shape. Be gentle when rolling your log so as not to smear the cheese, but make sure to give it enough pressure to remove any air gaps.
- Allow your cheese to set in the fridge for at least an hour. Enjoy!
Notes
- Raw goat milk and regular pasteurized goat milk are the most reliable forms of milk for this cheese.
- See the blog post for optional savory and sweet ingredient add-ins.

Leave a Reply